AI Image Editor for Targeted Changes
Upload an image, describe the change, and edit one area at a time. Remove distractions, revise text, or restyle details while the rest stays intact.
See how a focused edit keeps the image intact
Compare the original and edited versions. Each prompt changes one area while preserving the scene, lighting, and composition around it.
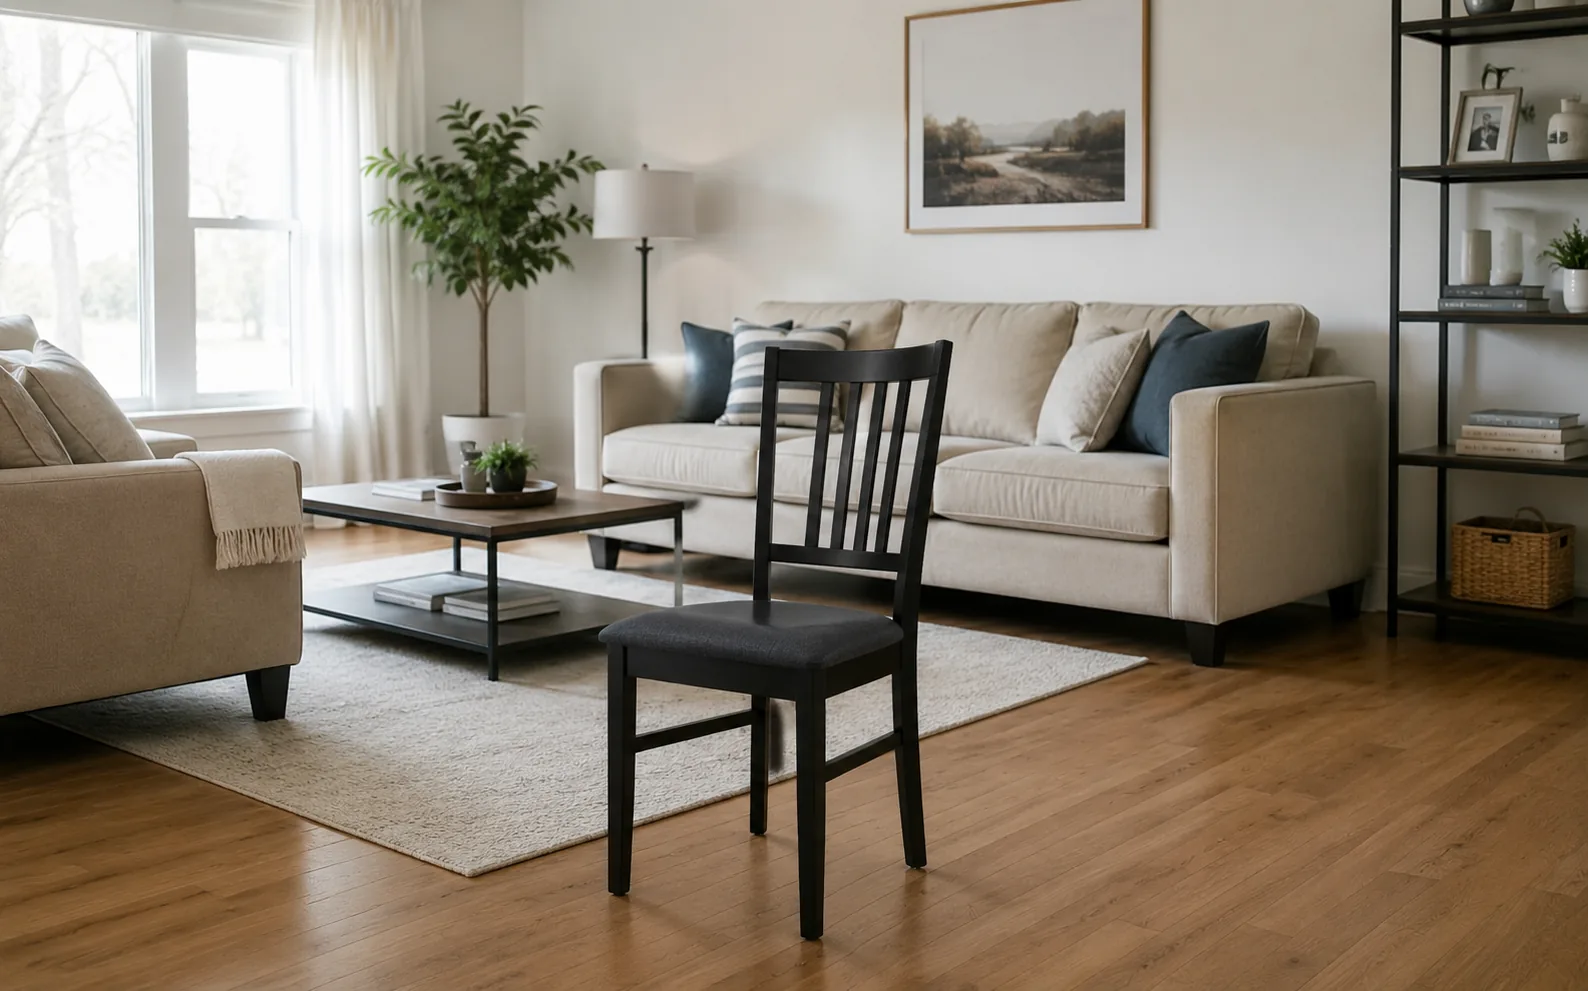
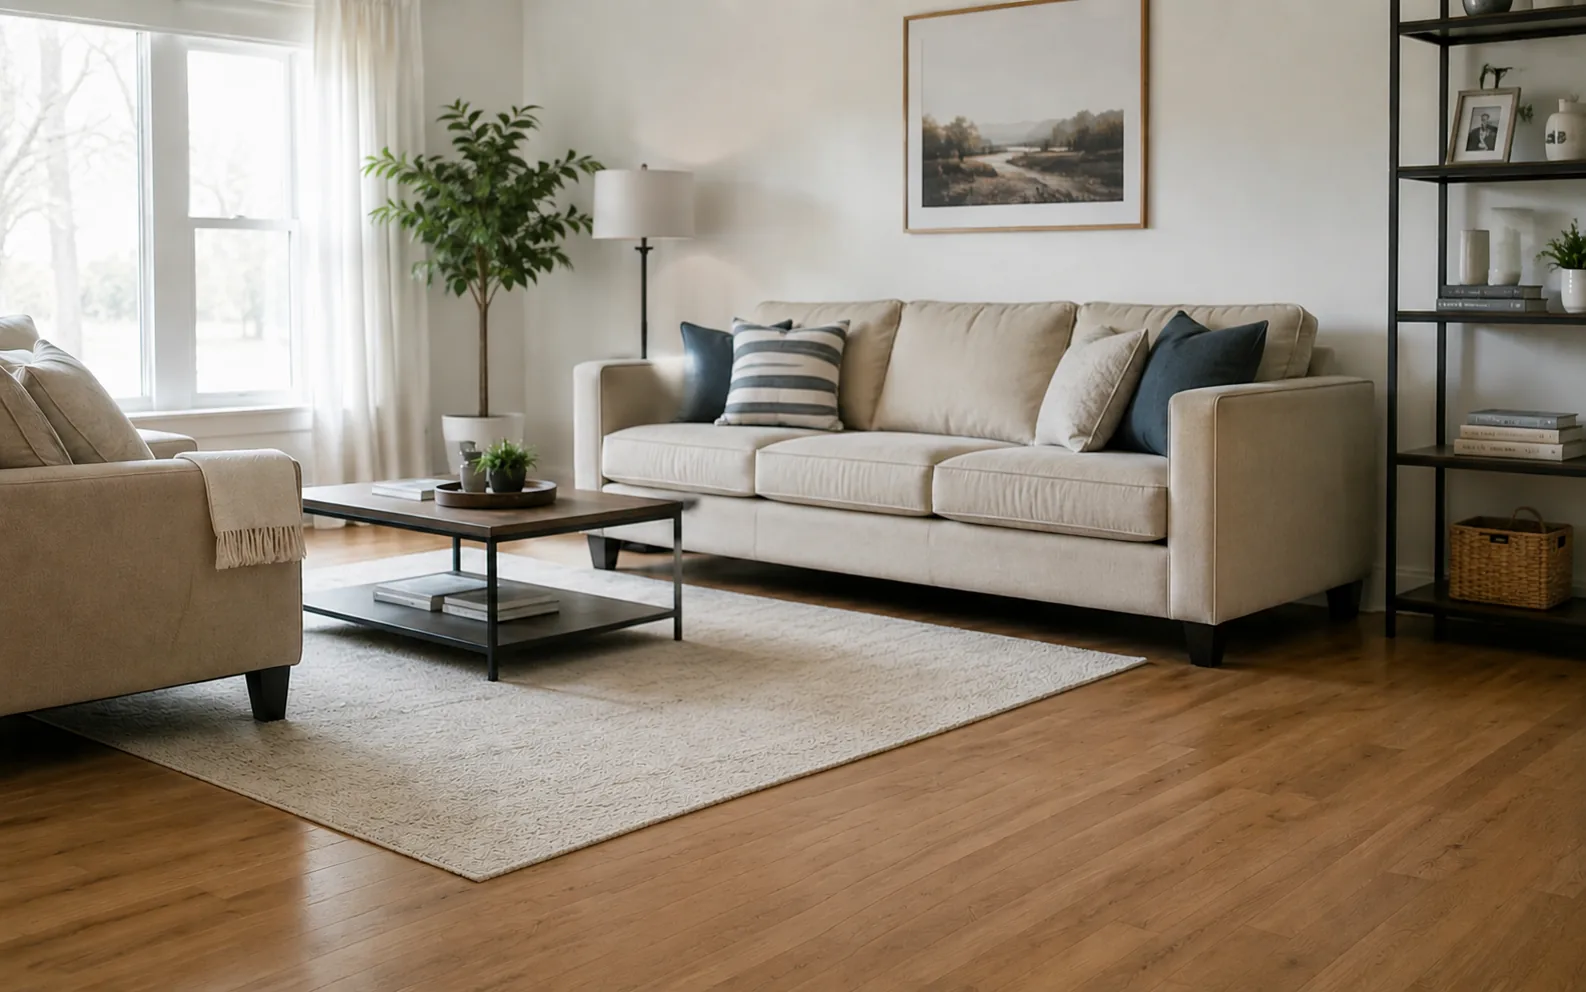
Remove the black chair from the center of the living room, restore the rug and wood floor naturally, keep the sofa, table, and window light unchanged, and preserve the same wide 16:10 composition.
Edit one area without losing the original image
Add the image, write a clear prompt, compare the result, then keep refining with smaller edits.
- 01
Add the image
Start with the photo, product shot, poster, or visual you want to edit.
- 02
Write the edit prompt
Name the area to change, describe the edit, and mention what should stay the same.
- 03
Compare before and after
Check what changed, what stayed stable, and whether the edit blends into the surrounding image.
- 04
Refine or save
Keep the strongest result, or continue with a smaller prompt for the next detail.
Targeted edits that show before and after
Use AI Image Editor when the original frame already works and one region, detail, style, or overlay needs a controlled change.
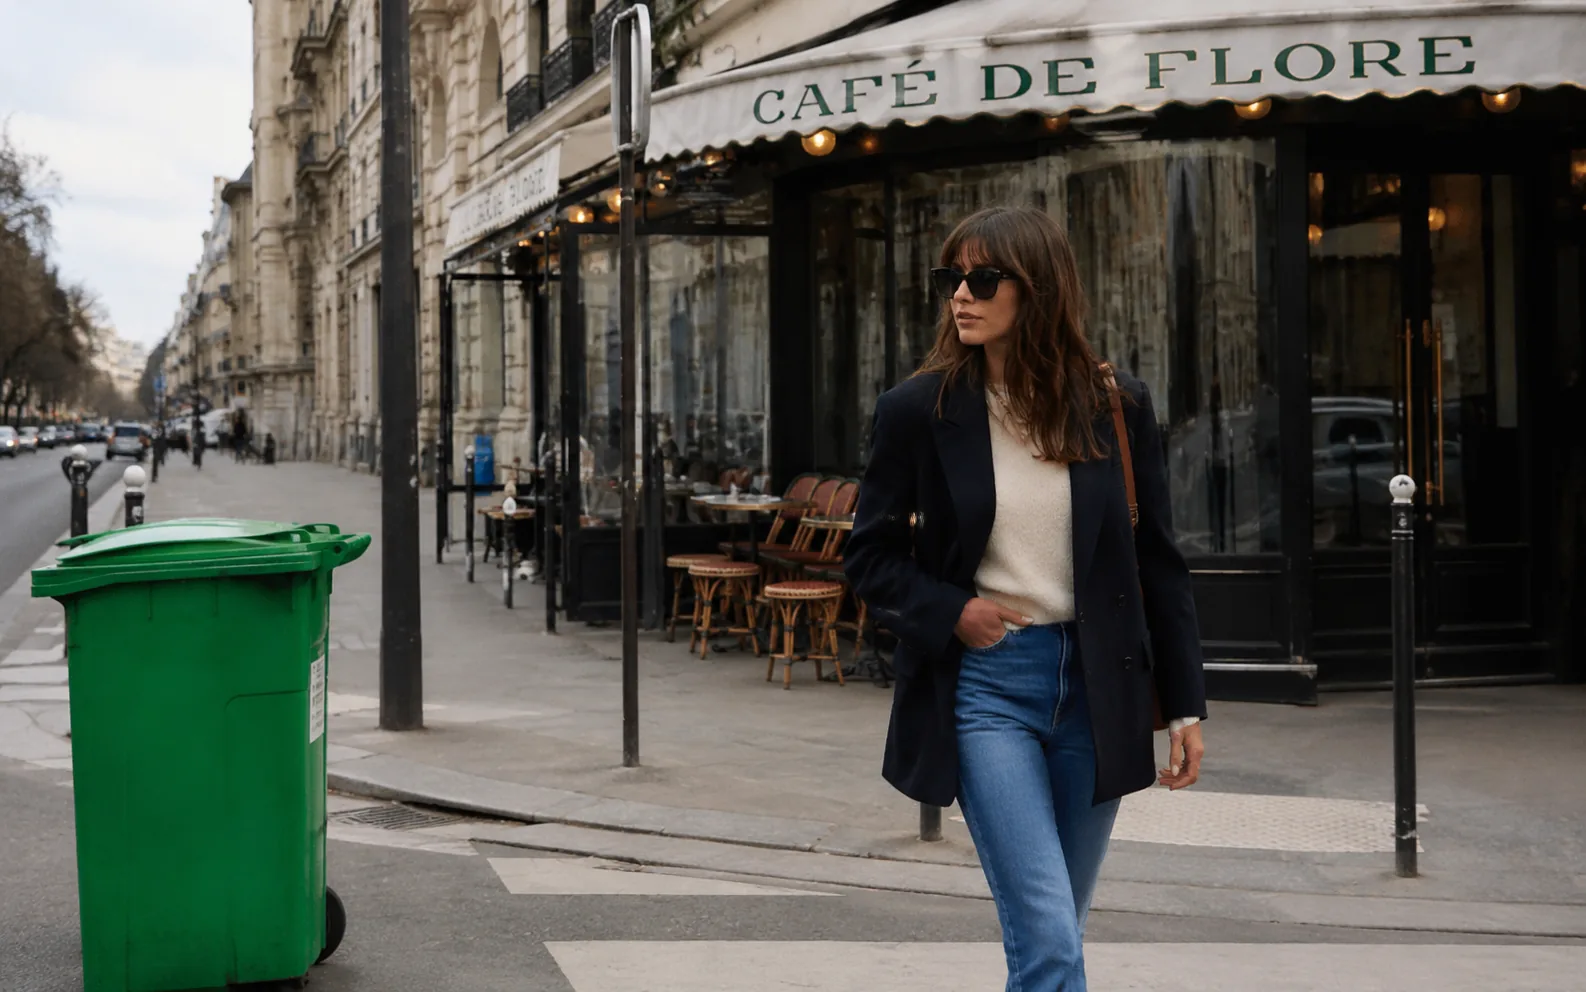
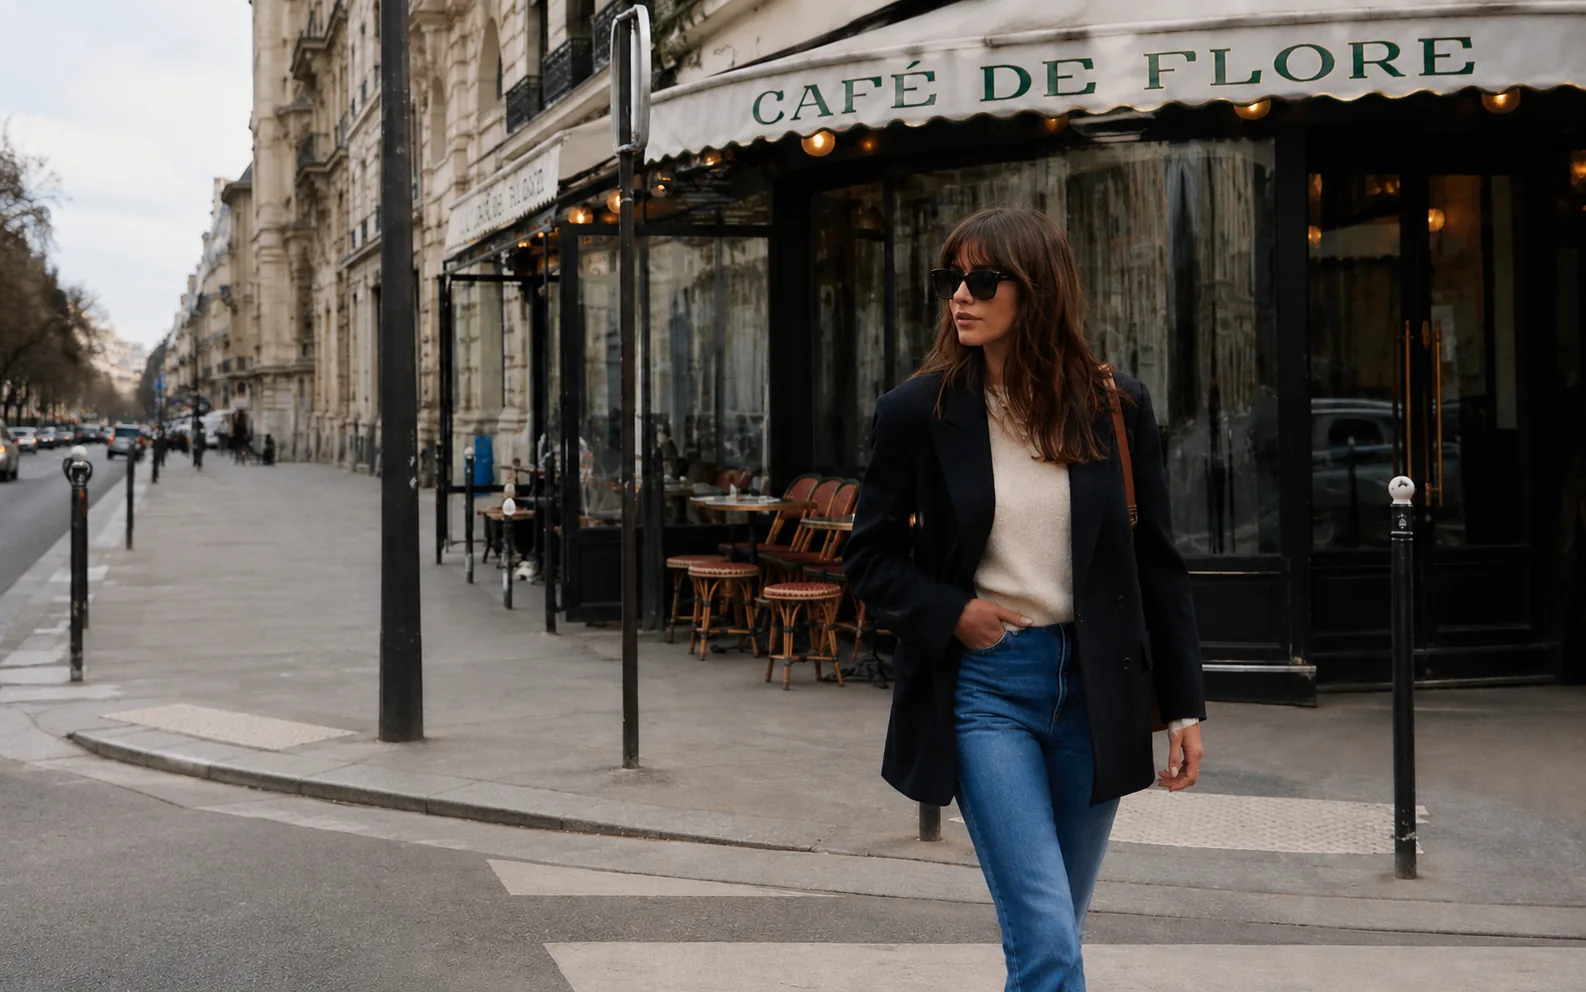
Remove distractions without rebuilding the scene
Take out one obvious distraction, like a trash bin or prop, while keeping the person, storefront, and street perspective intact.

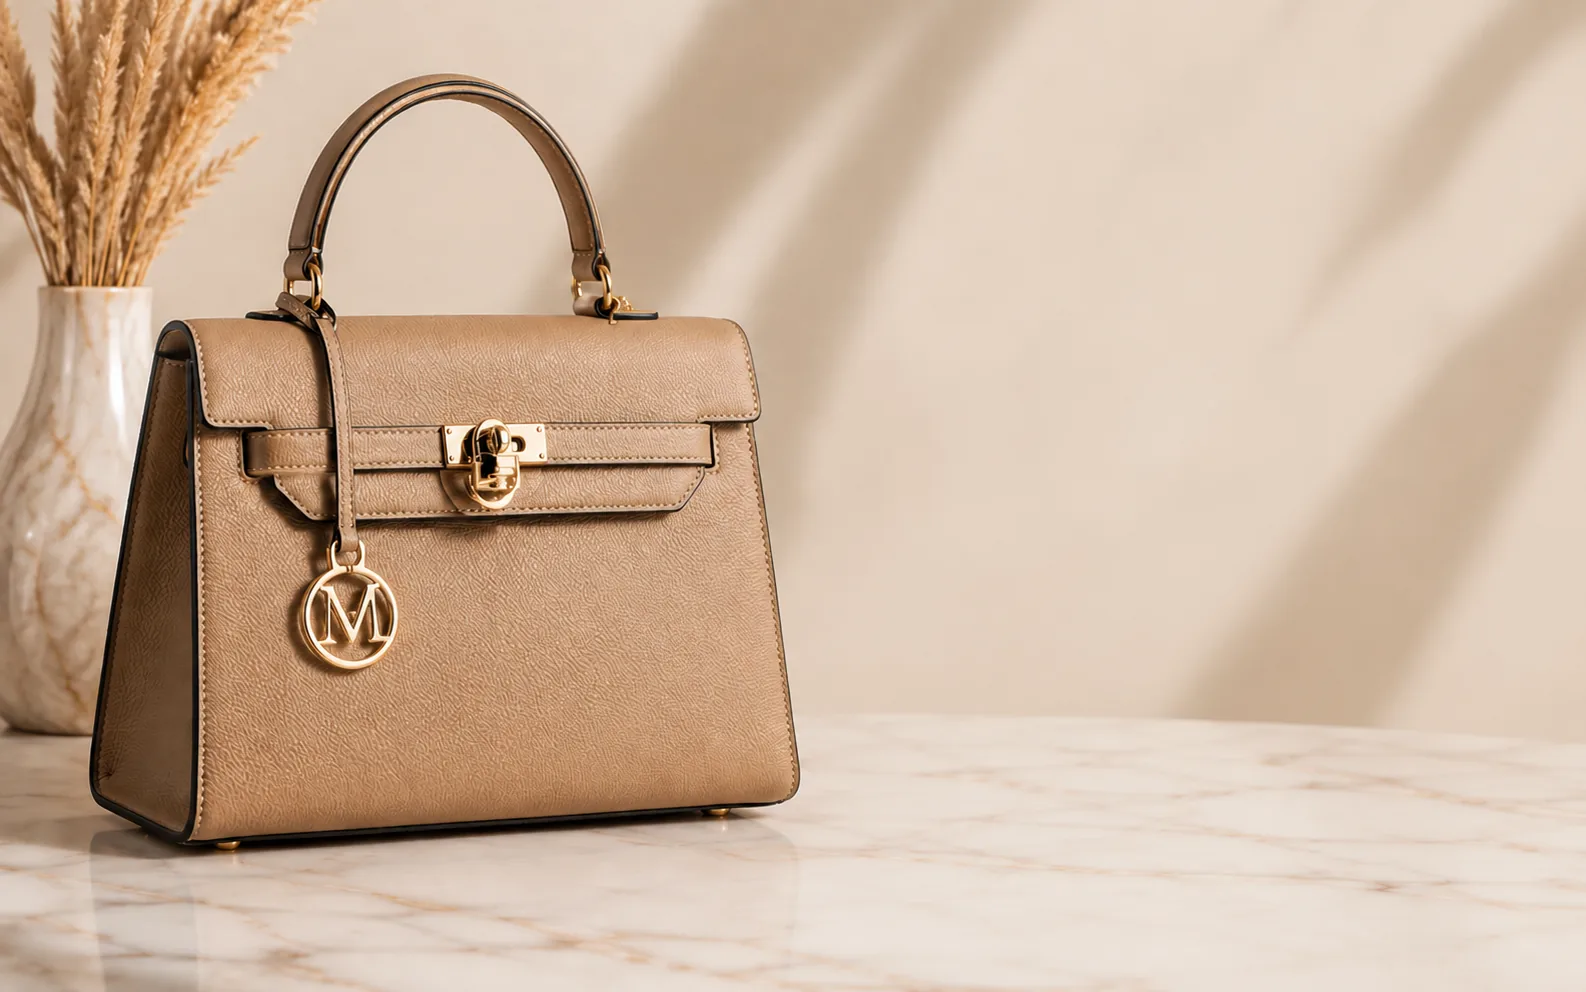
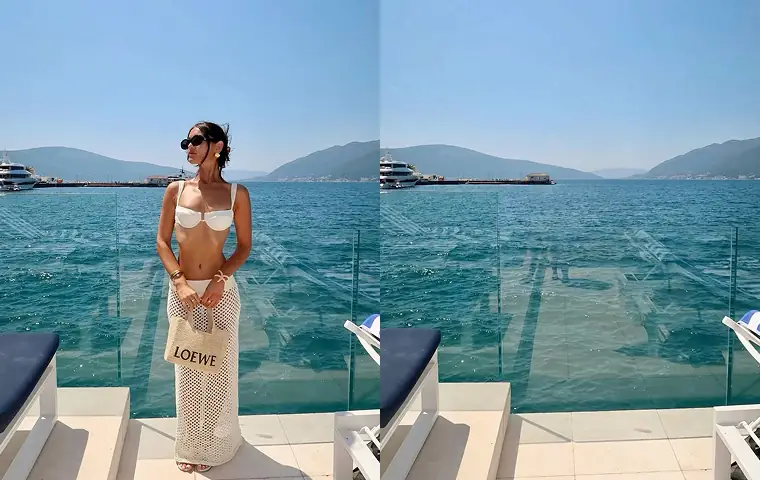
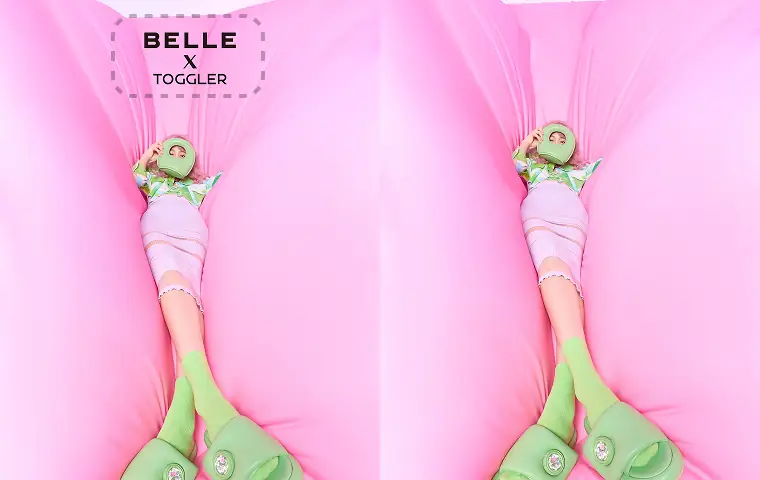
Add or revise ad text on product visuals
Edit promo copy, sale callouts, badges, or small layout details while keeping the product, lighting, and composition intact.

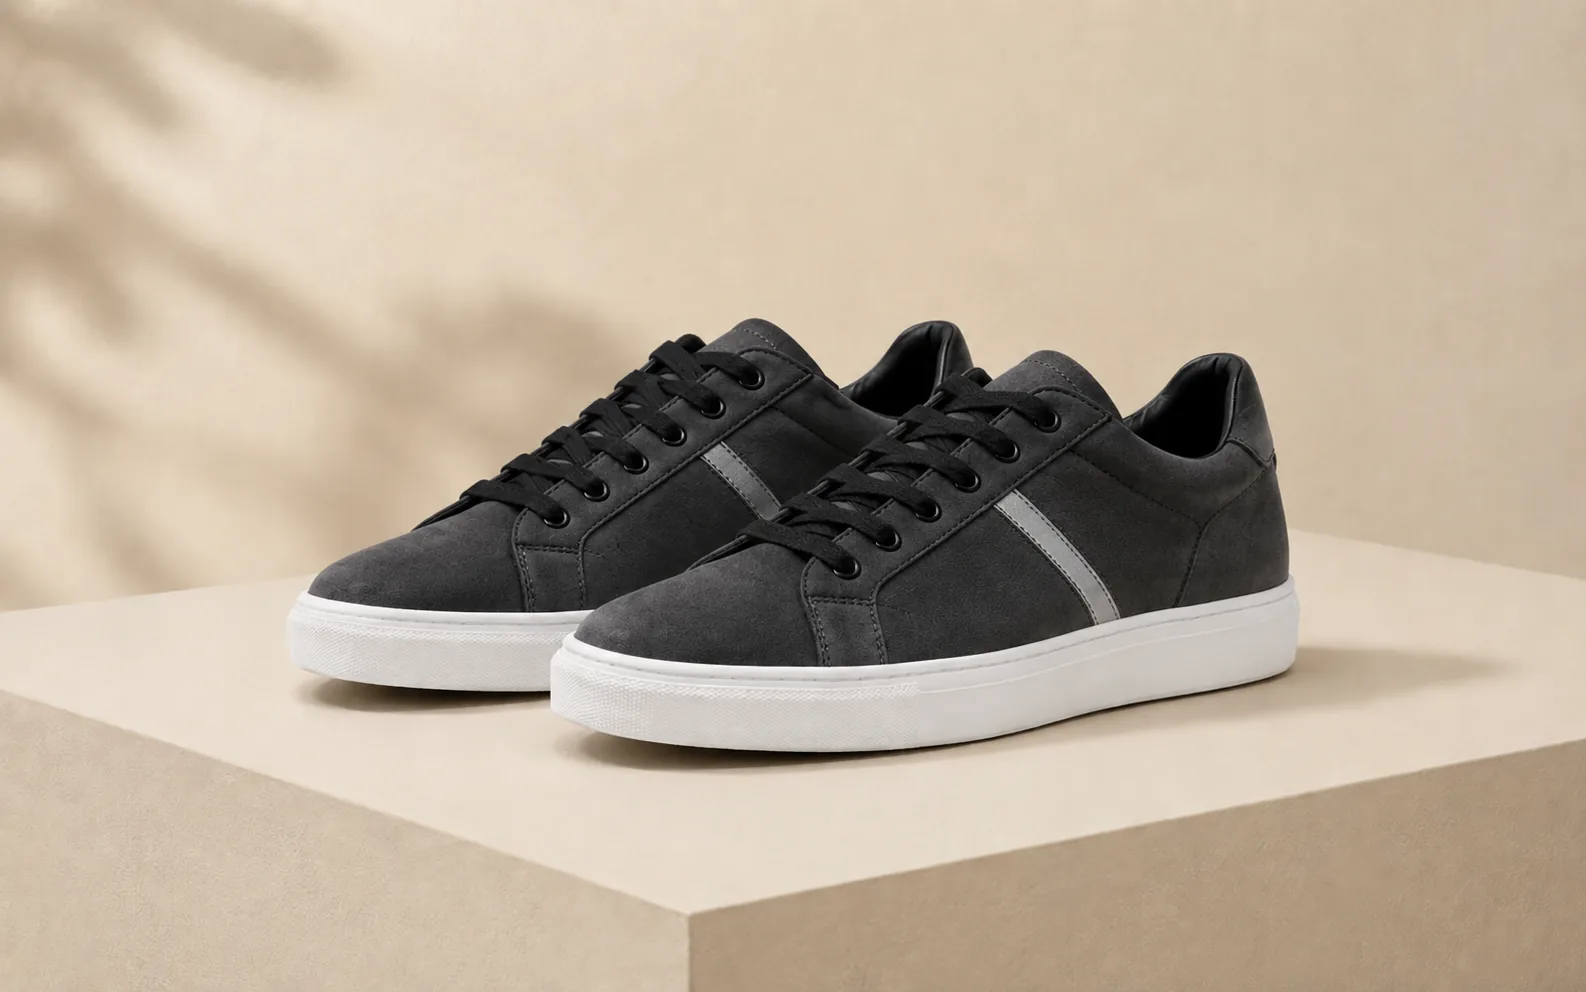
Change style, material, or color without reshooting
Update a product from white leather to dark suede with new accents while preserving the original angle, shadows, and layout.
Write edit prompts that stay focused
The best prompts tell Ezier what to change and what to preserve.
Name the exact area
Say which object, text, background area, face detail, product part, or material should change.
Say what should stay the same
Mention the subject, composition, lighting, colors, camera angle, or texture when they matter.
Keep one request per pass
Make one clear edit first, then compare the result before asking for another change.
Check edges and texture
Review borders, shadows, reflections, repeated patterns, and rebuilt backgrounds before you download.
Edit with control
Change the part that needs work.
Upload your image, write the edit prompt, and use Ezier to remove, replace, or restyle details while the rest stays familiar.
AI Image Editor FAQ
Answers about prompts, targeted edits, and when to edit an image instead of generating a new one.
Related paths
More ways to use AI Image Editor
Explore another image step, check model options, or make the output move.

AI image tools
More image tools
Create, edit, clean up, or upscale stills.

AI models
Compare image models
Pick a better model before making more versions.
AI video tools
Make it move
Animate a still or turn it into a clip.
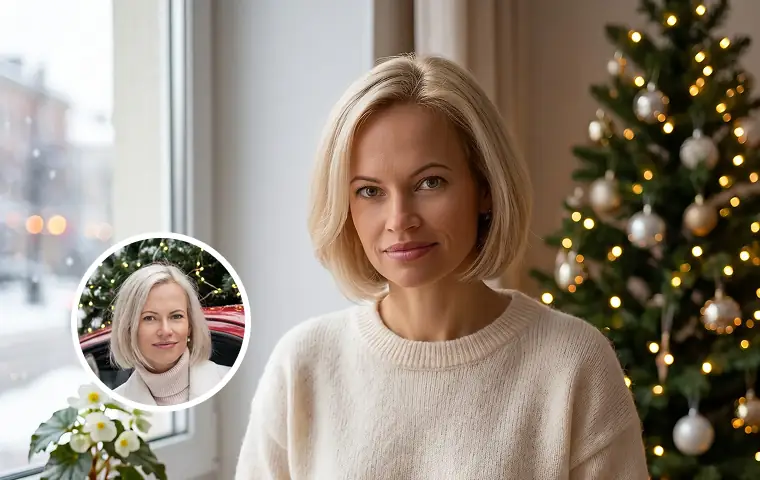
Image to Image
Use a reference
Restyle or revise an existing image.
Object Remover
Clean distractions
Remove unwanted objects or people.
Remove Text from Image
Clean text overlays
Remove captions, labels, or text marks.
Background Remover
Cut out subjects
Remove the background from an image.
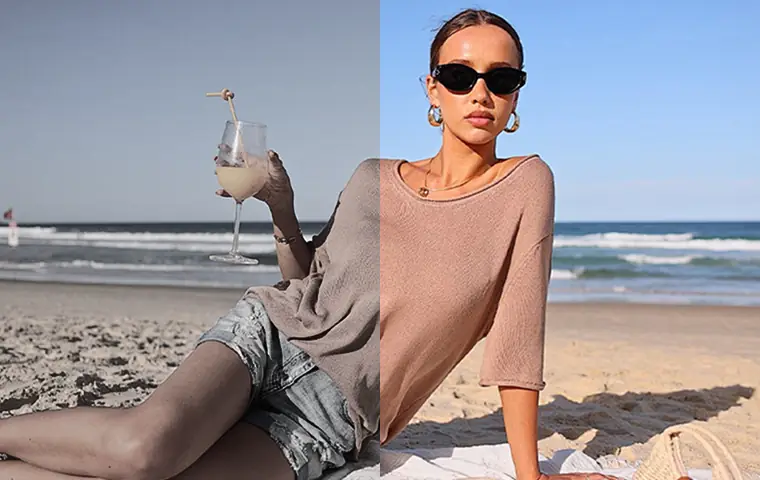
Image Enhancer
Improve quality
Recover detail, color, and clarity.
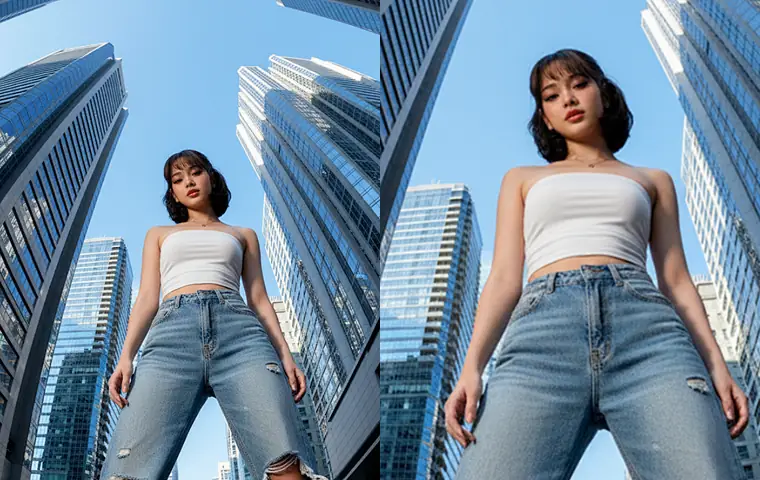
Image Upscaler
Make it larger
Increase size for export or reuse.
AI image tools
More image tools
Create, edit, clean up, or upscale stills.
AI models
Compare image models
Pick a better model before making more versions.
AI video tools
Make it move
Animate a still or turn it into a clip.
Image to Image
Use a reference
Restyle or revise an existing image.