
Upload Portrait
Headshot Crop Tool for Profile Photos
Upload a portrait, tighten the crop, and export a cleaner headshot for LinkedIn, resumes, team pages, speaker bios, and profile cards.
Sample Crops
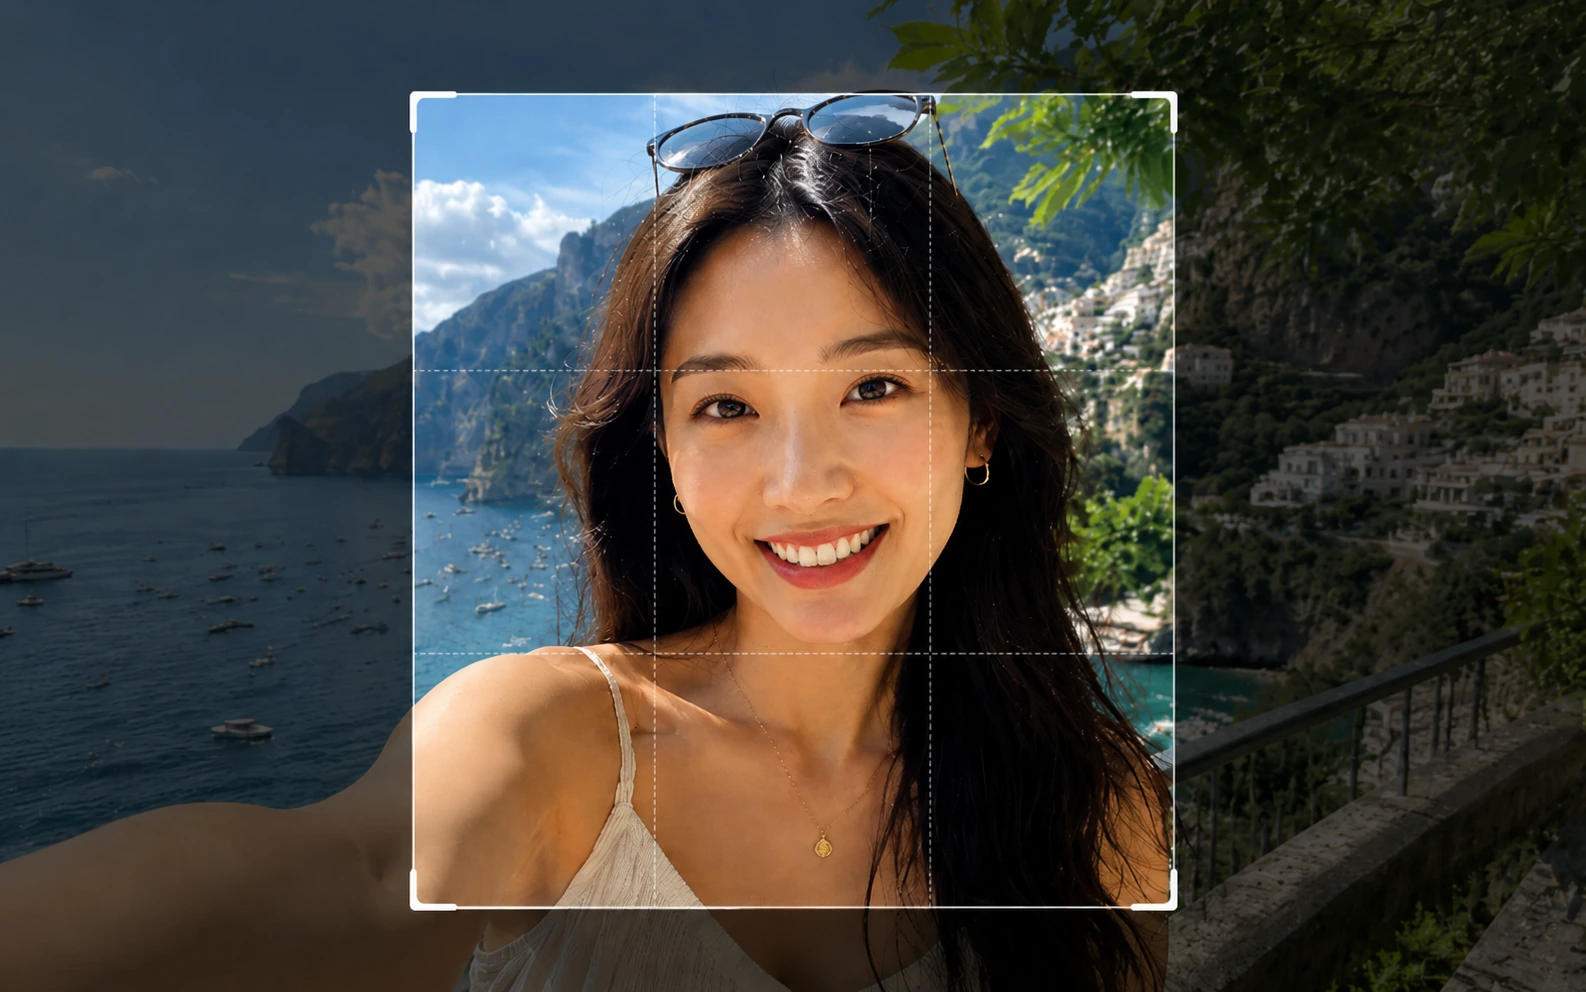
Crop a reusable headshot in four steps
Start with one portrait, tighten the frame around the face and shoulders, and export a version that fits the profile you need next.
- 01
Upload the portrait you want to use
Start with the clearest version of the photo you have. A larger original gives you more room to tighten the crop without softening the face.
- 02
Set the crop around the face and shoulders
Keep the face easy to read, leave natural headroom, and avoid trimming the chin or shoulders too tightly.
- 03
Match the framing to the final layout
A LinkedIn avatar, a team profile, and a speaker bio rarely need the exact same crop. Reposition the frame for where the headshot will appear next.
- 04
Download the finished PNG
Export the cropped headshot when the face, shoulder room, and overall balance feel right for the profile you are updating.
Make one portrait work across the places it gets reused
Different profile layouts need different amounts of face, shoulder room, and background. These examples show the crops that usually hold up best.
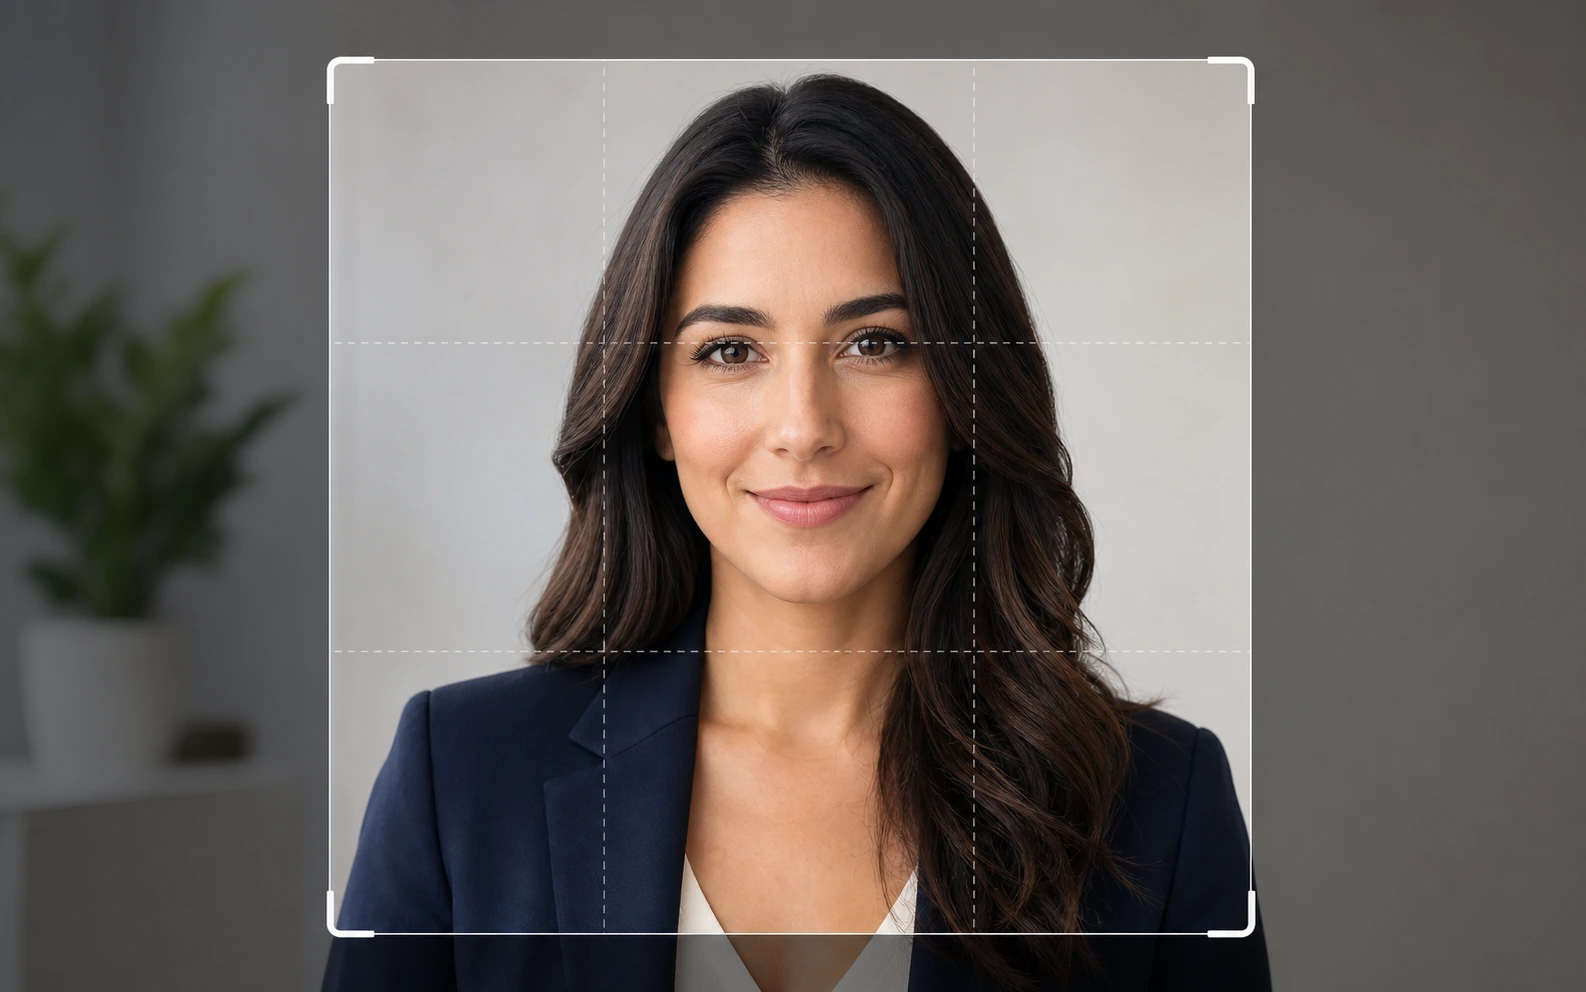
LinkedIn and profile photos
Use a tighter crop when the headshot will appear small, so the face stays readable instead of getting lost in extra background.
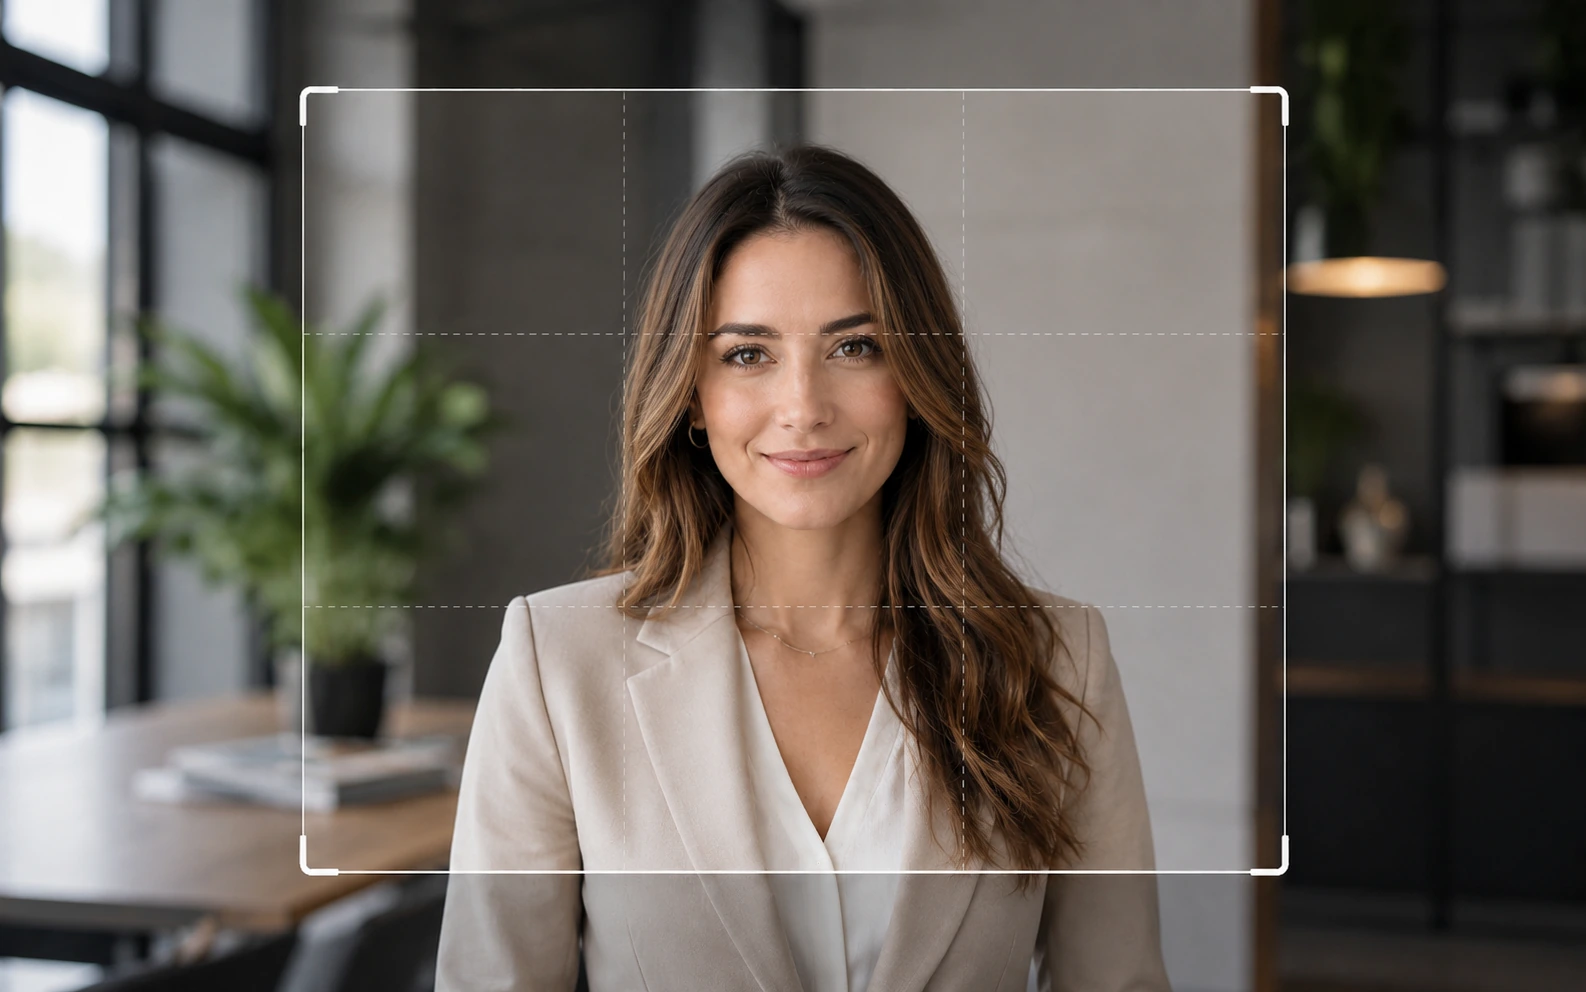
Team pages and speaker bios
Leave a little more shoulder room when the portrait will sit inside a card, directory, author box, or conference page.
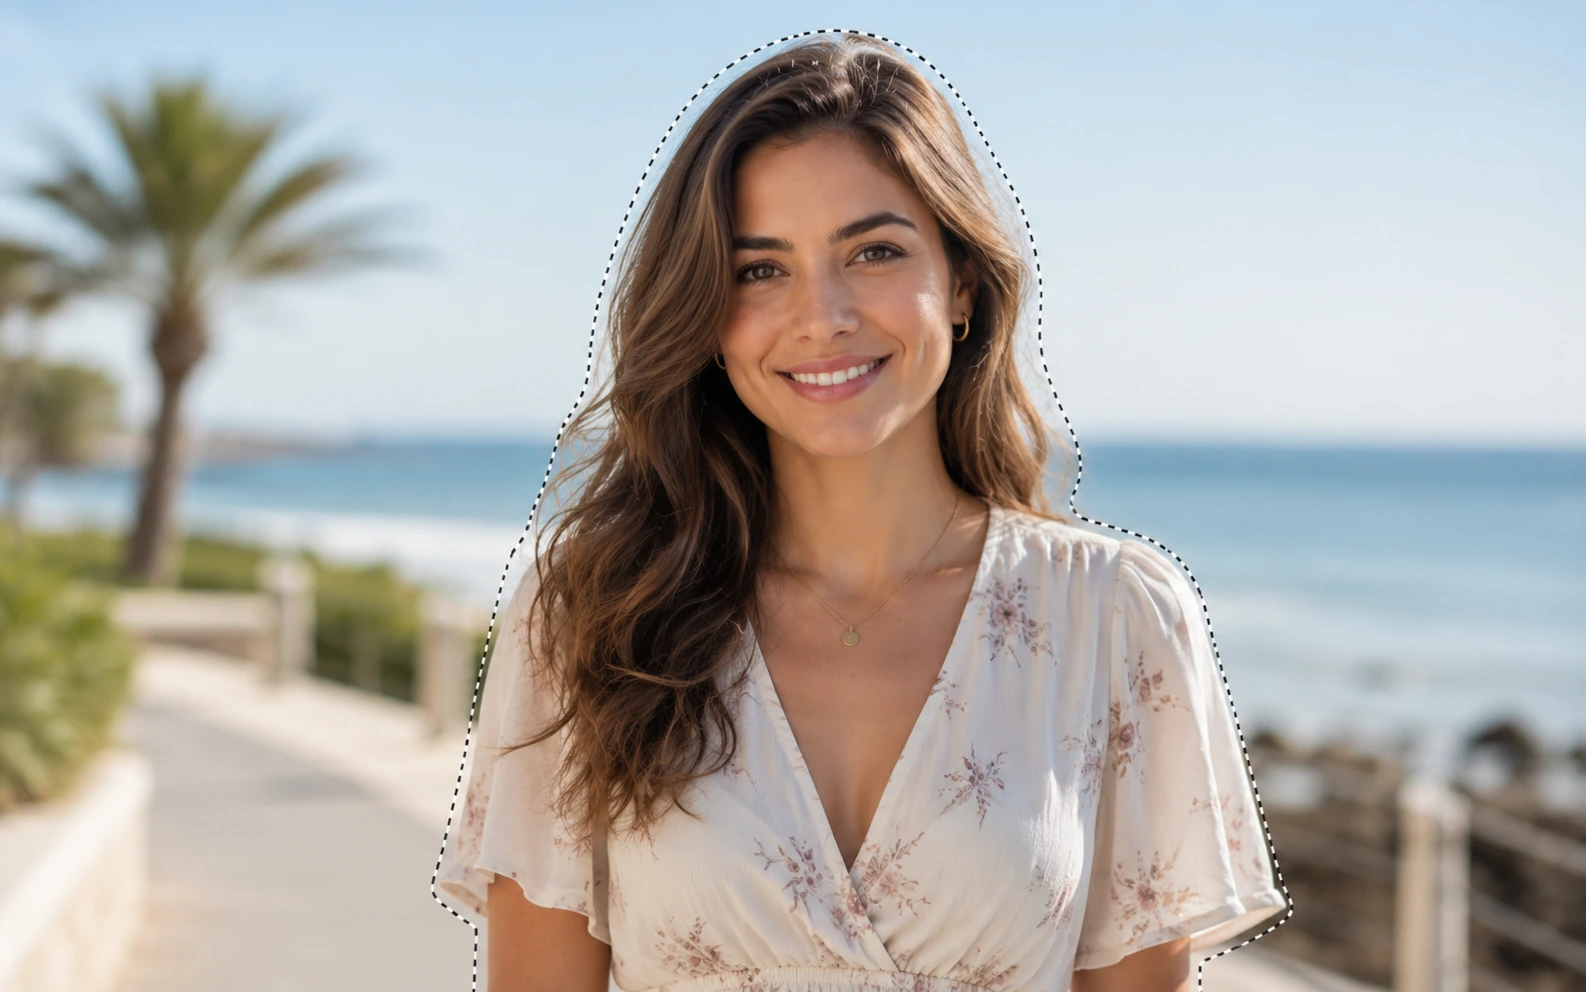
Use lasso when a box crop is too limiting
Trace around the head and shoulders when you want a cleaner custom portrait cutout, a softer silhouette, or a profile asset that is not locked to a simple rectangle.
Check the crop at the size people will actually see
A crop that looks fine in a large editor preview can still feel too loose in a small avatar or too tight in a profile card.
Keep the eyes comfortably high in the frame
Most profile crops feel more natural when the eyes sit a little above center instead of floating low in the image.
Leave enough shoulder room for cards and bios
A crop that feels dramatic at full size can become cramped once it is shrunk into a sidebar profile, speaker card, or staff page.
Crop tighter for avatars than for larger profile cards
Small avatars usually need less background and more face, while larger profile blocks can hold a looser crop.
Start from the largest original you have
Cropping always removes pixels. If the portrait will be reused across several layouts, begin with the highest-quality source file available.
Ready to crop the headshot
Tighten the portrait before it goes everywhere.
Upload one portrait, crop it for the face and shoulders, and export a cleaner headshot before it goes into profiles, bios, resume cards, or speaker pages.
Headshot Crop FAQ
Quick answers about portrait choice, framing, PNG export, and the optional lasso cutout mode.
What kind of photo works best for headshot crop?
Use a clear portrait where the face is easy to read and the subject is not already cropped too tightly. The more original image area you have around the head and shoulders, the easier it is to find a balanced crop.
Should I use a square crop or a taller portrait crop?
Use square when the headshot will appear as an avatar, profile icon, or directory thumbnail. Use a taller crop when the layout includes a profile card, speaker bio, author section, or other portrait-first block.
Can I move and resize the crop manually?
Yes. You can drag the crop frame, adjust the handles, and refine the framing until the face, headroom, and shoulders feel right for the final placement.
When should I use lasso instead of crop?
Use crop for normal profile photos and headshots. Use lasso only when you need a quick cutout of the person as a transparent PNG.
What file type does the editor export?
The editor exports PNG. A normal crop stays rectangular, while a lasso selection exports as a transparent PNG cutout.
Can I use this for LinkedIn, resumes, team pages, and speaker bios?
Yes. It works well when one portrait needs slightly different framing for avatars, staff directories, resume cards, author sections, and event speaker pages.
More to try
Explore your next creative step
Try another image tool, compare image models, or animate an image concept.

AI image tools
More image tools
Create, edit, clean up, or upscale stills.

AI models
Compare image models
Pick a better model before making more versions.

AI video tools
Make it move
Animate a still or turn it into a clip.
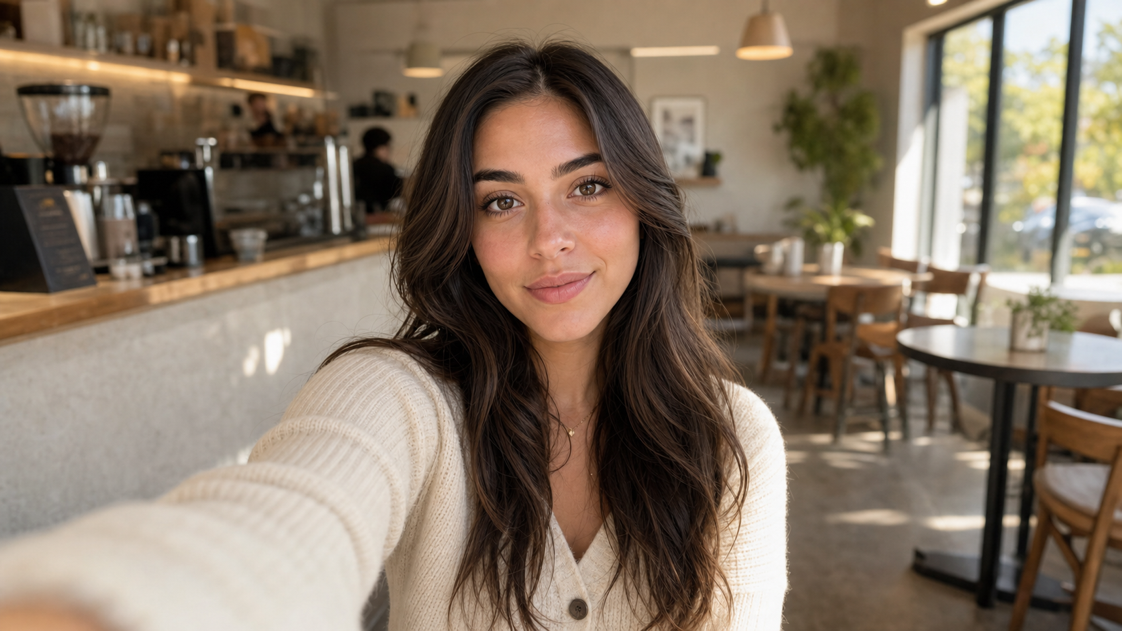
AI Selfie Generator
Portrait polish
Turn a portrait into a profile-ready selfie.
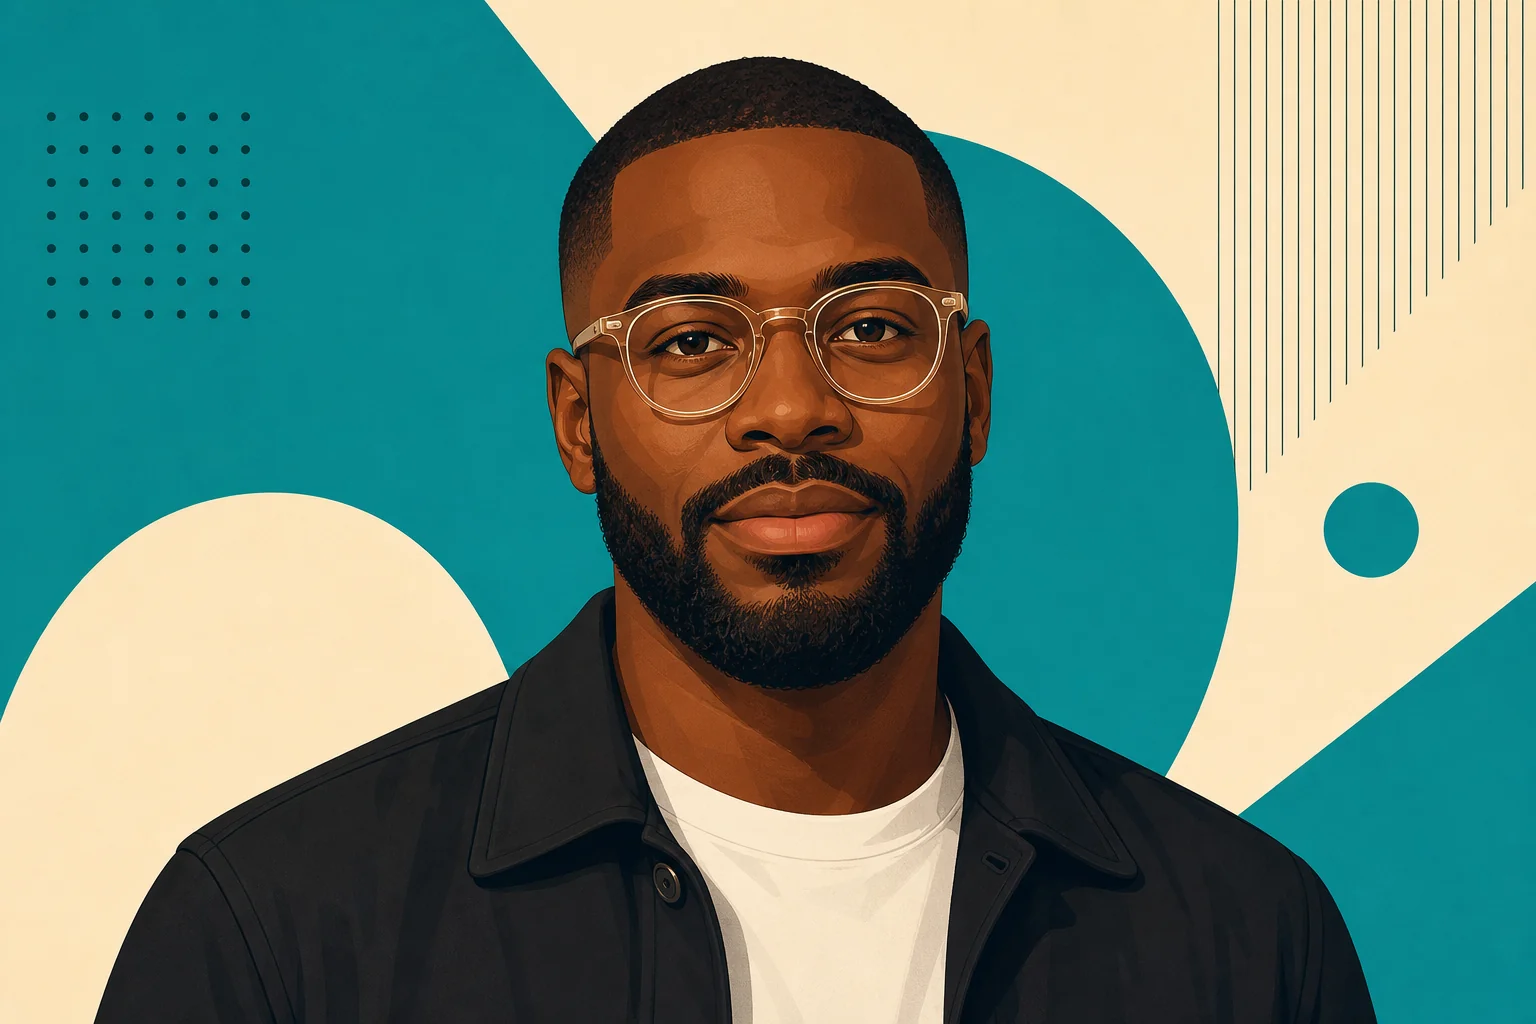
AI Avatar Generator
Profile-ready portraits
Create polished avatar-style portraits.
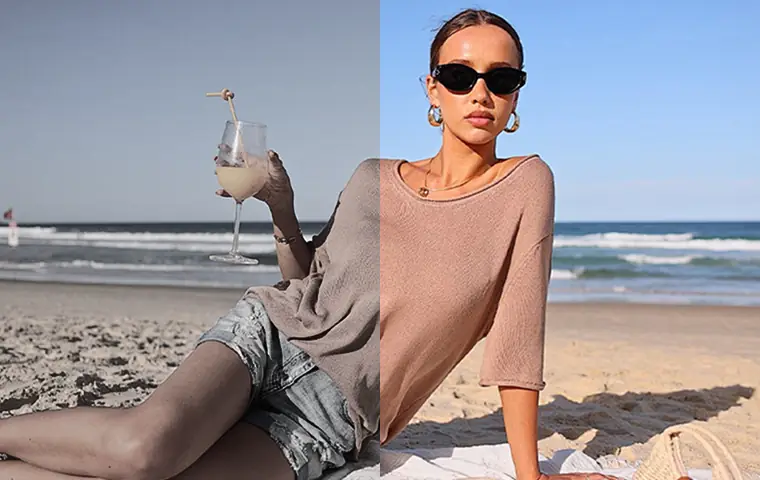
Image Enhancer
Improve quality
Recover detail, color, and clarity.
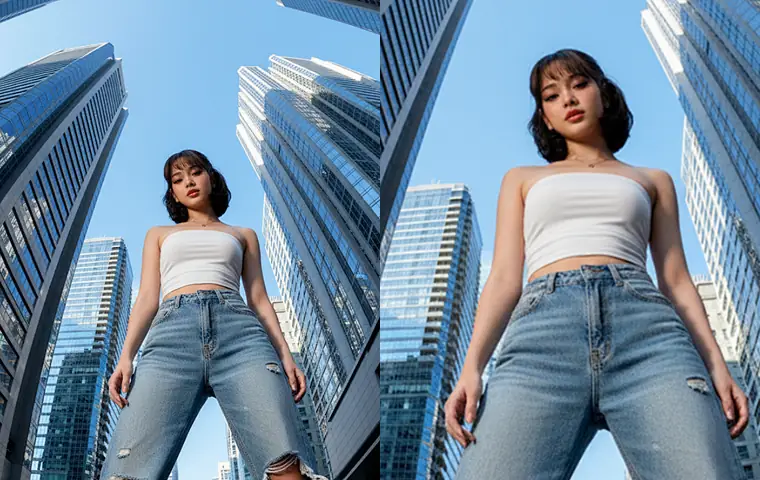
Image Upscaler
Make it larger
Increase size for export or reuse.
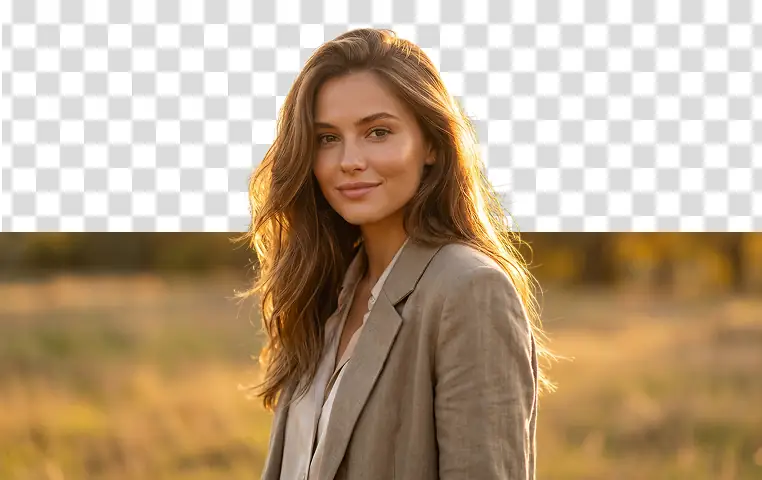
Background Remover
Cut out subjects
Remove the background from an image.
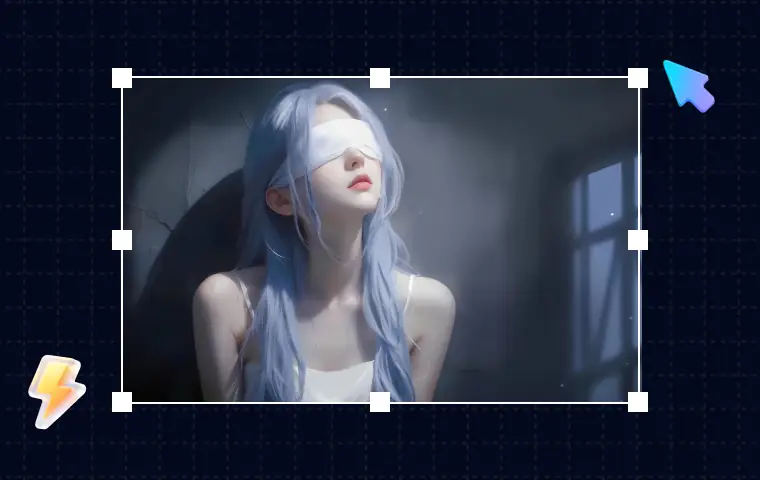
AI Image Editor
Prompt-based edits
Change an image without starting over.
AI image tools
More image tools
Create, edit, clean up, or upscale stills.
AI models
Compare image models
Pick a better model before making more versions.
AI video tools
Make it move
Animate a still or turn it into a clip.
AI Selfie Generator
Portrait polish
Turn a portrait into a profile-ready selfie.