Upload Image
Image Sharpener for Crisp, Usable Photos
Upload a slightly soft image and sharpen edges, product labels, hair, fur, and on-screen text before you publish or resize.
Samples
Sharpen a usable image before it ships
Use Image Sharpener when the image already reads well, but the edges, labels, or fine texture need a cleaner finish.
- 01
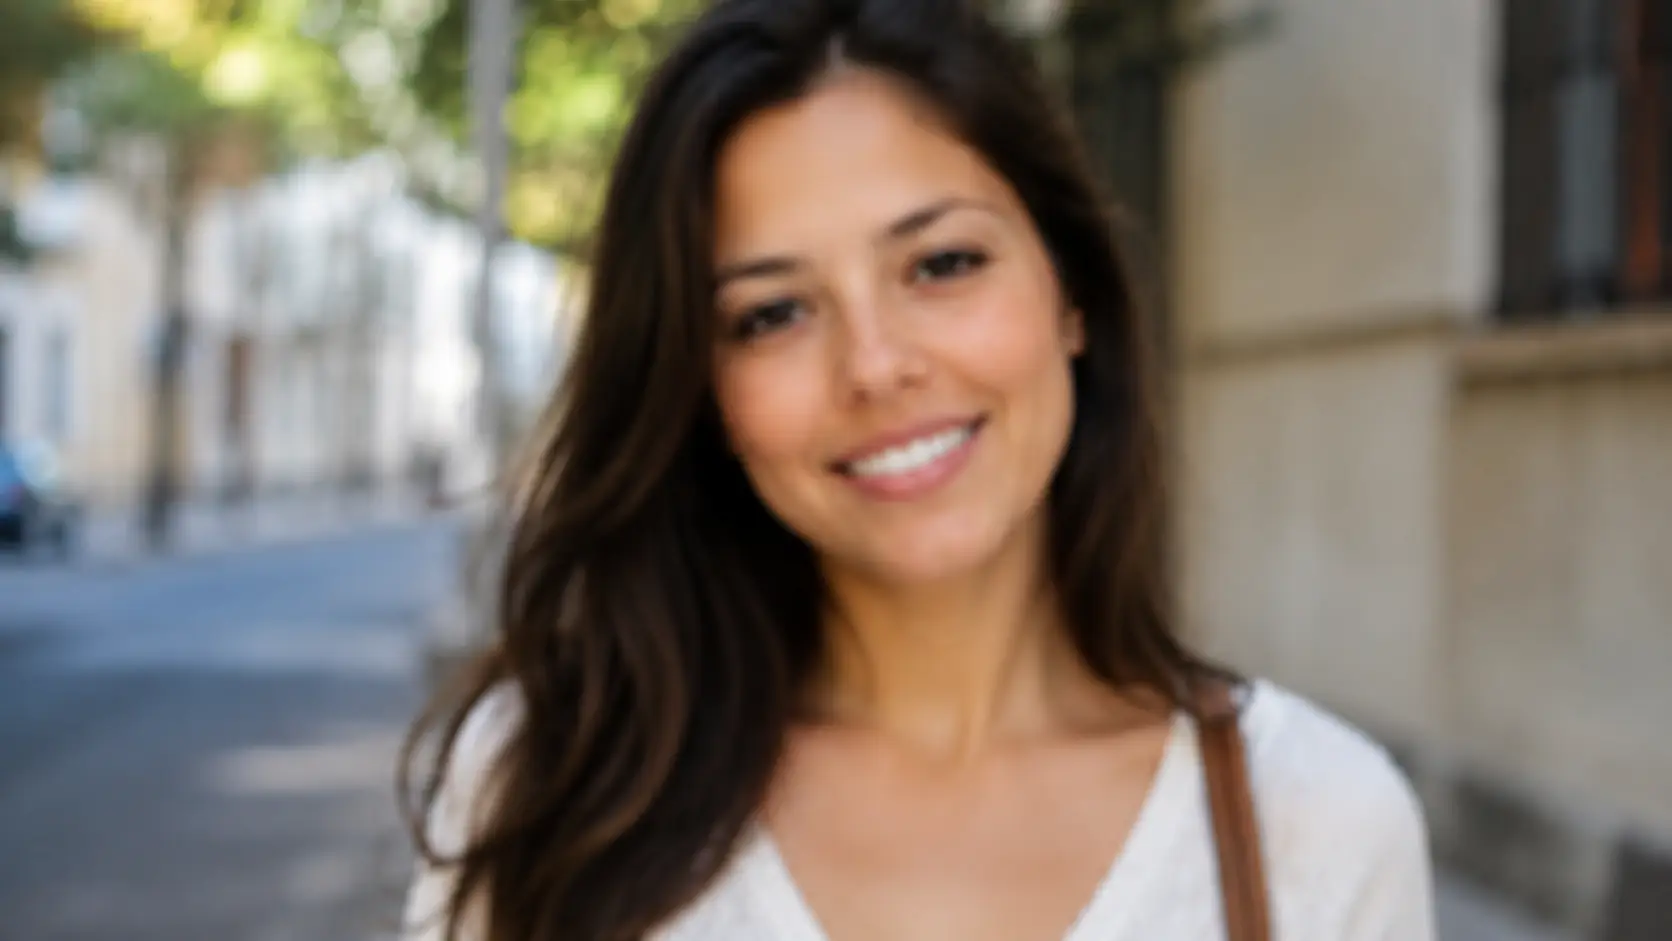
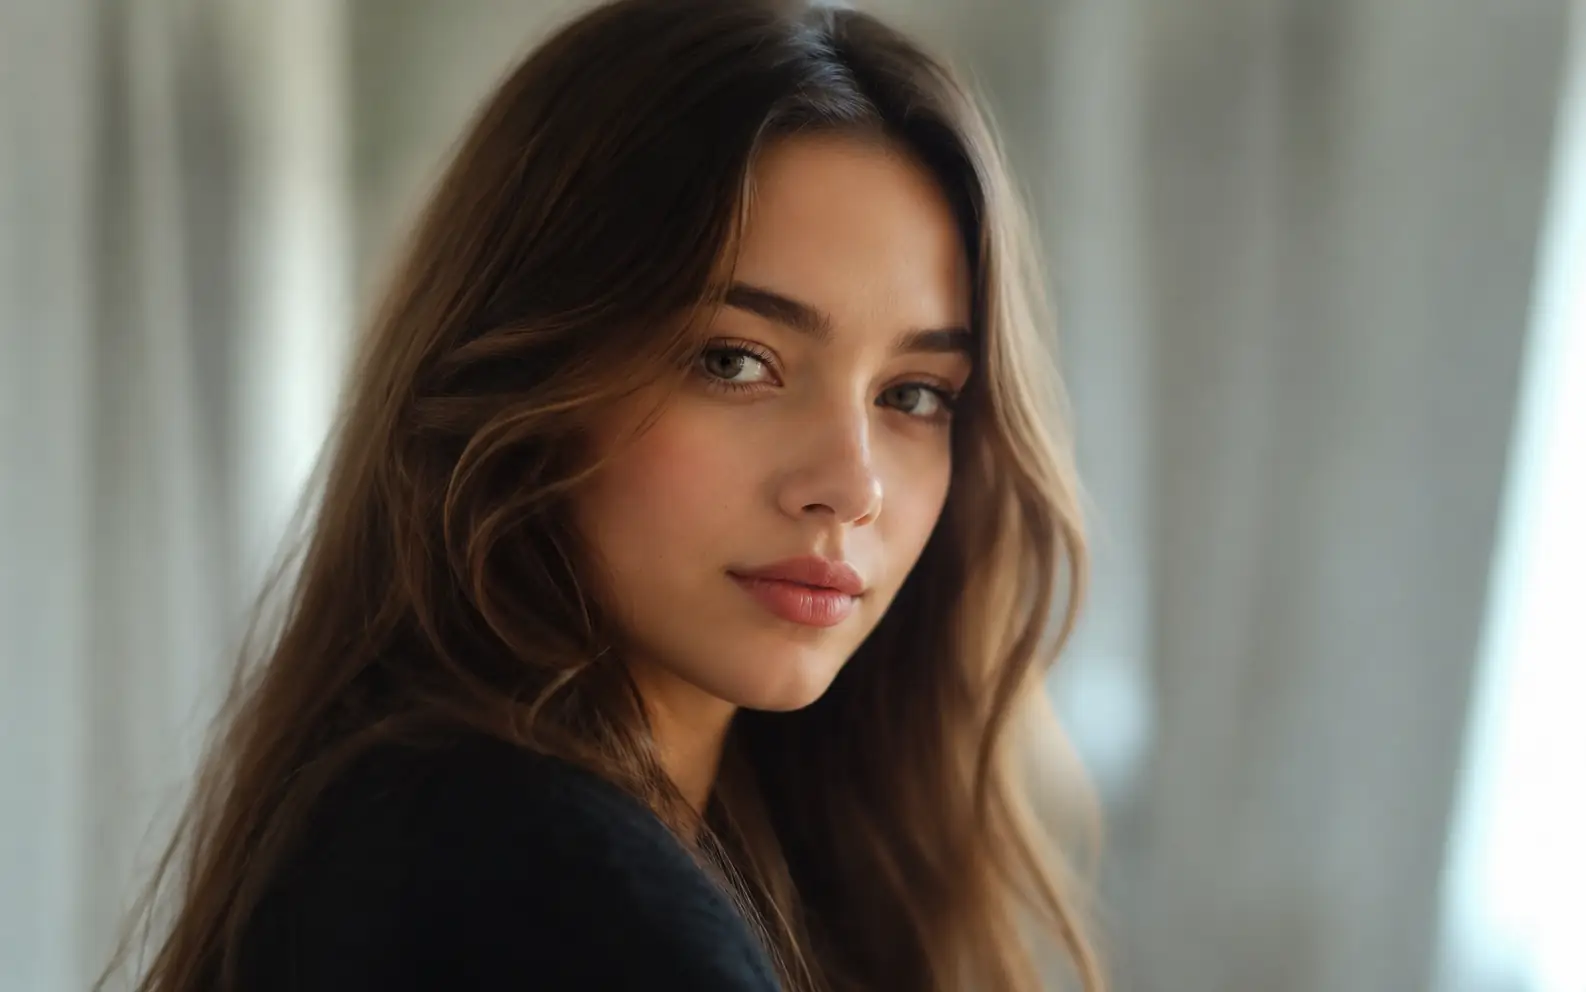
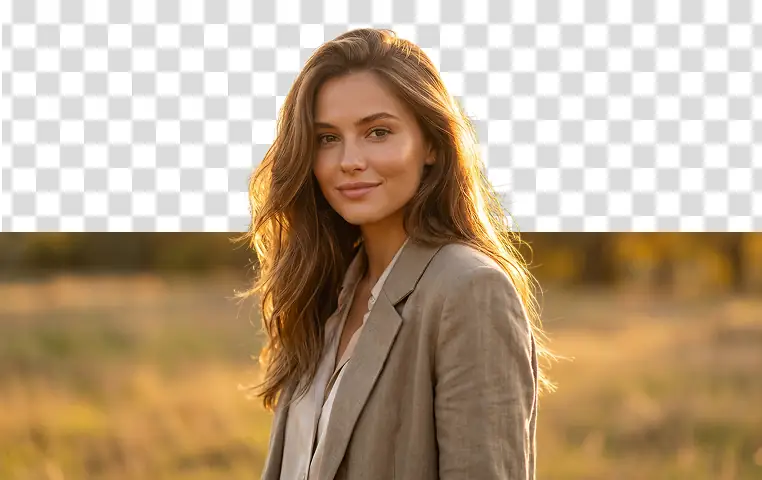
Upload a slightly soft image
Choose a PNG, JPG, WEBP, or GIF where the subject is recognizable and only the detail feels soft.
- 02
Select Sharpen Image
Run one clarity pass. No prompt is needed for this tool.
- 03
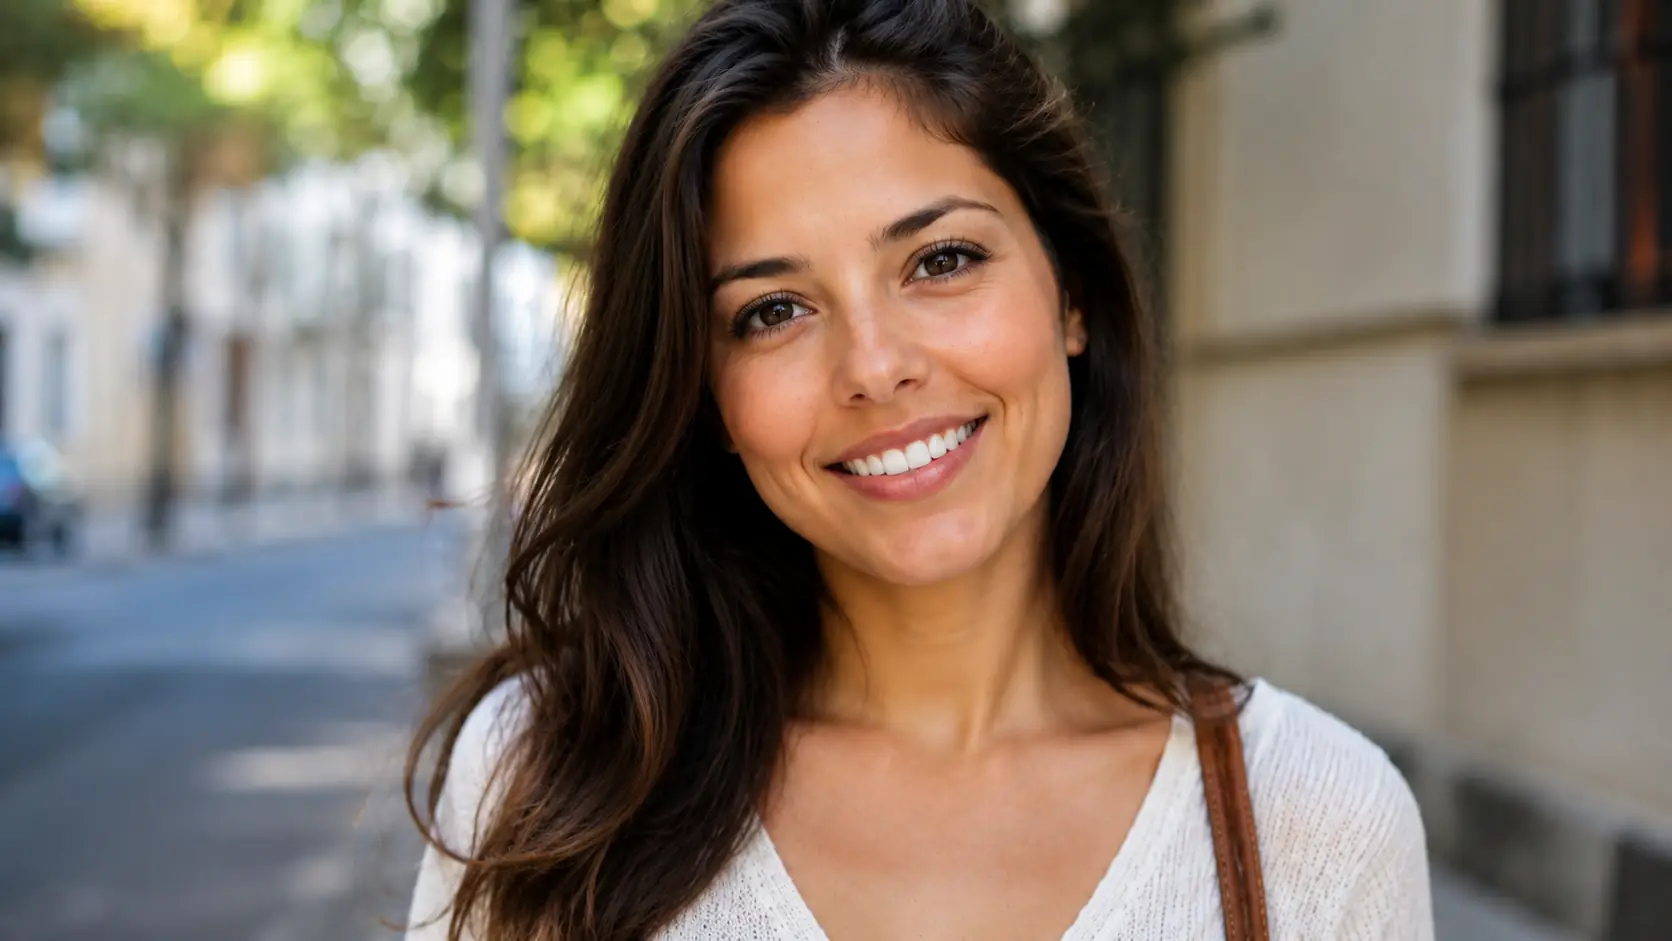
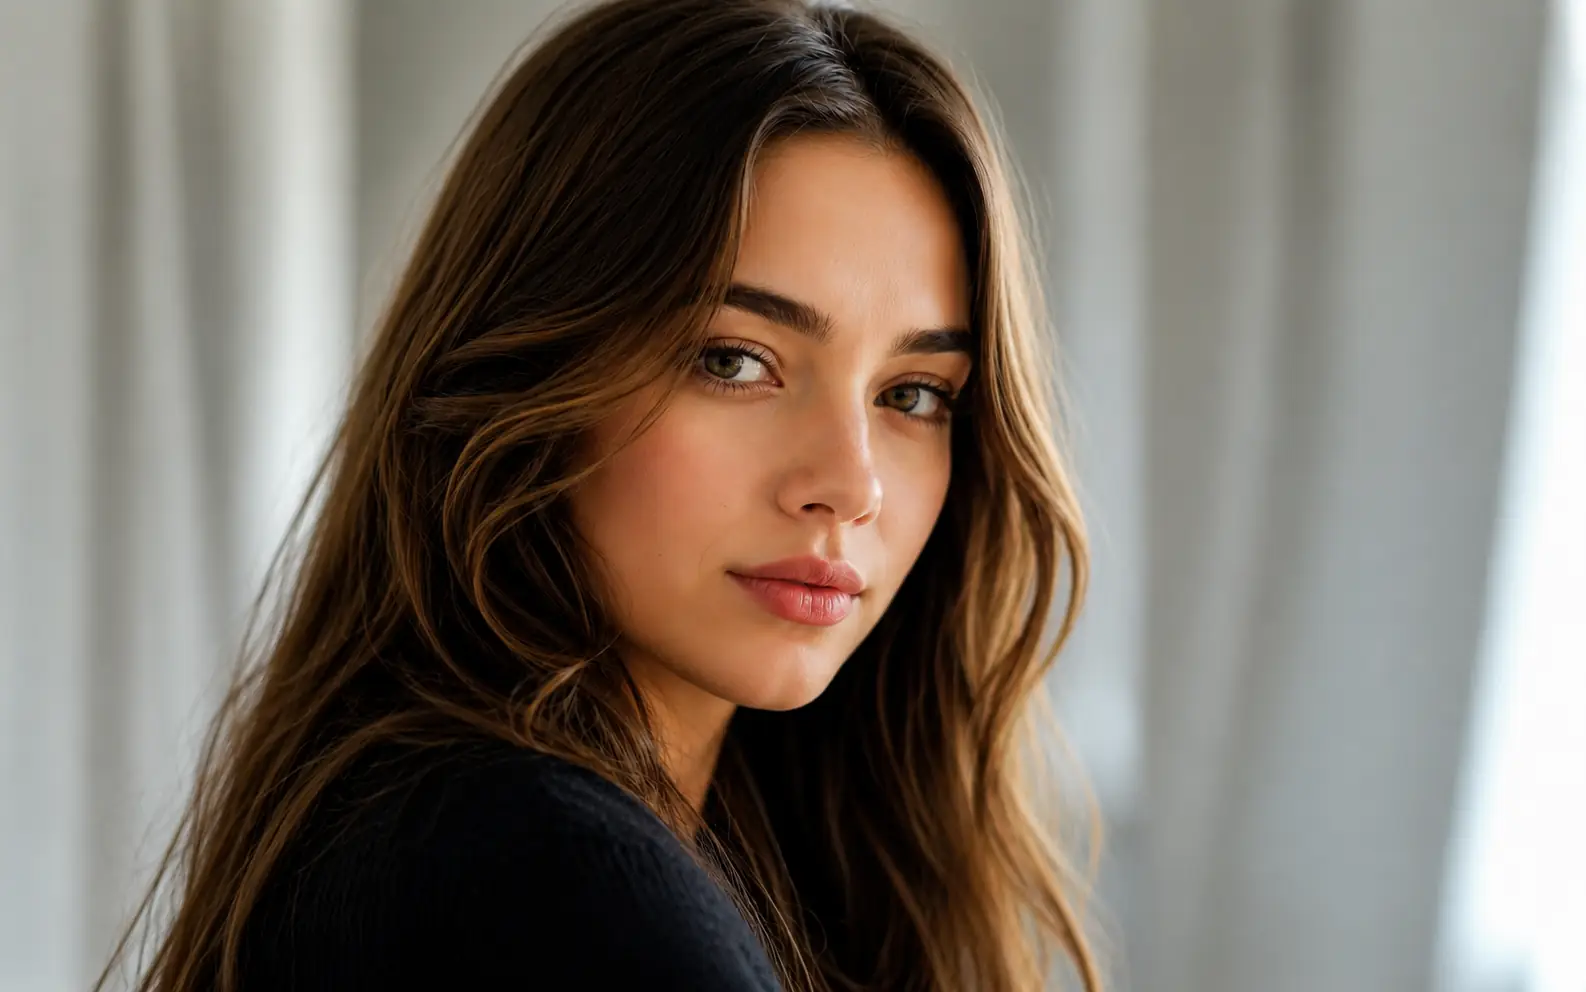
Compare detail at final size
Check eyes, labels, text, hair, fur, and hard edges at the size where the image will be used.
- 04
Review the sharpened version
Download it if the edges look cleaner at final size. If the result gains outlines or extra noise, try Image Enhancer or Unblur Image first.
Crisp detail where viewers look first
Sharpen faces, product labels, fur, and banner text without changing the scene or increasing image size.
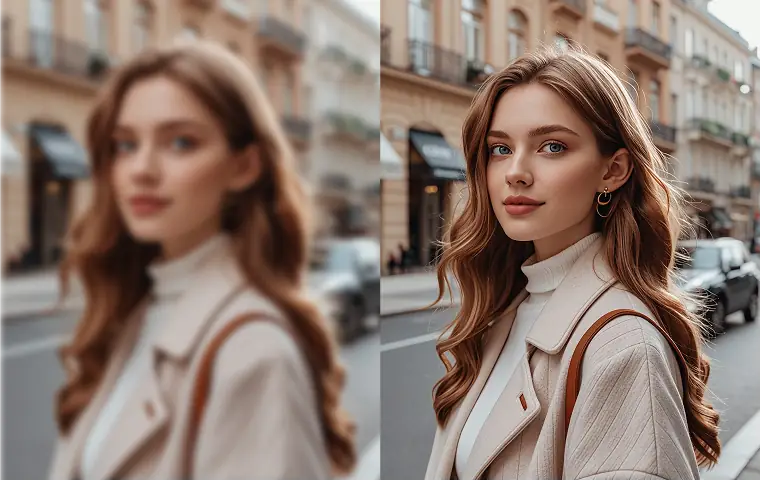
Portraits that need cleaner focus
Bring eyes, hair, lashes, and facial edges into clearer focus while keeping the portrait natural.
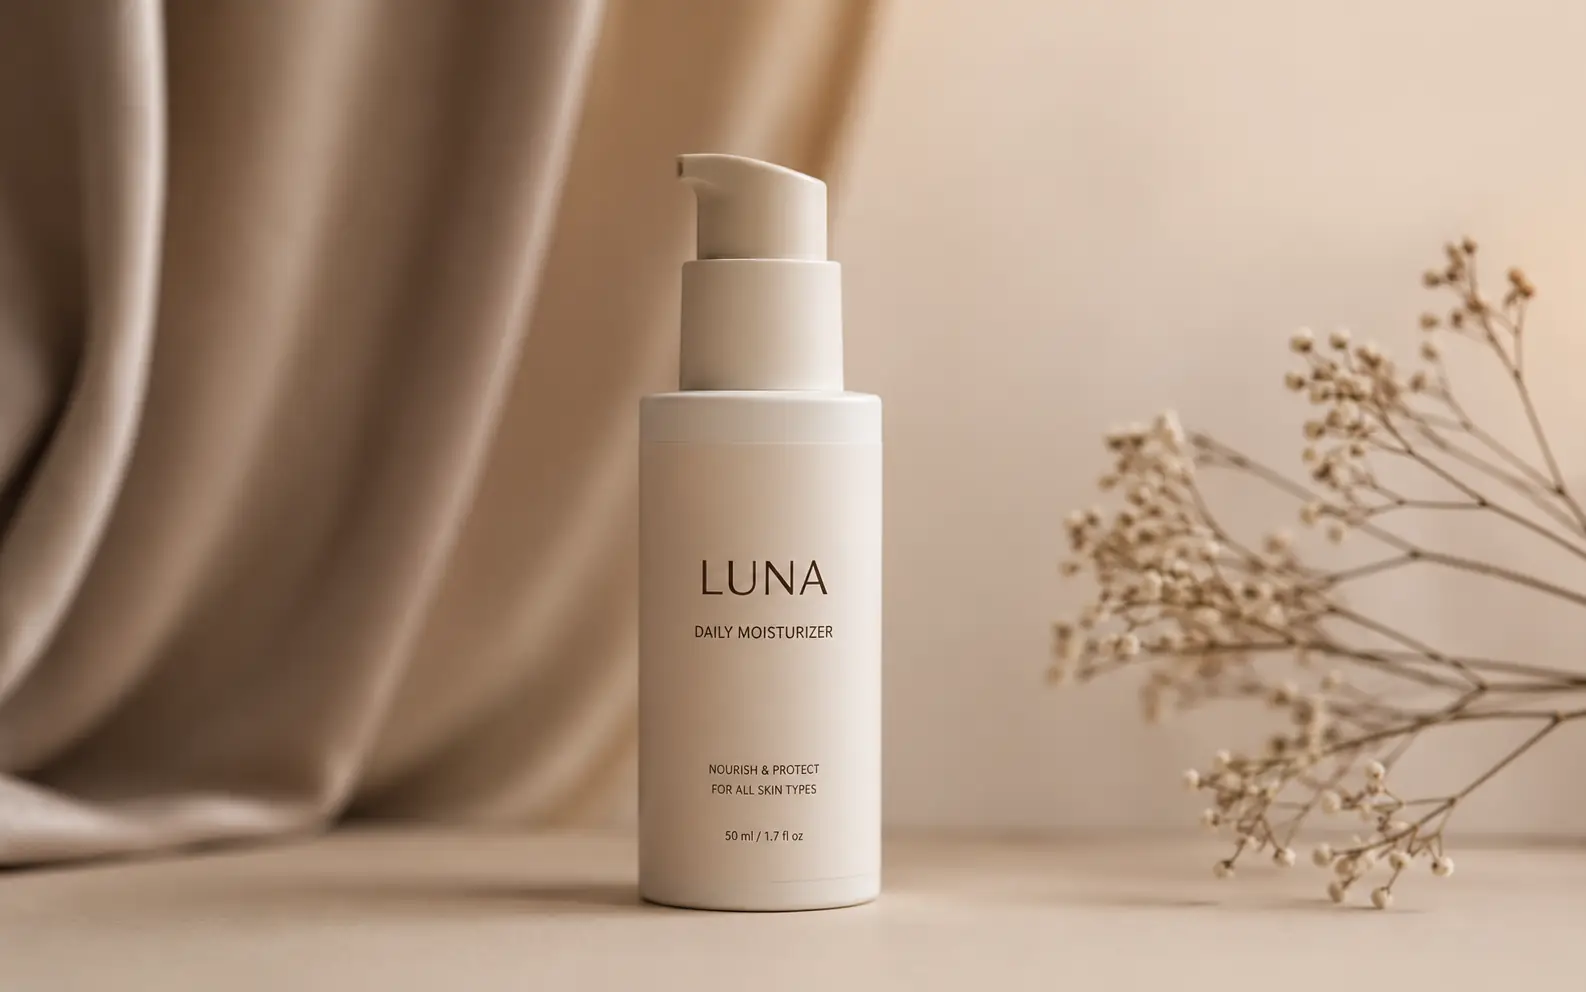
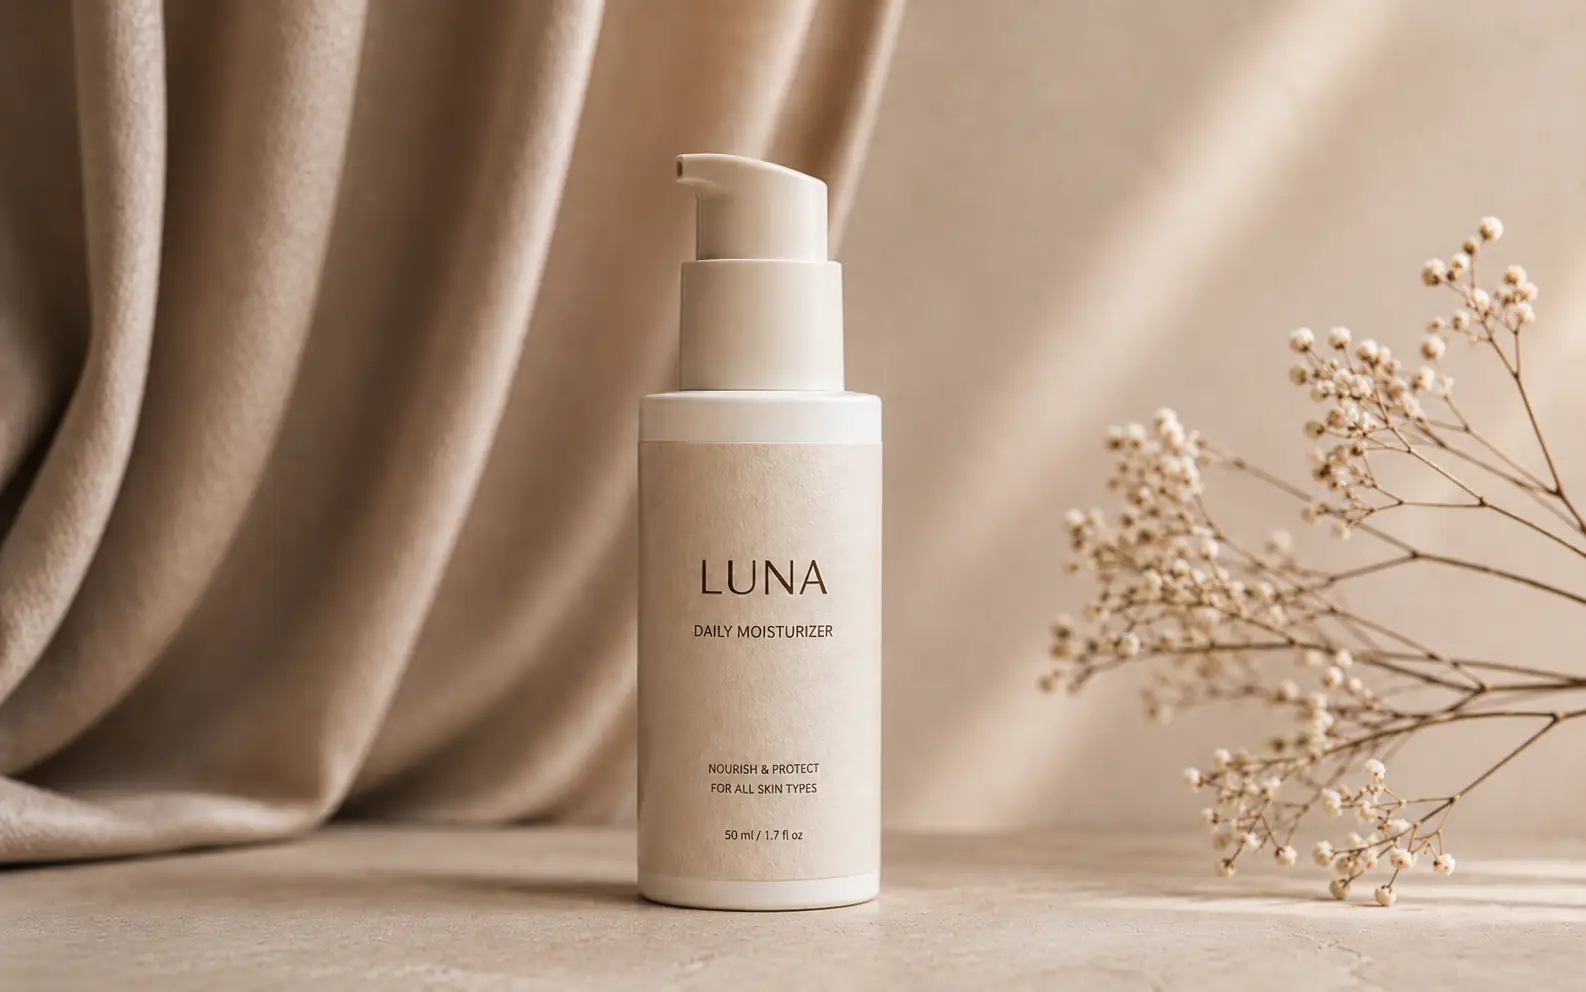
Product labels that need to read
Make packaging text, bottle edges, and surface texture easier to inspect in listings and campaign assets.


Banners with sharper type and icons
Clean up soft hero text, navigation labels, icons, and edges in promotional graphics before export.
Know when sharpening is the right pass
Sharpening works best after lighting, noise, and blur issues are already under control.
Check high-contrast edges first
White text, dark hair, product borders, and skyline edges show halos before the rest of the image does.
Use Image Enhancer for noise or flat color
If the image is grainy, underlit, or washed out, clean it with Image Enhancer before sharpening.
Use Unblur Image for missed focus
If faces, hands, or product details are blurred by motion or focus, try Unblur Image first.
Use Image Upscaler for size, not sharpness
If the image is clear enough but too small for the channel, use Image Upscaler after the clarity pass.
Final clarity pass
Sharpen the details people inspect first.
Use Image Sharpener near the end of your workflow, then check the result at the size where it will be viewed.
Image Sharpener FAQ
Answers about mild softness, edge detail, halos, and when another image repair tool is a better fit.
Next up
What to try after Image Sharpener
Try a nearby image workflow, compare models, or turn your result into video.
AI image tools
More image tools
Create, edit, clean up, or upscale stills.

AI models
Compare image models
Pick a better model before making more versions.
AI video tools
Make it move
Animate a still or turn it into a clip.
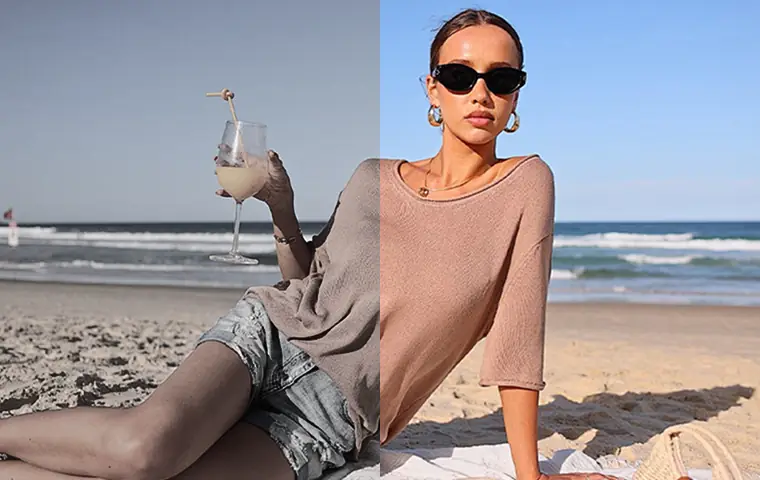
Image Enhancer
Improve quality
Recover detail, color, and clarity.

Image Upscaler
Make it larger
Increase size for export or reuse.
Unblur Image
Fix blur
Recover focus in blurry photos.
AI Image Editor
Prompt-based edits
Change an image without starting over.
Object Remover
Clean distractions
Remove unwanted objects or people.
Background Remover
Cut out subjects
Remove the background from an image.
AI image tools
More image tools
Create, edit, clean up, or upscale stills.
AI models
Compare image models
Pick a better model before making more versions.
AI video tools
Make it move
Animate a still or turn it into a clip.
Image Enhancer
Improve quality
Recover detail, color, and clarity.