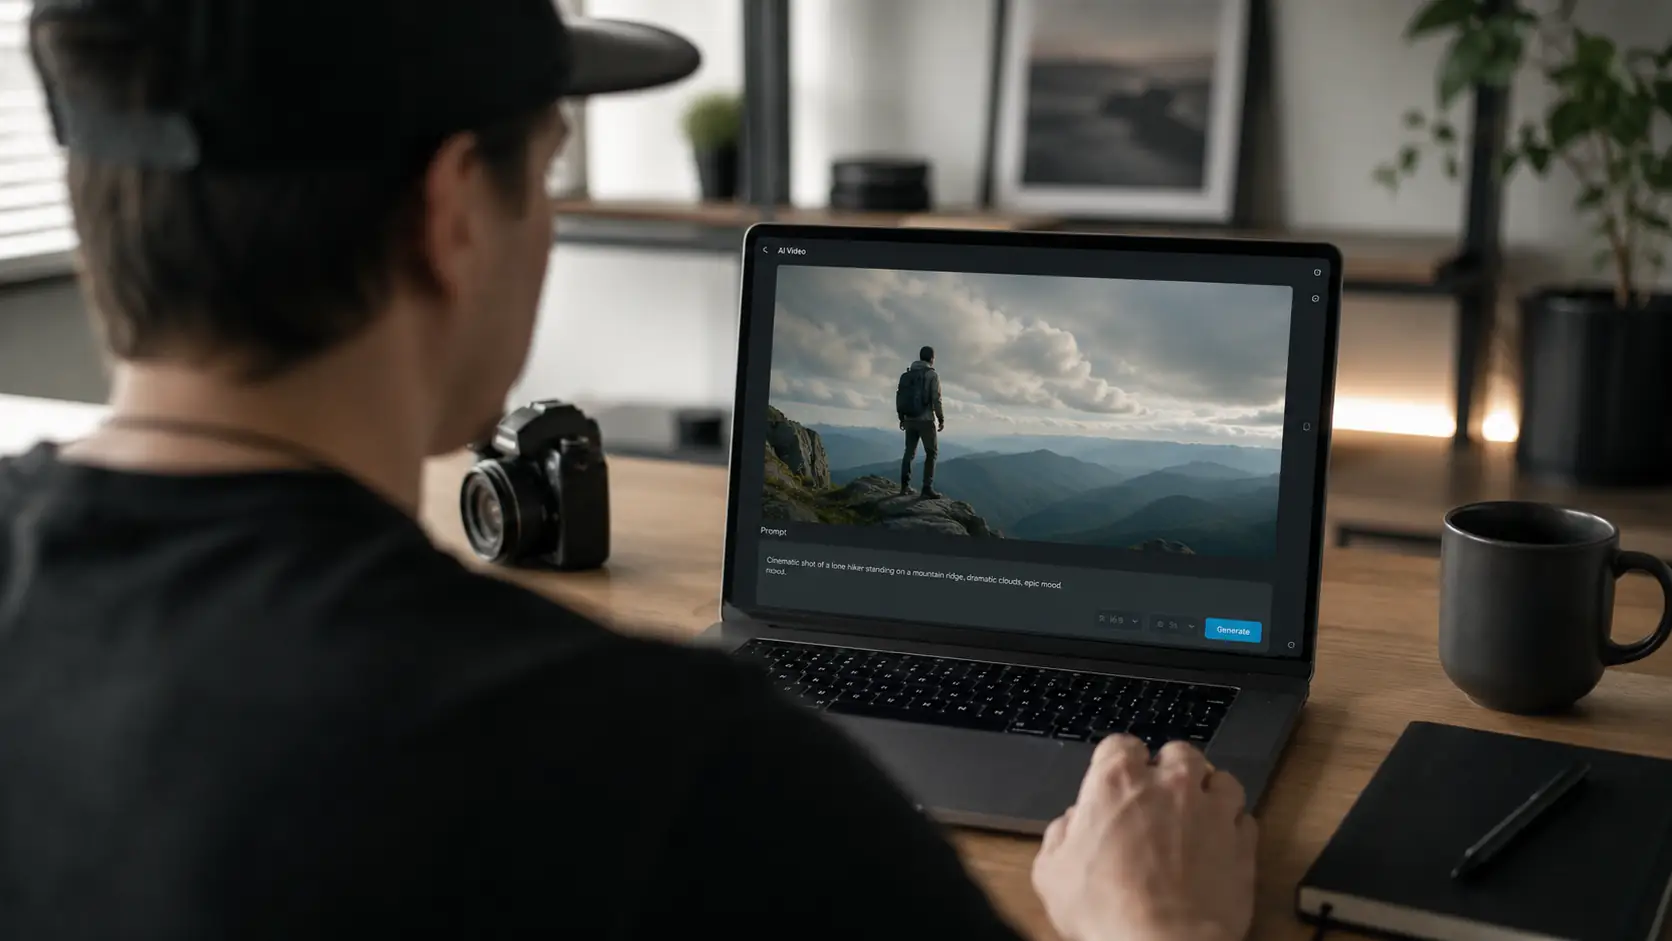
AI Video Editor With More Ways to Create Video
Create videos from source footage with prompts, references, model choice, and available controls for duration, resolution, aspect ratio, audio, and more.
Create
Model
Original Video
Prompt
0/500
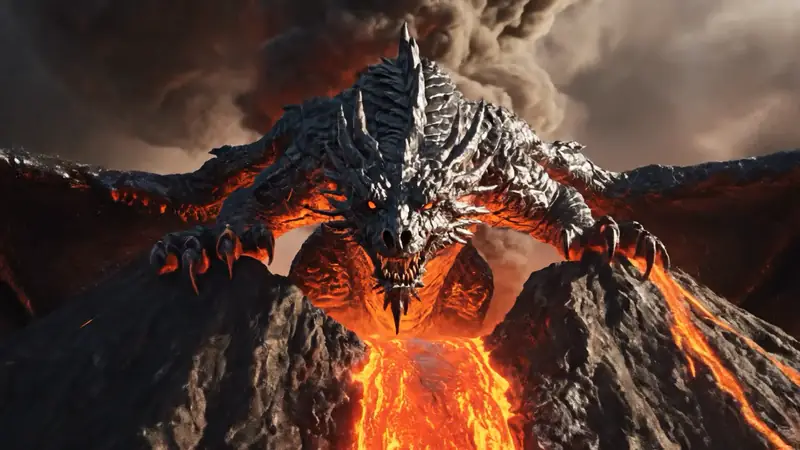
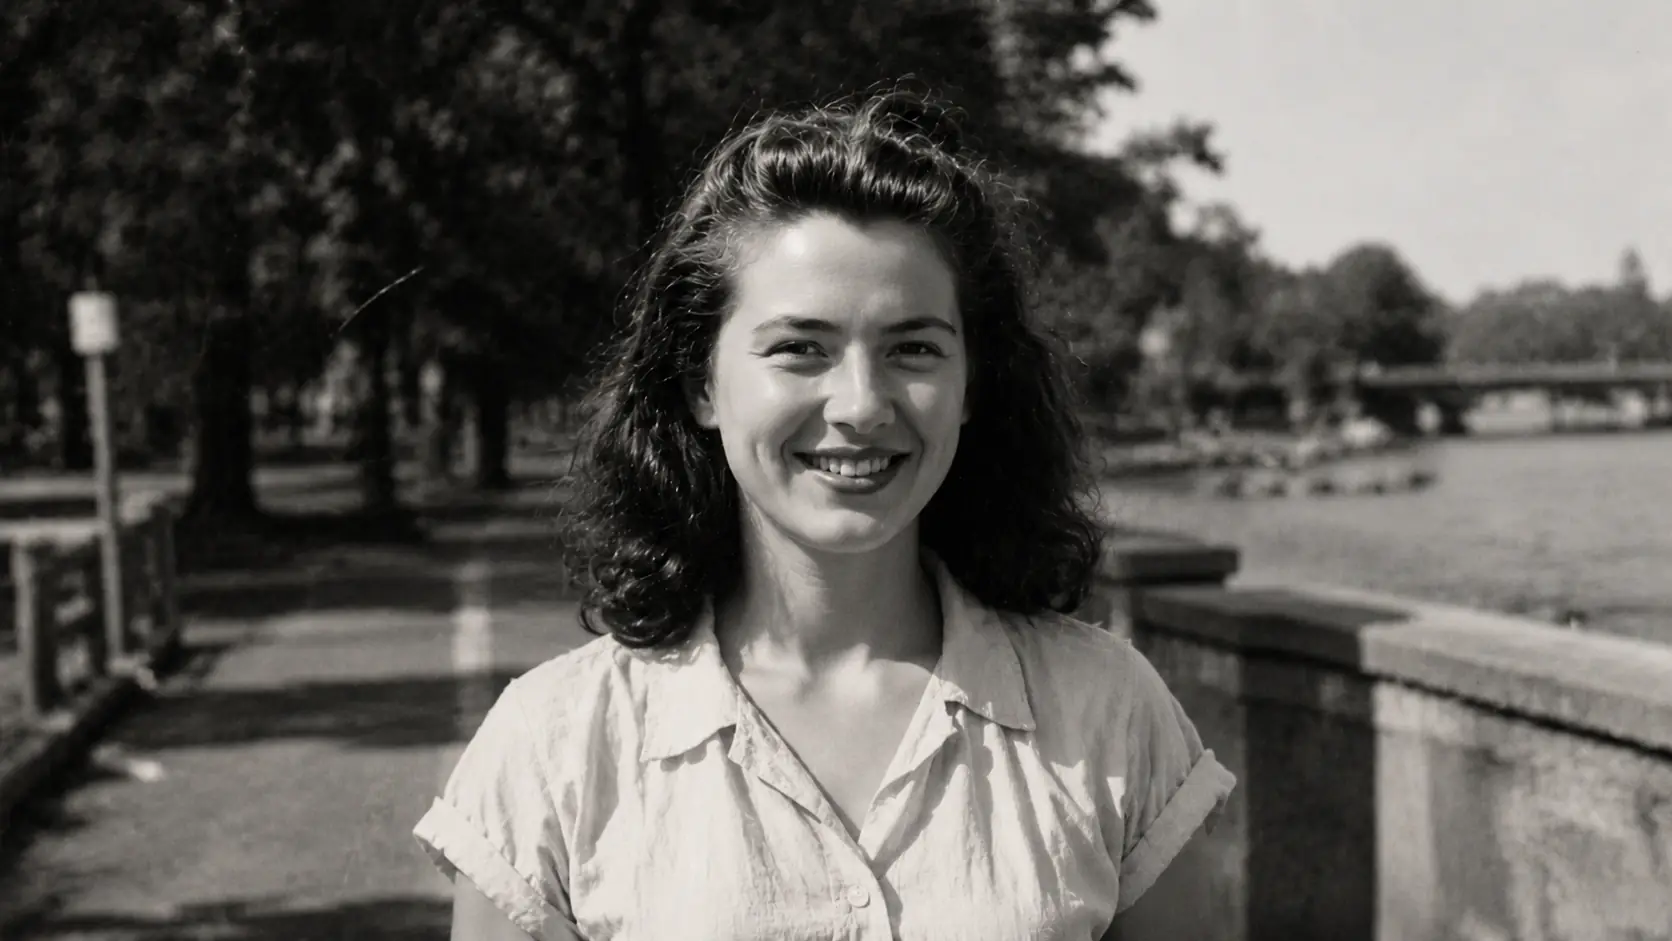
Sample videos
How to create with AI Video Editor in Ezier
- 01
Upload source footage
Start with an MP4 or MOV from your phone, camera, screen recorder, or export workflow. Short files up to 100MB work well for demos, social clips, and proof passes.
- 02
Choose the model and creation path
Pick the video model that matches the job. The model can shape the workflow by offering prompt-only creation, reference images, output settings, or other controls.
- 03
Add prompts, references, and controls
Describe what you want to create from the source footage, add reference images when they help, and set available controls such as duration, resolution, aspect ratio, or audio.
- 04
Generate, review, and download
Create the result, compare it with the source, then download the version that works. If the next job is narrower, move into the dedicated tool for cleanup, restyling, or higher resolution.
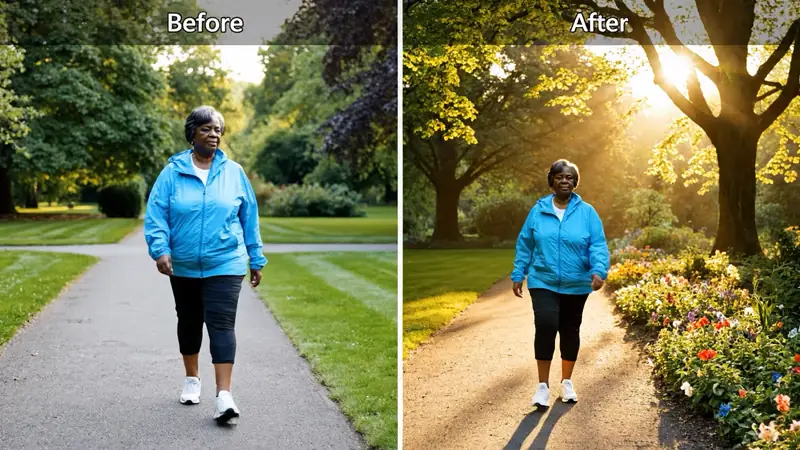
What AI Video Editor can create from source footage
These examples show different ways to turn existing footage into a more useful video: polish a talking-head take, refine a product demo, or guide a model with references and settings.
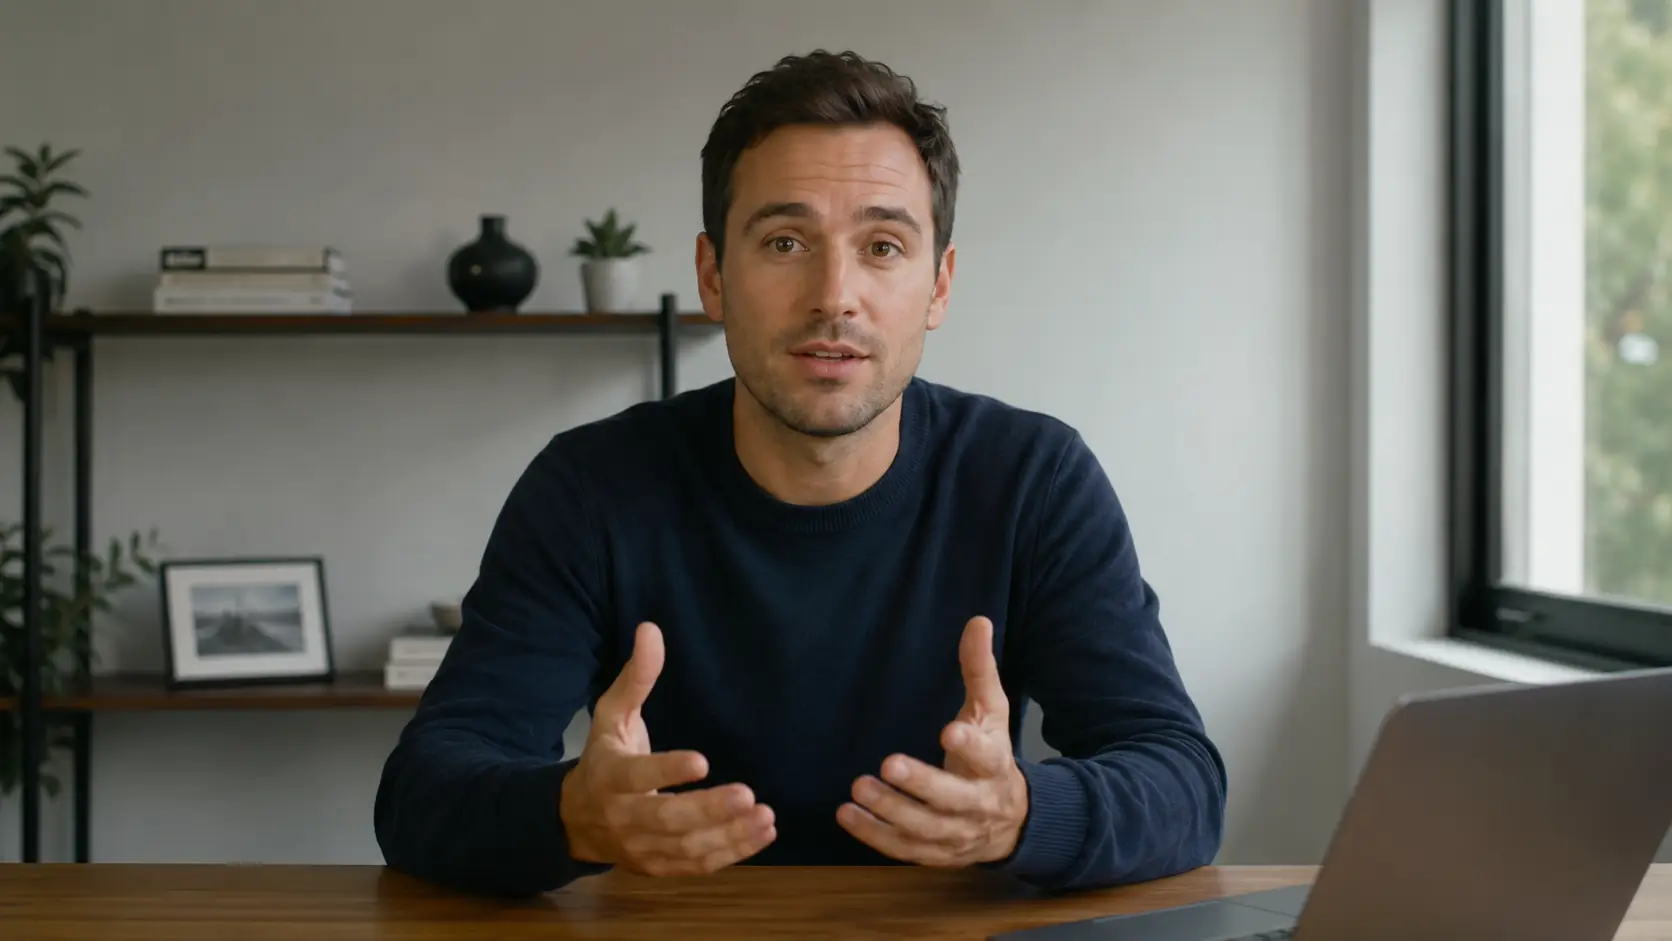
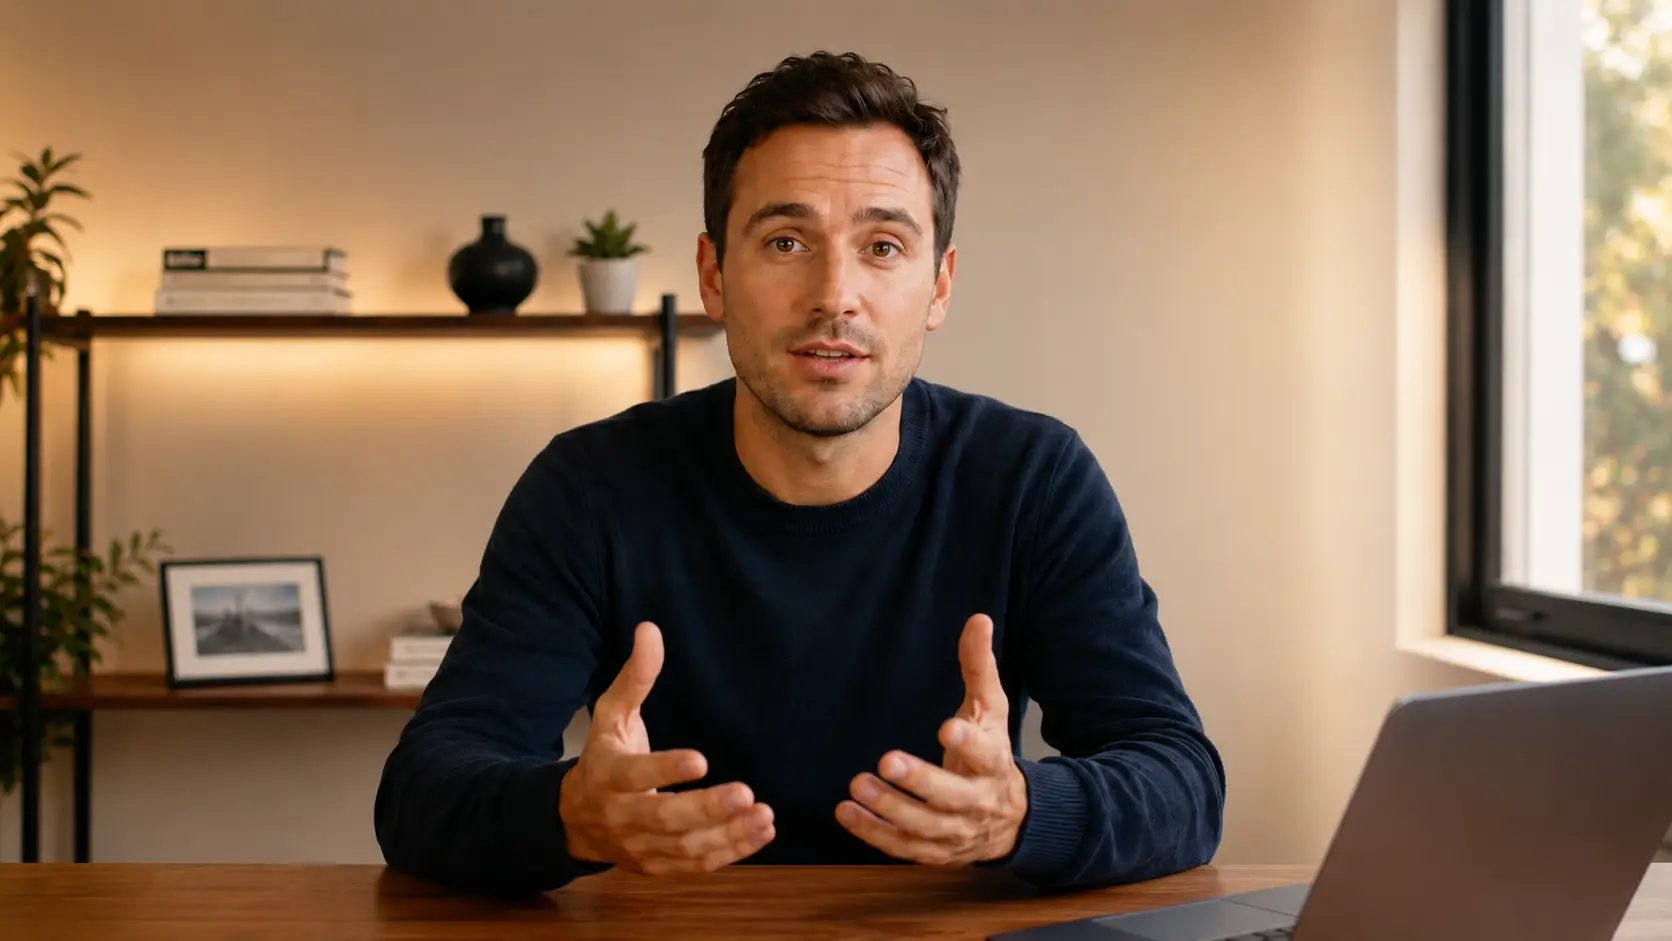
Polish a talking-head take
Keep the speaker and framing while changing the lighting, room feel, and overall presentation so the clip feels more ready to publish.
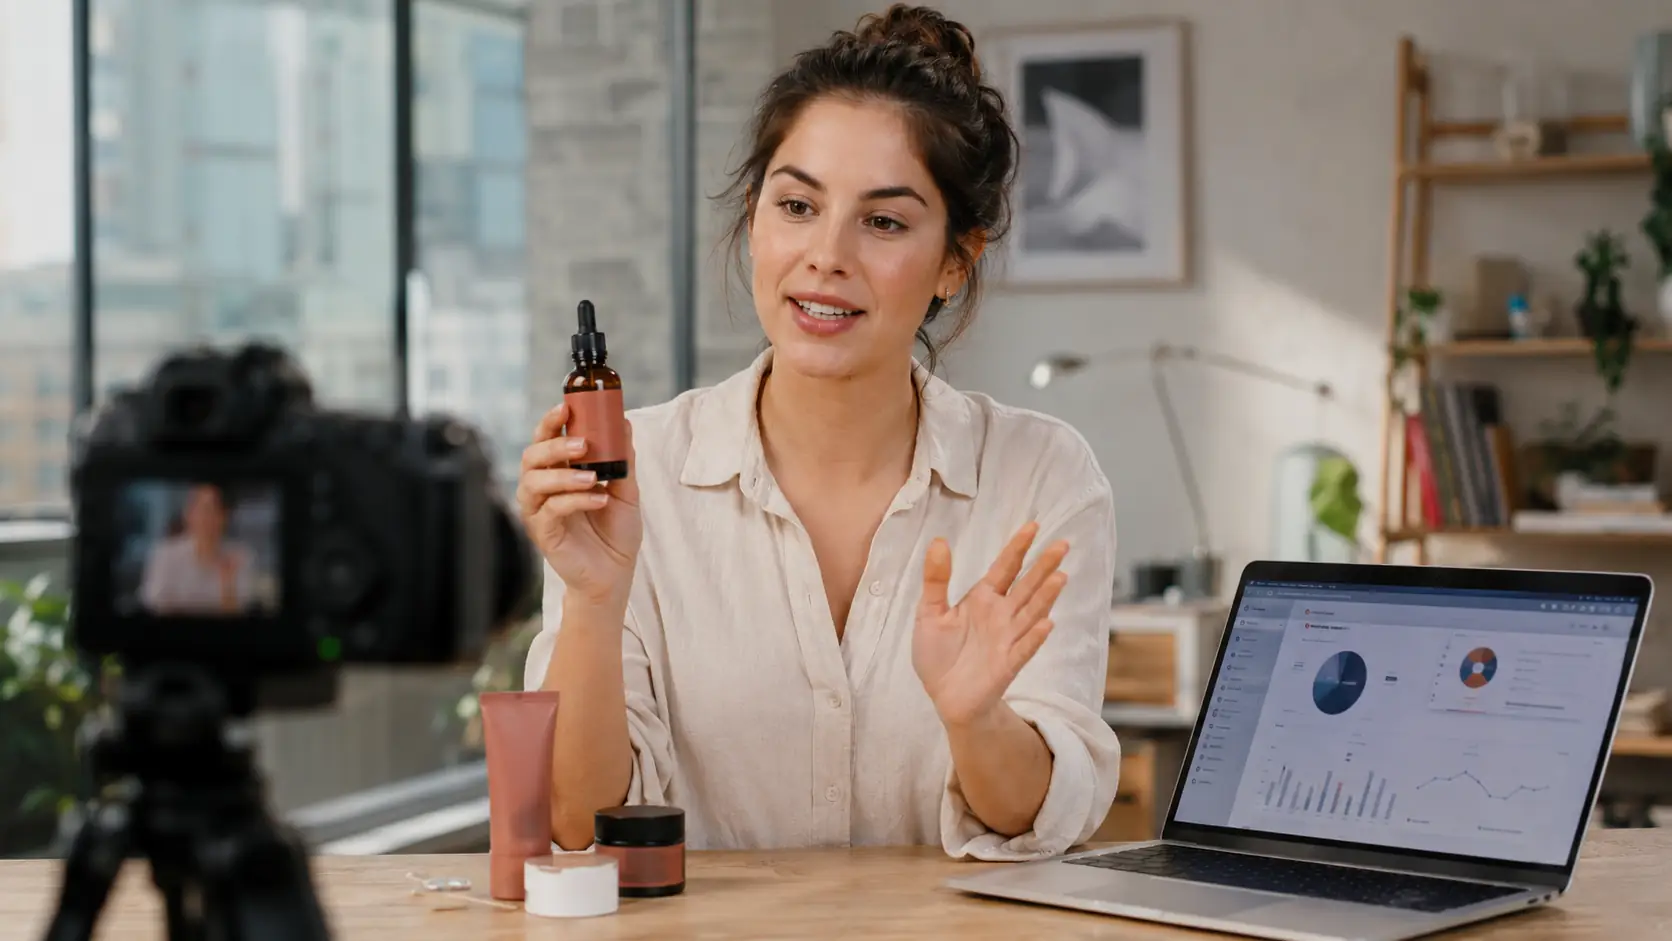
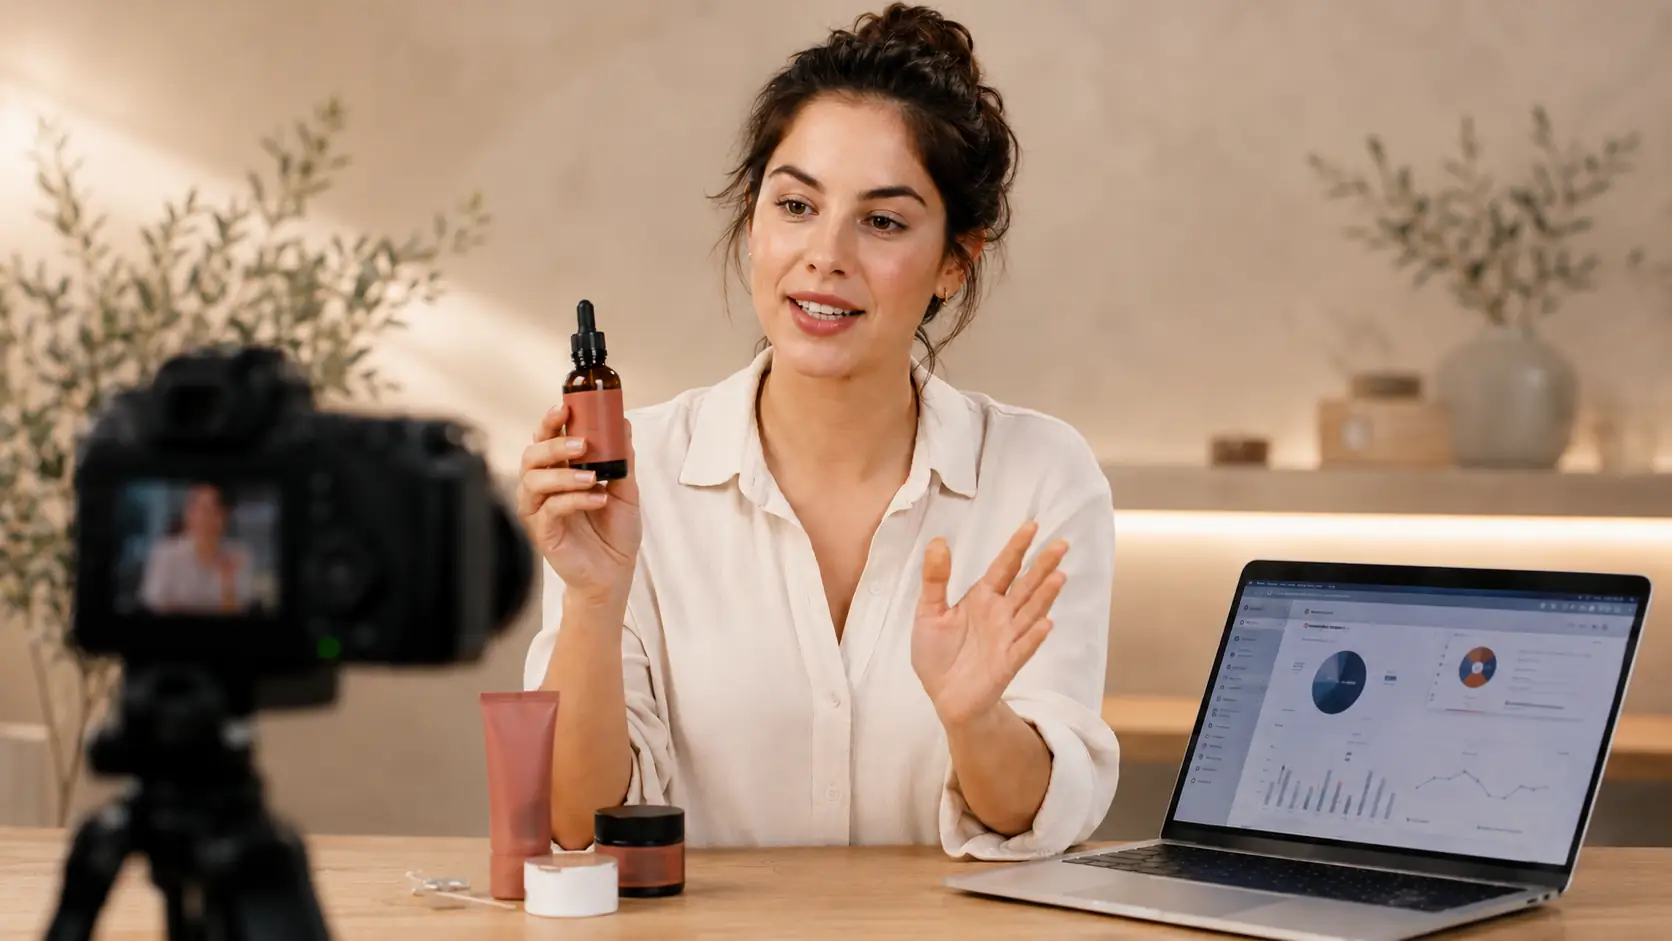
Refine a product demo scene
Keep the product, presenter, and camera setup recognizable while shifting the space toward a cleaner beauty or tutorial look.

Guide a new video setup with references and controls
Use reference images, prompts, and available settings to shape a more specific output when the model exposes extra controls.
Get better results from AI Video Editor
Strong outputs come from a clear source clip, a clear goal, and a few protected details. Tell the model what should change, what must stay recognizable, and use visible controls for settings like aspect ratio, duration, resolution, or audio.
Give the model one main task
Lead with the outcome: polish this talking-head clip, restyle this demo, extend the scene, or create a more cinematic version. Then add constraints instead of stacking unrelated requests.
Name what must stay recognizable
Call out faces, products, logos, readable text, gestures, and the original camera direction when they need to survive the edit.
Use references and controls outside the prompt
When the selected model exposes reference images or settings, use those fields for style anchors, aspect ratio, duration, resolution, or audio instead of hiding everything in one long prompt.
Test a short proof before a long render
Use a short but difficult section of the source video first. It shows whether the model can handle motion, faces, products, or on-screen text before you spend time on a longer pass.
Have a clip worth testing?
Use AI Video Editor for the first proof.
Start with one short source clip and generate a direction you can judge. Once the proof works, continue refining it here or move the next pass into a more specific video tool.
AI Video Editor FAQ
Use these answers to choose the right starting point before you render.
Related paths
Refine the clip another way
Try another video step when the next move is a new source, a different model, or a cleaner result.
AI video tools
More video tools
Generate, edit, clean up, or improve clips.

AI models
Compare video models
Pick a better model before rendering again.

AI image tools
Prepare source images
Create a stronger still for the next video run.
Video to Video
Restyle footage
Change the look of an existing clip.

Remove Object from Video
Clean distractions
Remove unwanted objects from footage.
Video Background Remover
Remove backgrounds
Isolate a subject across a clip.

Video Watermark Remover
Remove marks
Clean watermarks or overlays from clips.

Video Enhancer
Improve quality
Sharpen, denoise, and restore clips.
Video Upscaler
Make it larger
Upscale clips for bigger screens.
AI video tools
More video tools
Generate, edit, clean up, or improve clips.
AI models
Compare video models
Pick a better model before rendering again.
AI image tools
Prepare source images
Create a stronger still for the next video run.
Video to Video
Restyle footage
Change the look of an existing clip.