
Clothes Wrinkle Remover
Reduce distracting creases in a clothing photo while keeping fabric texture, seams and natural shape.
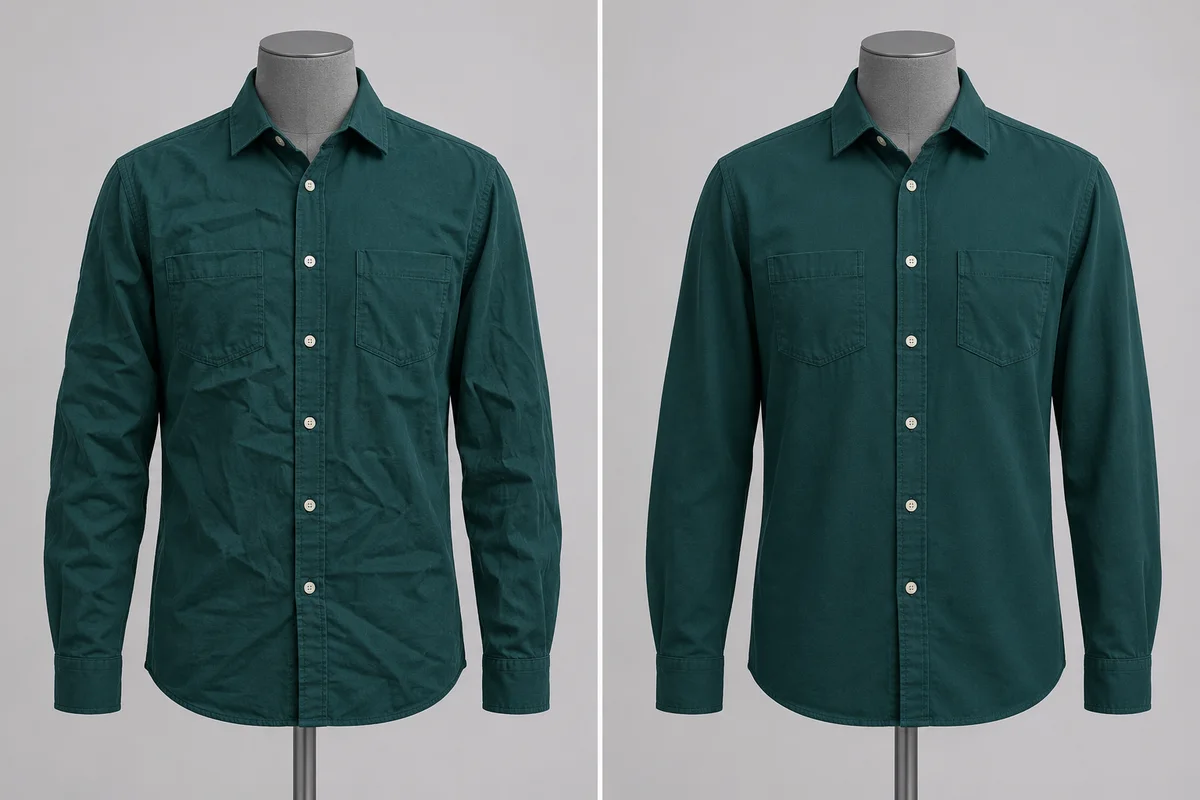
How to use Clothes Wrinkle Remover
Give a clothing photo a carefully steamed look. The edit focuses on distracting wrinkles while retaining the folds that describe the garment’s cut and drape.
- 01
Upload a sharp clothing photo
Choose one image with enough resolution to see the fabric, seams and folds that should stay.
- 02
Run the wrinkle-removal edit
Select Remove wrinkles. The edit targets distracting garment creases across the photo without requiring a mask or prompt.
- 03
Compare texture and natural folds
Move the comparison divider and inspect the weave, stitching, logos, sleeves and garment silhouette.
- 04
Download the reviewed image
Save the edited photo once the garment still looks like the real product and the surrounding scene remains suitable.
A steamed look with fabric detail in view
Choose a sharp photo with visible fabric detail. Compare stitching, printed graphics and textured areas at full size; reducing creases should not turn the garment into a smooth surface.
Illustrative comparisons show the intended edit. They are not verified results from this tool.
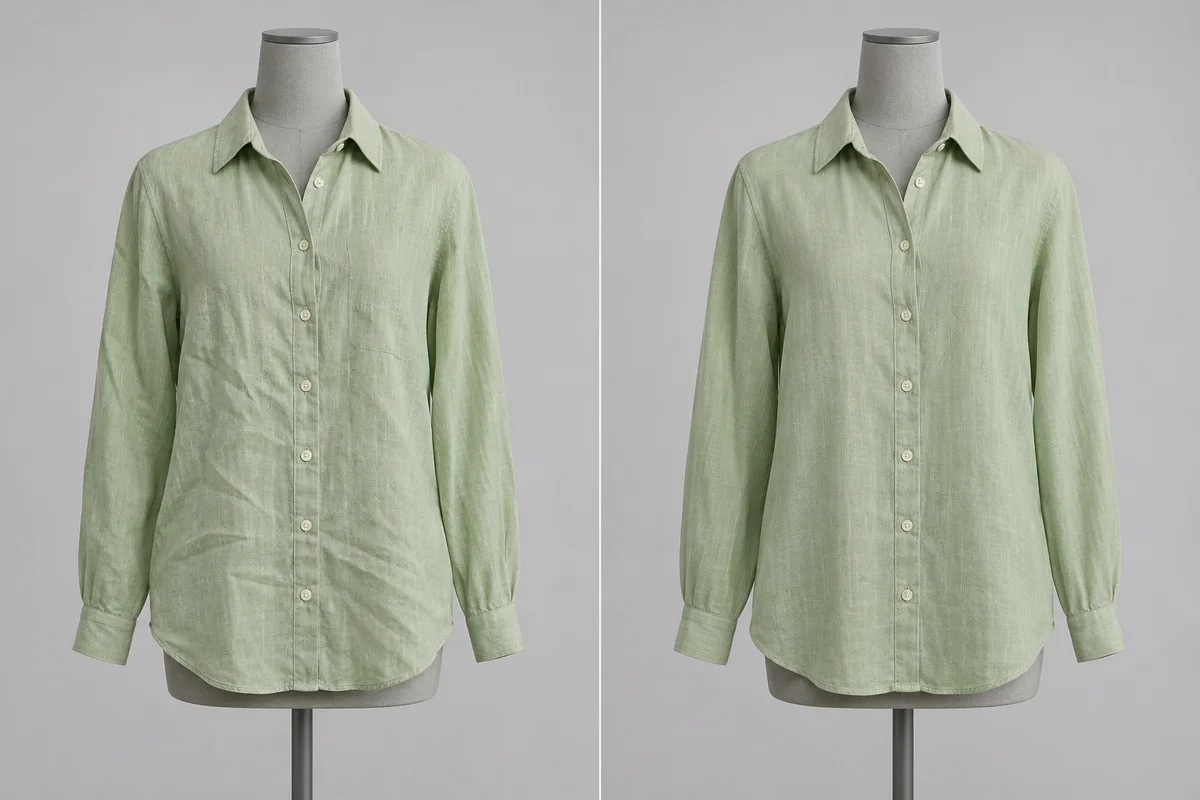
Reduce creases without losing linen texture
Linen naturally carries slubs, weave variation and loose folds. Compare the front panels and sleeves so reducing small creases does not erase the material character or flatten the garment into a smooth surface.
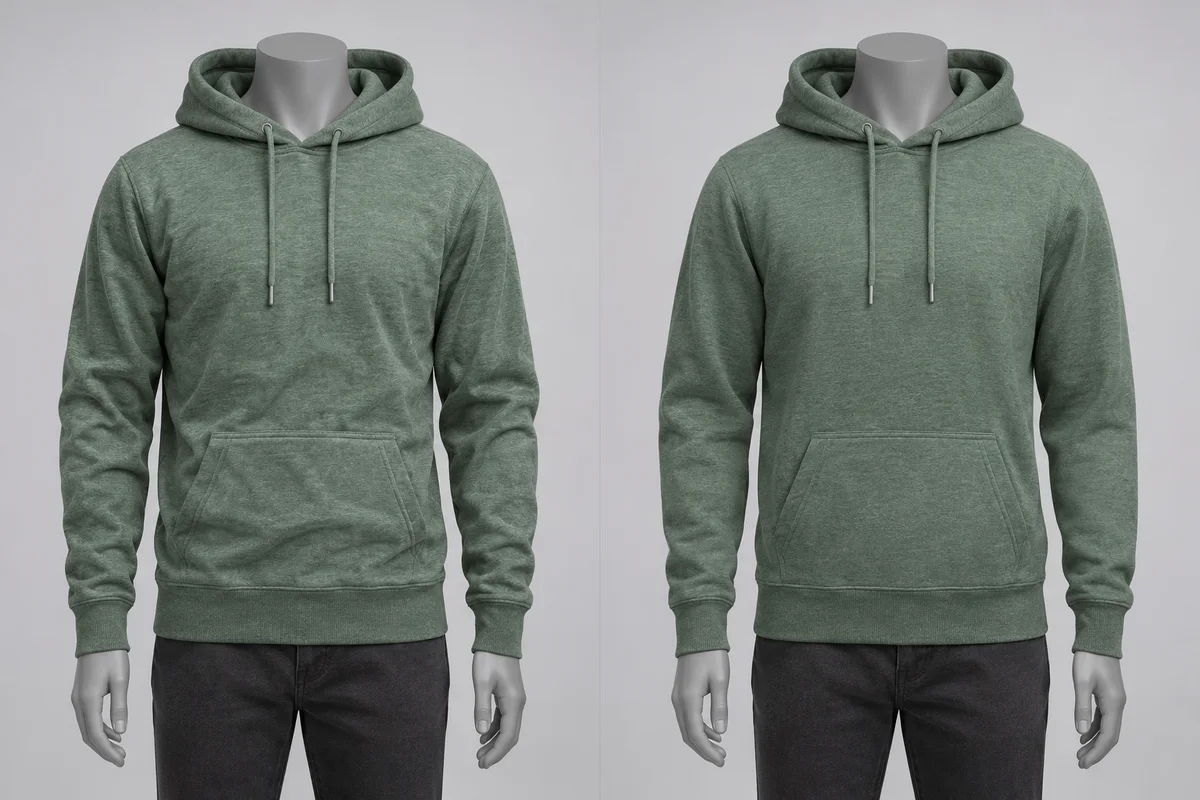
Tidy a hoodie while keeping its volume
A useful finishing pass keeps the hood, kangaroo pocket and ribbed cuffs intact. Review the heathered surface and the larger folds around the arms, which describe how the hoodie hangs.
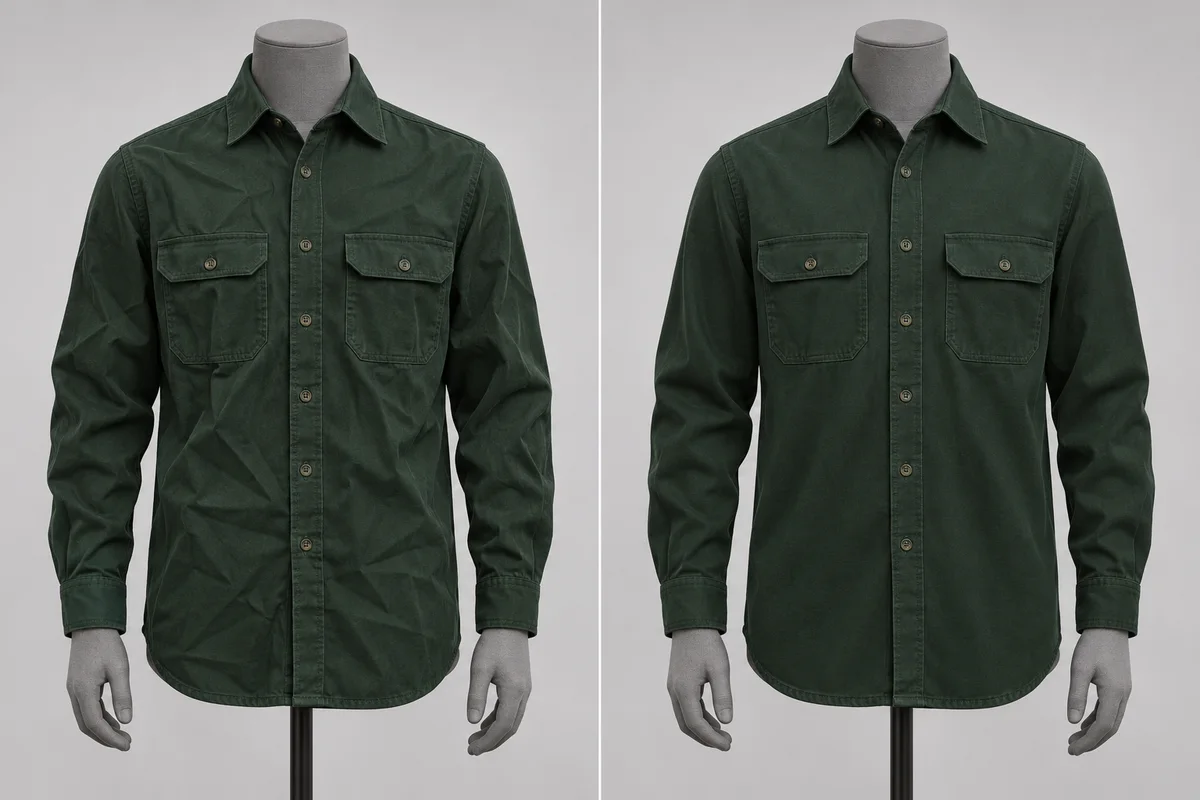
Check seams and pockets on a work shirt
Reduce distracting creases around the torso without hiding the shirt’s construction. Inspect double stitching, button spacing, pocket flaps and sleeve folds at full size before saving the result.
Retouch the creases that distract
A useful wrinkle-removal pass keeps the garment believable. Start with good detail and compare the areas that define its construction.
Give fabric a tidier presentation
Reduce the small creases that draw attention away from the garment’s cut, color and details in a product photo.
Keep the existing photo direction
The task focuses on clothing rather than a new pose or scene. Review the wearer, mannequin, background and lighting for unintended changes.
Protect natural garment structure
Pleats, gathers and drape are part of the product. Compare them carefully instead of treating every fold as a defect.
Use the right finishing pass
Wrinkle removal addresses garment creases. It does not replace a sharp source photo or guarantee recovery of blurry fabric detail.
Ready to try it?
Give your clothing photo a careful finishing pass.
Upload a clear garment photo, reduce distracting creases, and compare the fabric before downloading.
Clothes Wrinkle Remover FAQ
Answers about source photos, supported edits, reviewing details and downloading your image.
Will natural folds disappear too?
The edit aims to reduce distracting creases while retaining structural folds and drape. Check sleeves, pleats and gathered fabric carefully.
Can I brush a specific area or set the strength?
This version applies one overall garment edit. It does not include a brush, mask or intensity slider.
Does the tool also change the person or background?
The task is limited to the clothing. Compare the surroundings and garment details because generative edits can still introduce unintended changes.
Can it fix a blurry source photo?
Wrinkle removal is not a substitute for a sharp source. Use a clear original so the fabric weave and seams can be retained.
Which files can I upload?
Use one JPG, PNG or WEBP image up to 20 MB. A clear original gives you more fabric detail to inspect when comparing the result.
Do I need a prompt, and how do I save the edit?
No prompt is required. Choose Remove wrinkles, review the before-and-after comparison, and use Download Image to save the edited photo.
Next up
Choose your next image step
Try a nearby image workflow, compare models, or turn your result into video.
AI Sticker Generator
Another product-photo task
Create cartoon, hand-drawn or framed photo stickers for social posts and scrapbooks.
Product Mockup Generator
Another product-photo task
Place your design on a T-shirt, mug, phone case, tote bag or poster. Fixed templates keep your artwork in the printable area, with product light and shade.
Product Shadow & Reflection Adder
Another product-photo task
Ground a transparent product cutout with a drop shadow, contact shadow or fading reflection. Adjust the strength and choose a background.
Big Head Effect
Another product-photo task
Turn a single-person photo into a big-head character. Choose Chibi, Cartoon or Hand-drawn and review the face, outfit and proportions.
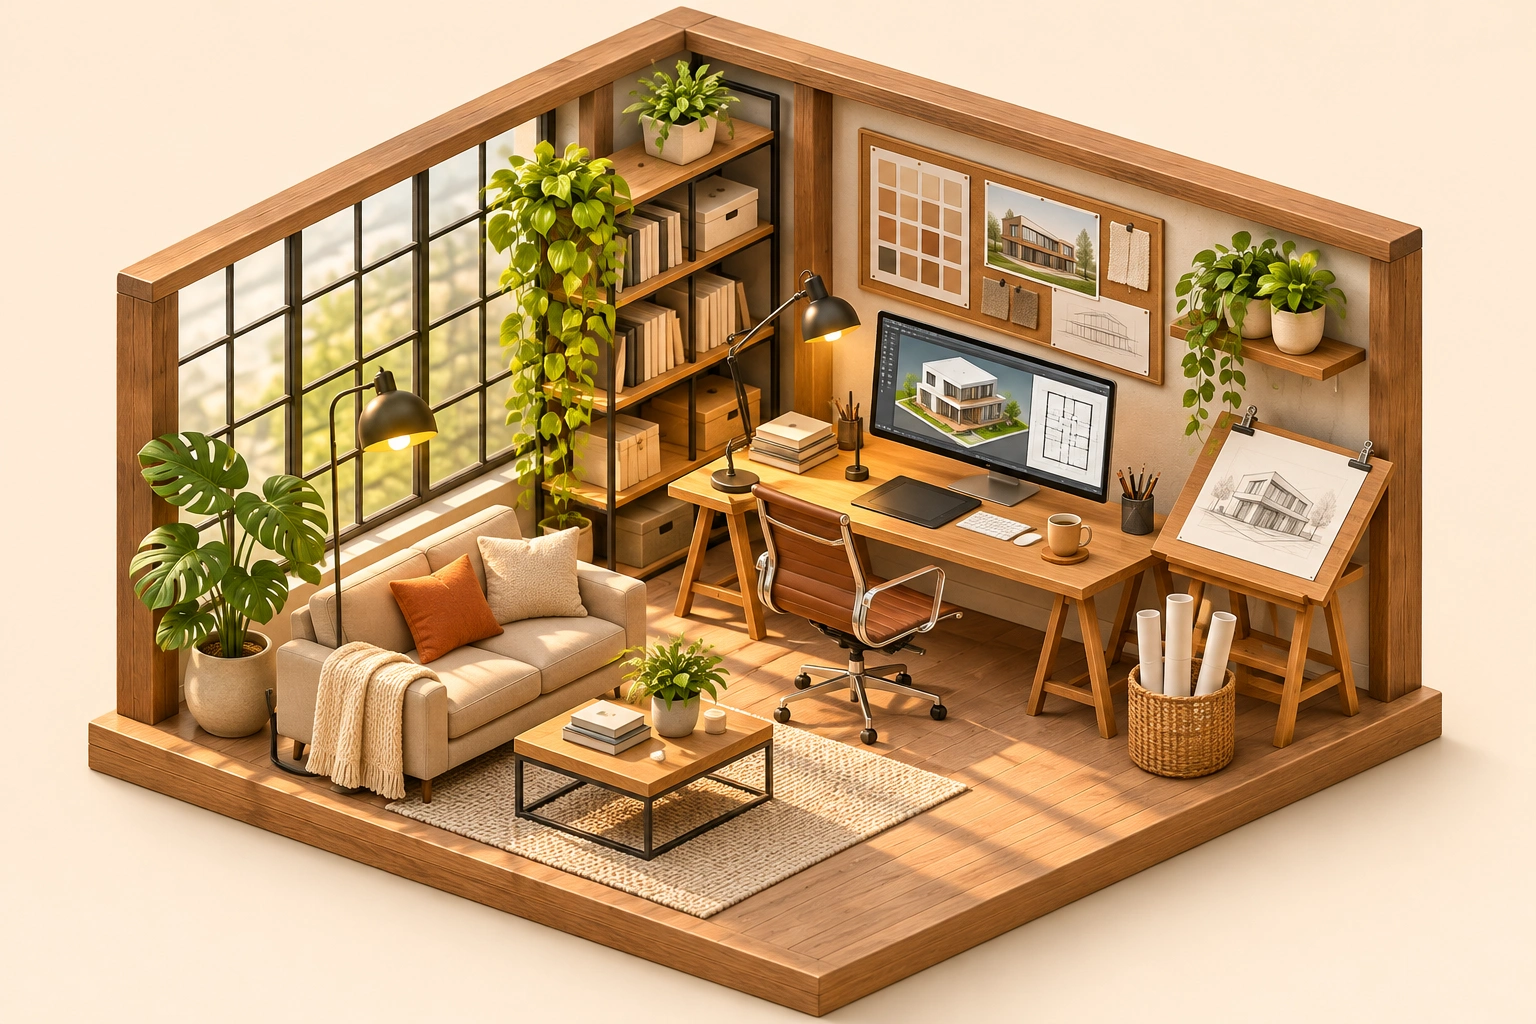
Isometric Miniature
Another product-photo task
Create a miniature look with local tilt-shift blur. For a new isometric interpretation, explicitly choose the separate AI redraw mode.
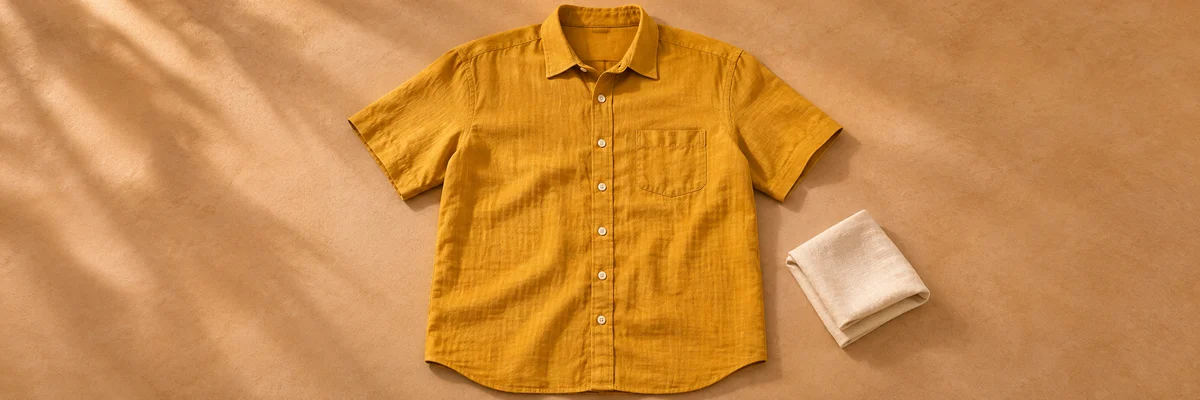
Clothing Flat Lay Generator
Another product-photo task
Turn a front-facing clothing photo into a clean top-down flat lay. Keep your garment in focus, from collar to cuffs.
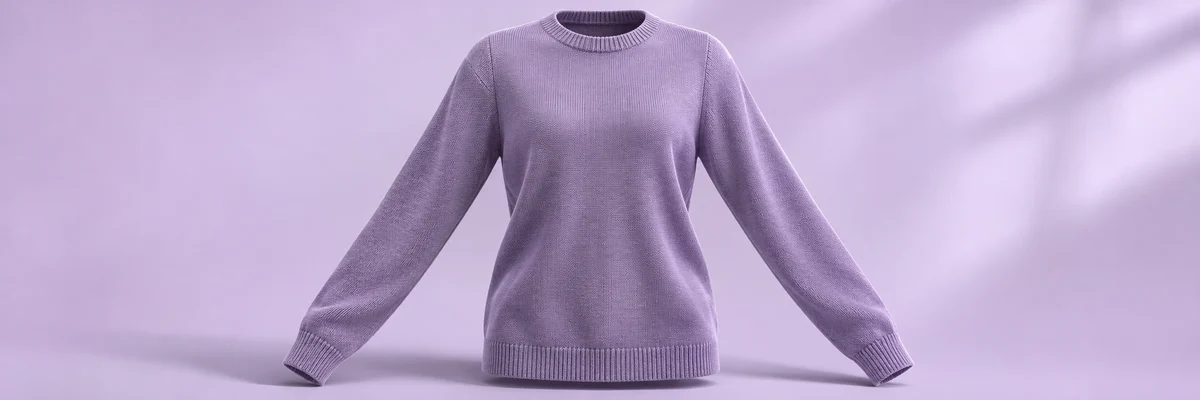
Ghost Mannequin
Another product-photo task
Remove the wearer or mannequin while keeping your garment’s three-dimensional shape and natural drape.
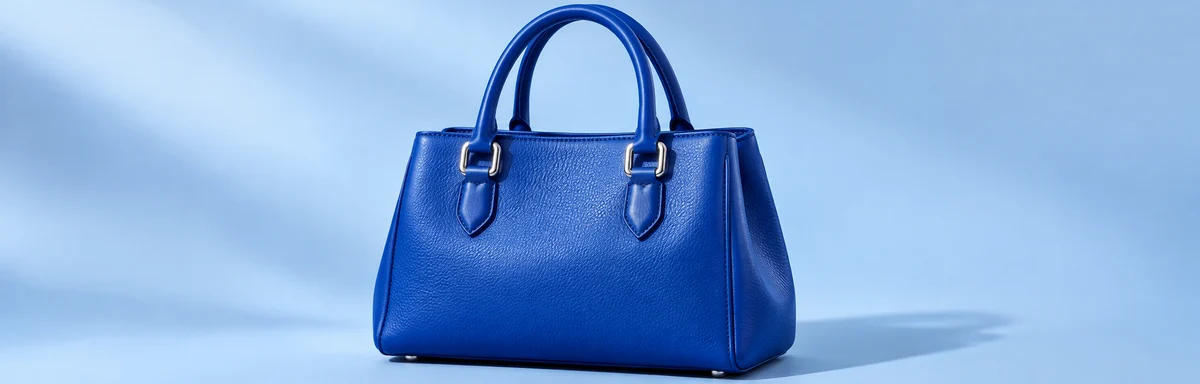
Product Recolor
Another product-photo task
Try a new color on one product while keeping its texture, shape, lighting and surroundings.
AI Image Editor
Describe a different edit
Use a written instruction when your photo needs another kind of change.