
Clothing Flat Lay Generator
Turn a front-facing clothing photo into a clean top-down flat lay. Keep your garment in focus, from collar to cuffs.
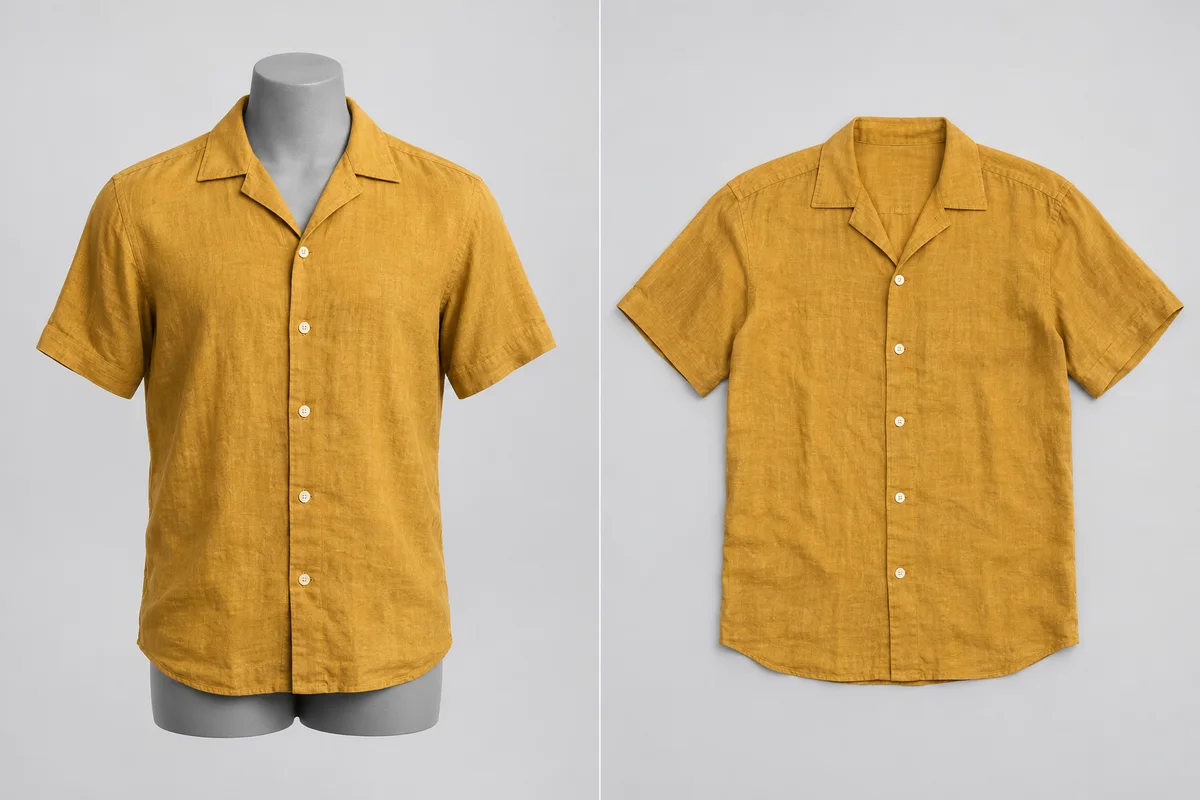
How to use Clothing Flat Lay Generator
A flat lay presents a garment from directly above. Use it to explore a consistent product-photo arrangement without showing the wearer or mannequin.
- 01
Upload one complete top
Choose a clear front view of one shirt, blouse or jacket. Include the neckline, both sleeves and the full hem.
- 02
Create the flat lay
Select Create flat lay to rearrange the garment into a view from above. There is no scene prompt to write.
- 03
Compare the garment details
Review the collar, cuffs, print, fastenings and overall proportions alongside your original photo.
- 04
Download the image
Save the result for your product-photo workflow after checking it against the actual garment.
Show the garment from collar to hem
Start with a clear front view of one shirt, blouse or jacket. Keep the full hem and both sleeves in the photo. Review prints, buttons and proportions before using the result in a listing.
Illustrative comparisons show the intended edit. They are not verified results from this tool.
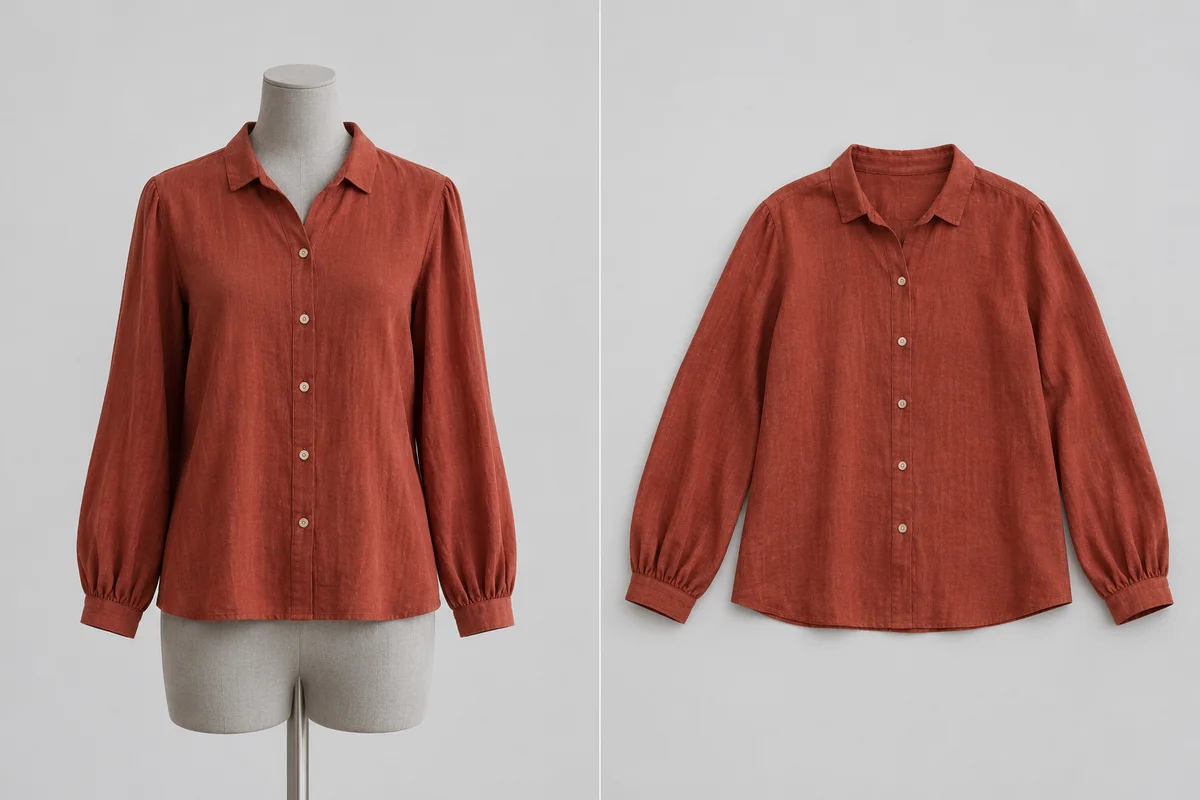
A softer silhouette for a linen blouse
Explore an overhead view of a softer garment without the supporting mannequin. Compare the collar, gathered cuffs and front buttons, and check that the linen texture still looks like the original material.
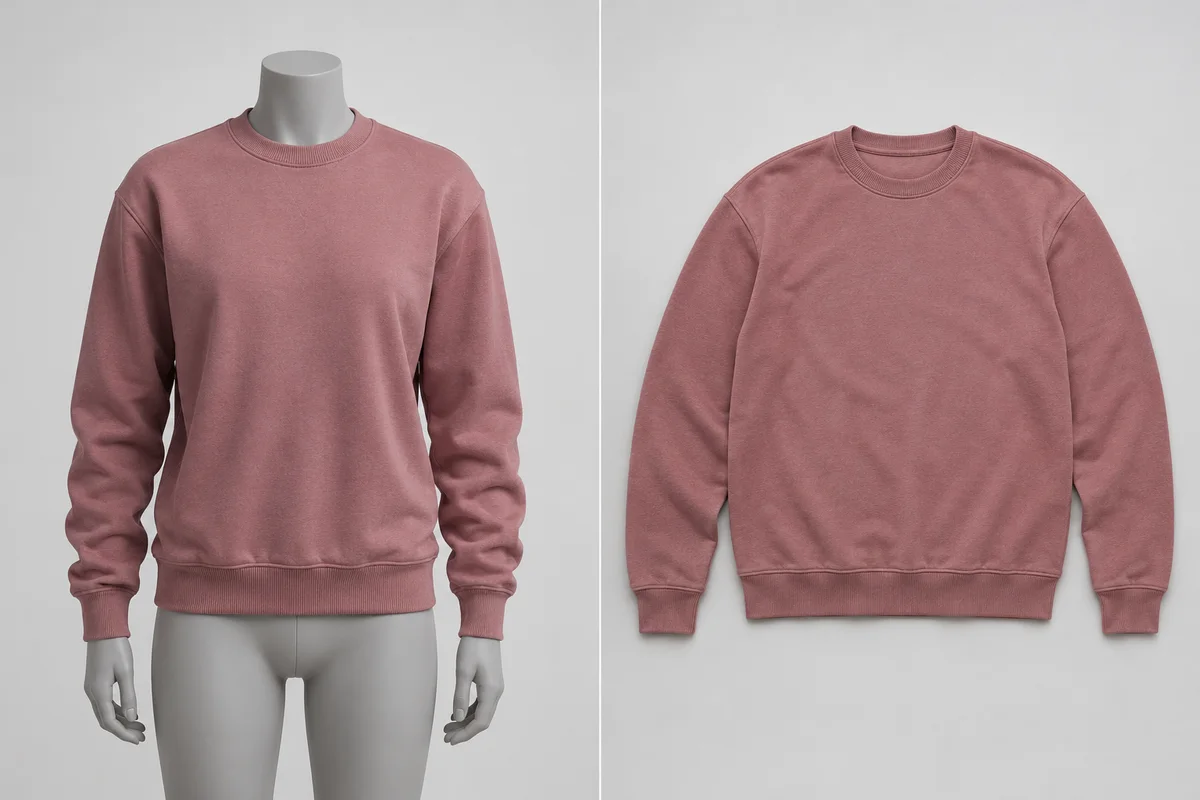
Read the shape of a cotton sweatshirt
A flat view brings the body, sleeves and ribbed hem into one arrangement. Review the shoulder width, sleeve length and ribbing so the result describes the sweatshirt rather than changing its cut.
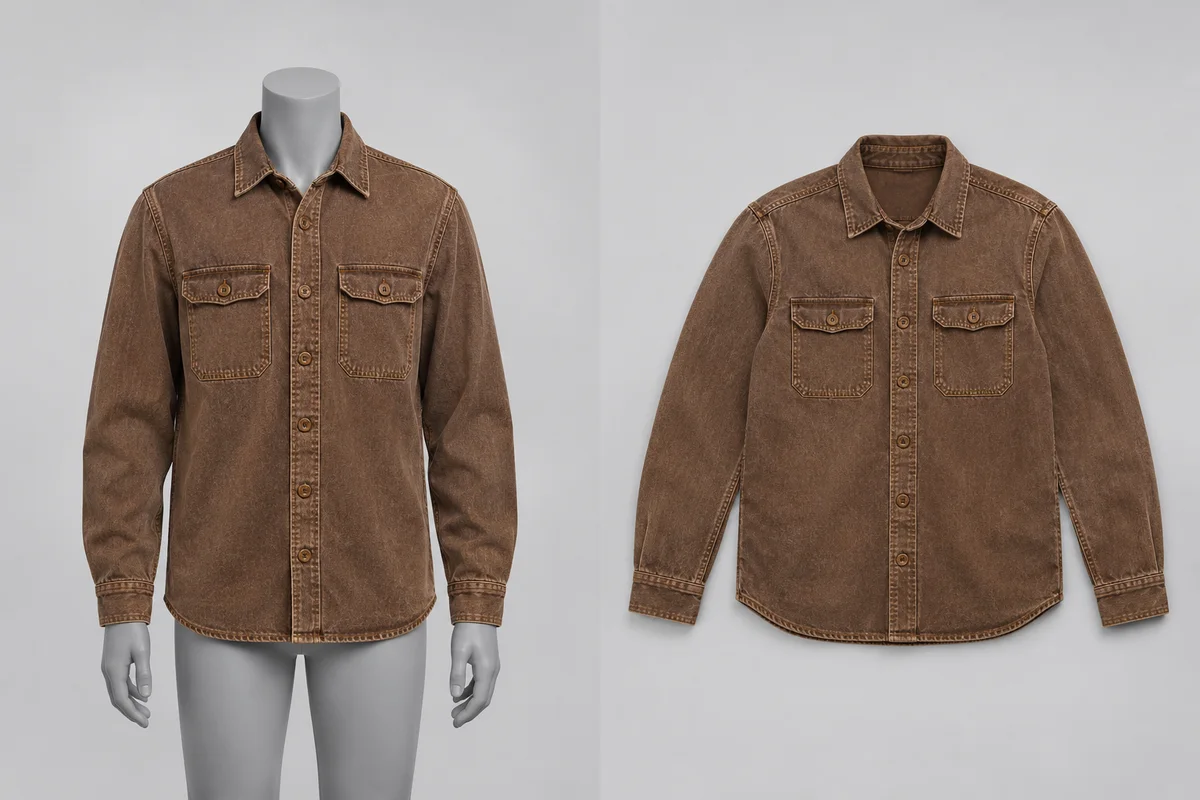
Keep denim construction easy to inspect
Use a complete source when pocket placement and stitching matter. After the edit, inspect the chest flaps, fastenings, seams and hem against the real jacket before publishing the image.
Prepare a clearer clothing catalog
Use a flat lay when the garment itself should be the focus, then review the details that customers use to recognize it.
Keep attention on the garment
A flat arrangement removes the wearer from the presentation and gives the neckline, sleeves and hem room to be seen.
Explore a catalog direction
Try a top-down presentation before arranging a new photo session. Review each output individually rather than assuming every garment will align identically.
Start with visible detail
Use a sharp, complete source. Cropped cuffs, folded-over sections and heavily obscured prints leave less information for the edit to preserve.
Choose the right garment view
Use Ghost Mannequin when you want to keep a three-dimensional worn shape. A flat lay is for an overhead arrangement on a surface.
Ready to try it?
Give your next top a flat lay presentation.
Choose one complete garment photo, create the overhead arrangement, and compare the details before downloading.
Clothing Flat Lay Generator FAQ
Answers about source photos, supported edits, reviewing details and downloading your image.
Which clothing photos should I use?
Use one front-facing upper-body garment with the sleeves, neckline and hem visible. Cropped, overlapping or heavily obscured clothing gives the model less detail to preserve.
Can I process trousers, dresses or several garments?
This tool is designed for a single top. Trousers, dresses, outfits and batch processing are outside this version’s supported scope.
Will the print and garment shape stay identical?
The edit aims to preserve the original garment, but AI can alter small details. Inspect the print, logo, seams, neckline and sleeve length before publishing.
How is this different from Ghost Mannequin?
A flat lay shows the garment lying on a surface from above. Ghost Mannequin keeps a three-dimensional worn shape after removing the wearer or mannequin.
Which image formats can I upload?
Upload one JPG, PNG or WEBP image up to 20 MB. Use a sharp source with the complete garment visible.
Do I need a prompt, and can I download the result?
No prompt is needed. Upload the photo and choose Create flat lay. When the edit finishes, compare the original and edited image, then use Download Image to save the result.
Keep creating
Keep working from here
Continue with image edits, compare model quality, or send the result into a video workflow.
AI Sticker Generator
Another product-photo task
Create cartoon, hand-drawn or framed photo stickers for social posts and scrapbooks.
Product Mockup Generator
Another product-photo task
Place your design on a T-shirt, mug, phone case, tote bag or poster. Fixed templates keep your artwork in the printable area, with product light and shade.
Product Shadow & Reflection Adder
Another product-photo task
Ground a transparent product cutout with a drop shadow, contact shadow or fading reflection. Adjust the strength and choose a background.
Big Head Effect
Another product-photo task
Turn a single-person photo into a big-head character. Choose Chibi, Cartoon or Hand-drawn and review the face, outfit and proportions.
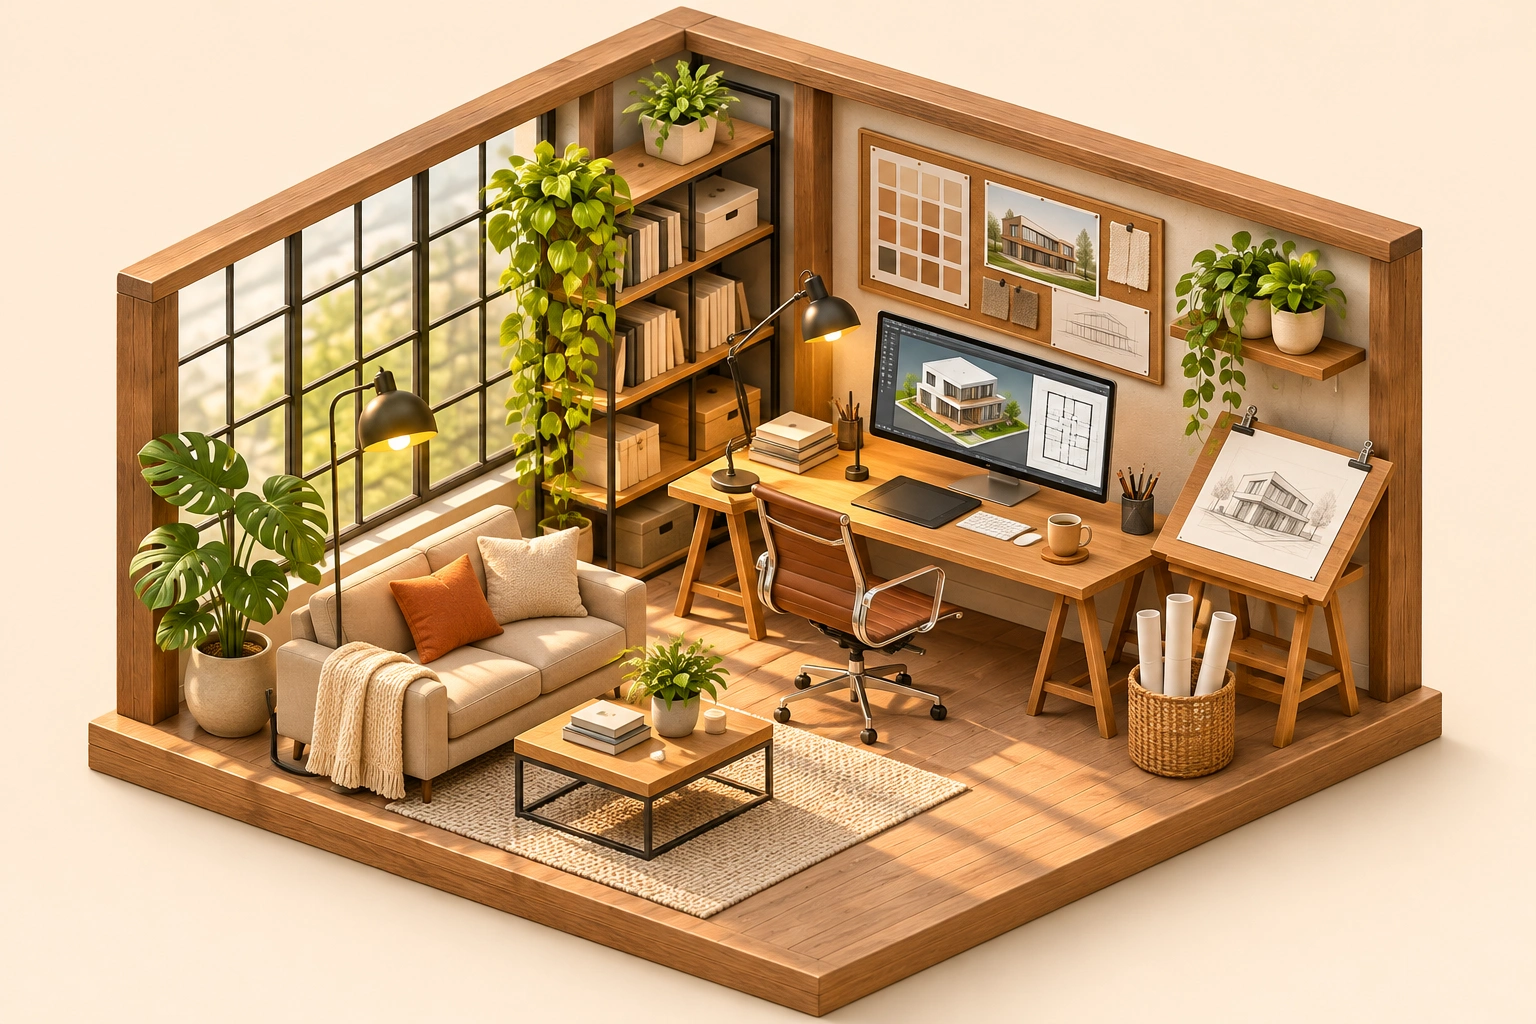
Isometric Miniature
Another product-photo task
Create a miniature look with local tilt-shift blur. For a new isometric interpretation, explicitly choose the separate AI redraw mode.
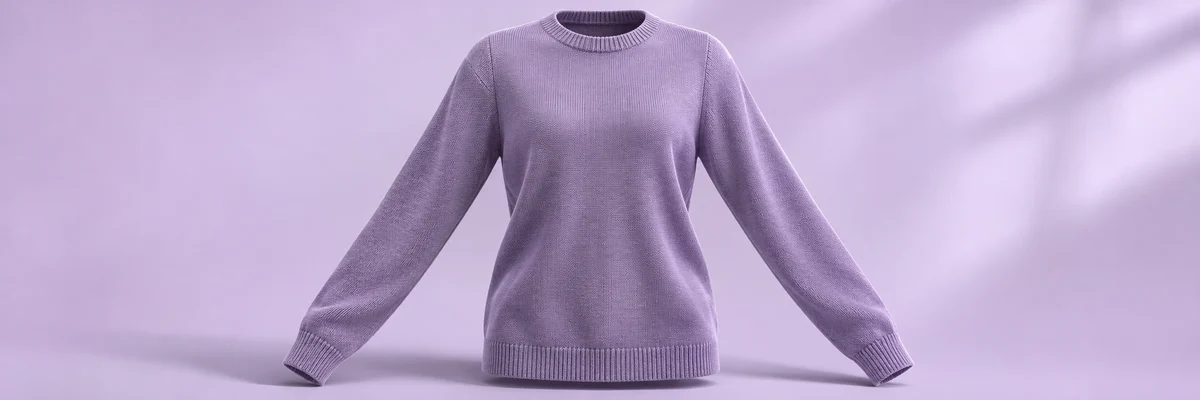
Ghost Mannequin
Another product-photo task
Remove the wearer or mannequin while keeping your garment’s three-dimensional shape and natural drape.
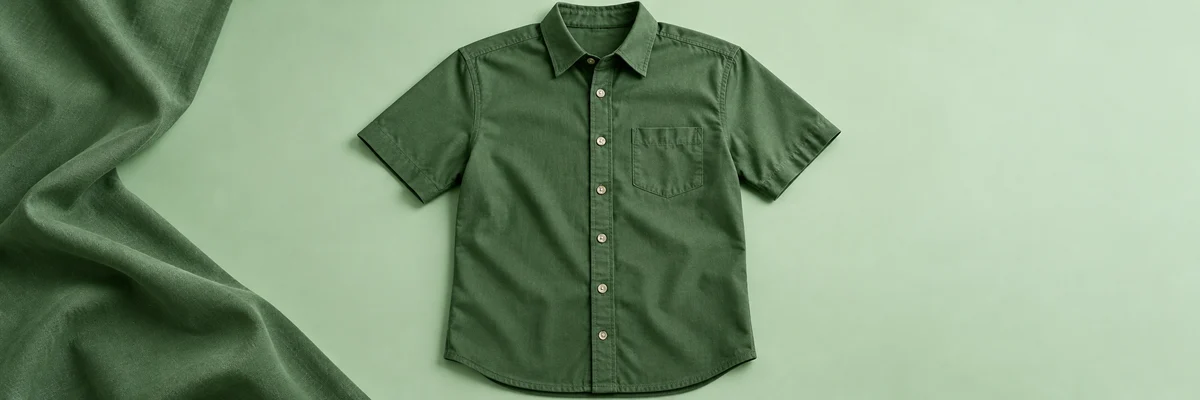
Clothes Wrinkle Remover
Another product-photo task
Reduce distracting creases in a clothing photo while keeping fabric texture, seams and natural shape.
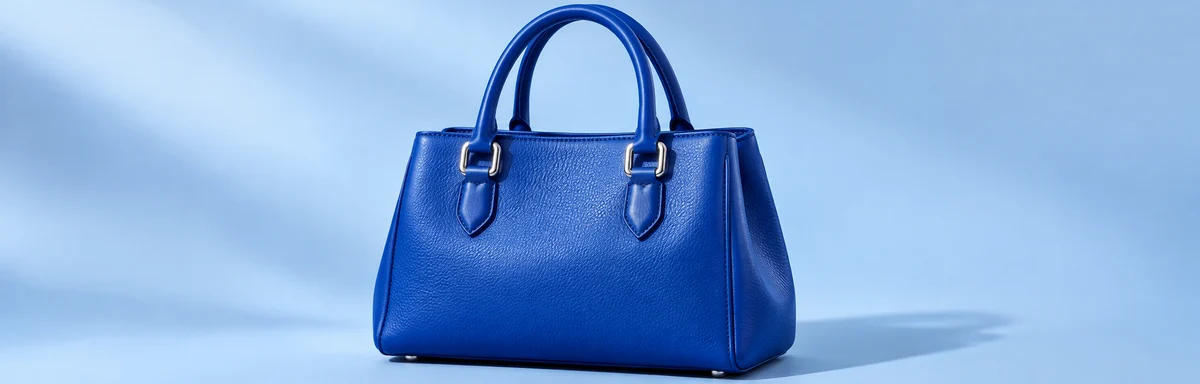
Product Recolor
Another product-photo task
Try a new color on one product while keeping its texture, shape, lighting and surroundings.
AI Image Editor
Describe a different edit
Use a written instruction when your photo needs another kind of change.