
Product Shadow & Reflection Adder
Ground a transparent product cutout with a drop shadow, contact shadow or fading reflection. Adjust the strength and choose a background.
Sign in to use this tool. Processing runs on your device without server uploads or credits.
Example
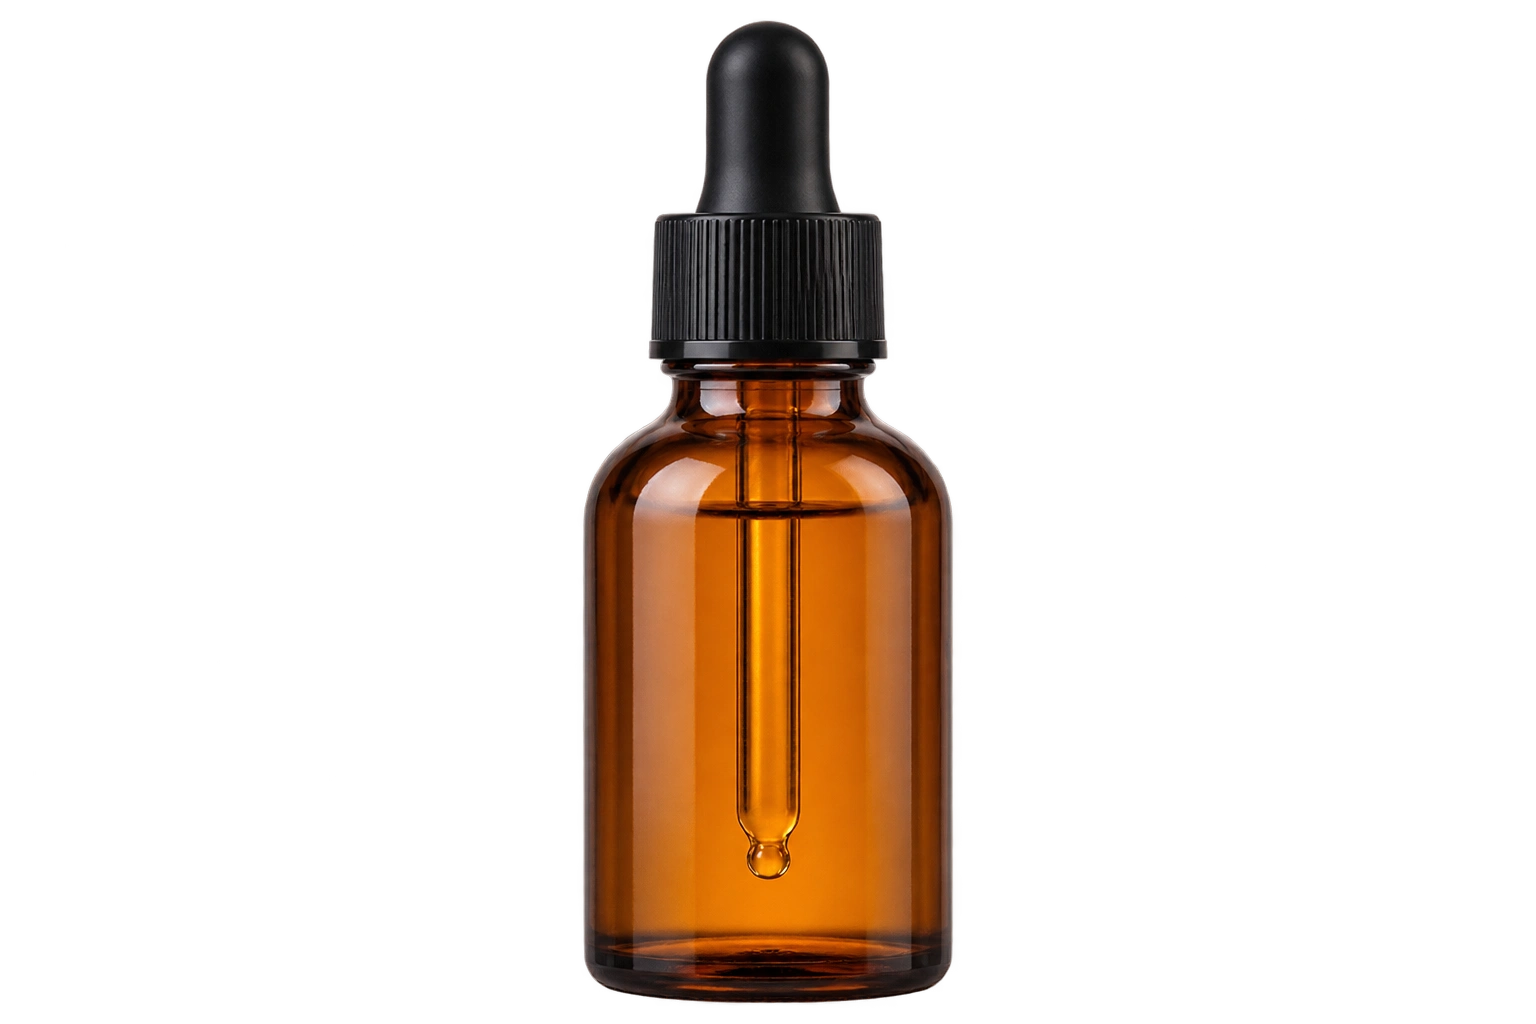
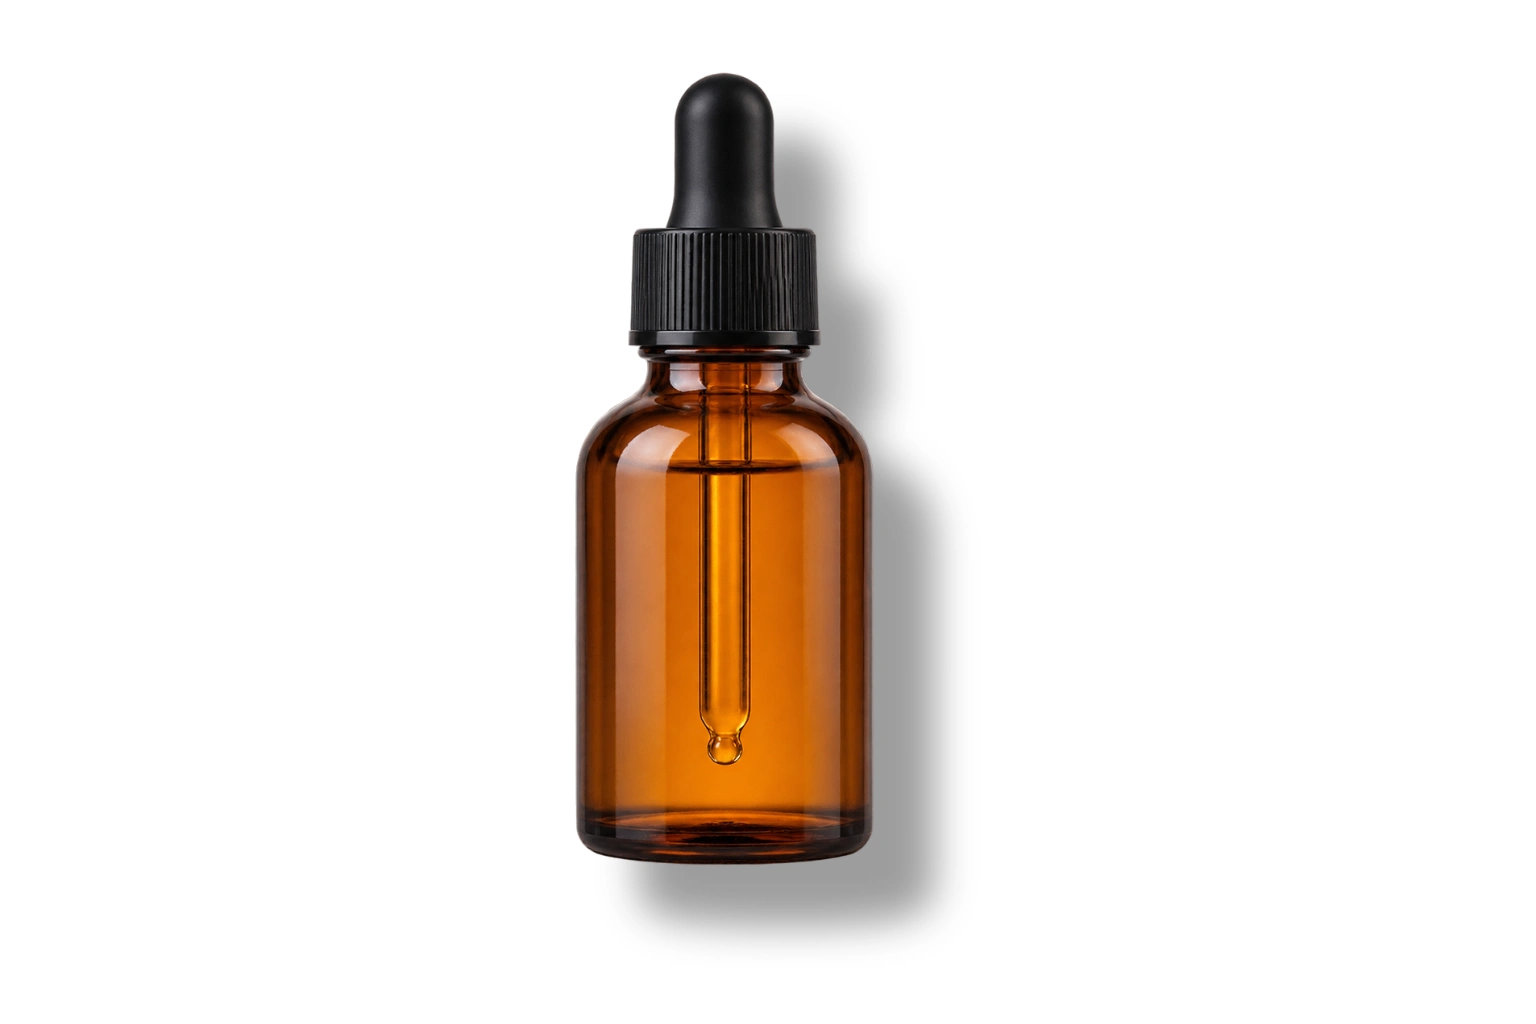
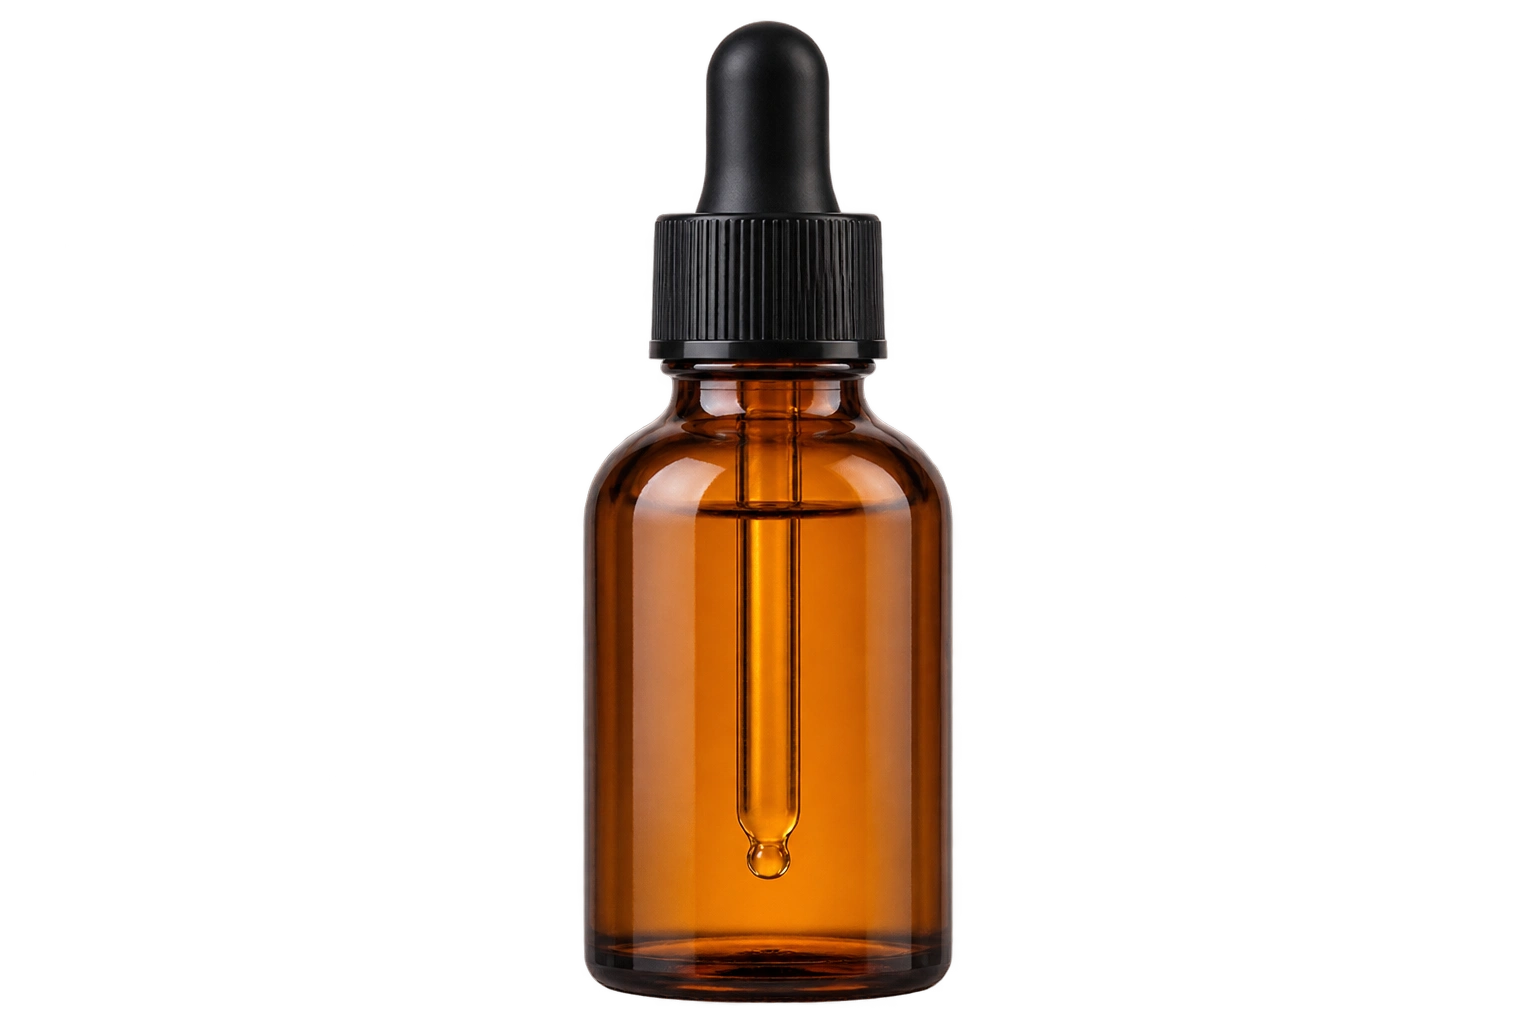
How to use Product Shadow & Reflection Adder
Use the visible outline of a transparent product to create a two-dimensional shadow or reflection. The product stays the source of the composition.
- 01
Upload transparent product images
Choose up to four PNG or WebP files with transparency around each product. A white background is part of the image and does not count as transparency.
- 02
Set the effect and background
Choose Drop shadow, Contact shadow or Reflection, then adjust strength. Direction applies to Drop shadow. Select white, a solid color or transparency.
- 03
Check the grounding and edges
Drag the example comparison handle to inspect the original product and added effect. Check the product base and make sure the full subject and fading reflection remain inside the output.
- 04
Download your PNGs
Save a single completed image or a ZIP of successful results. Transparent output contains alpha rather than a baked-in checkerboard.
Choose the grounding your product needs
Start with a PNG or WebP that has transparency around the product. The effect follows the product outline and runs on your device. Choose a background for the finished composition.
Each example names the processing used. Review the result before using it in your project.
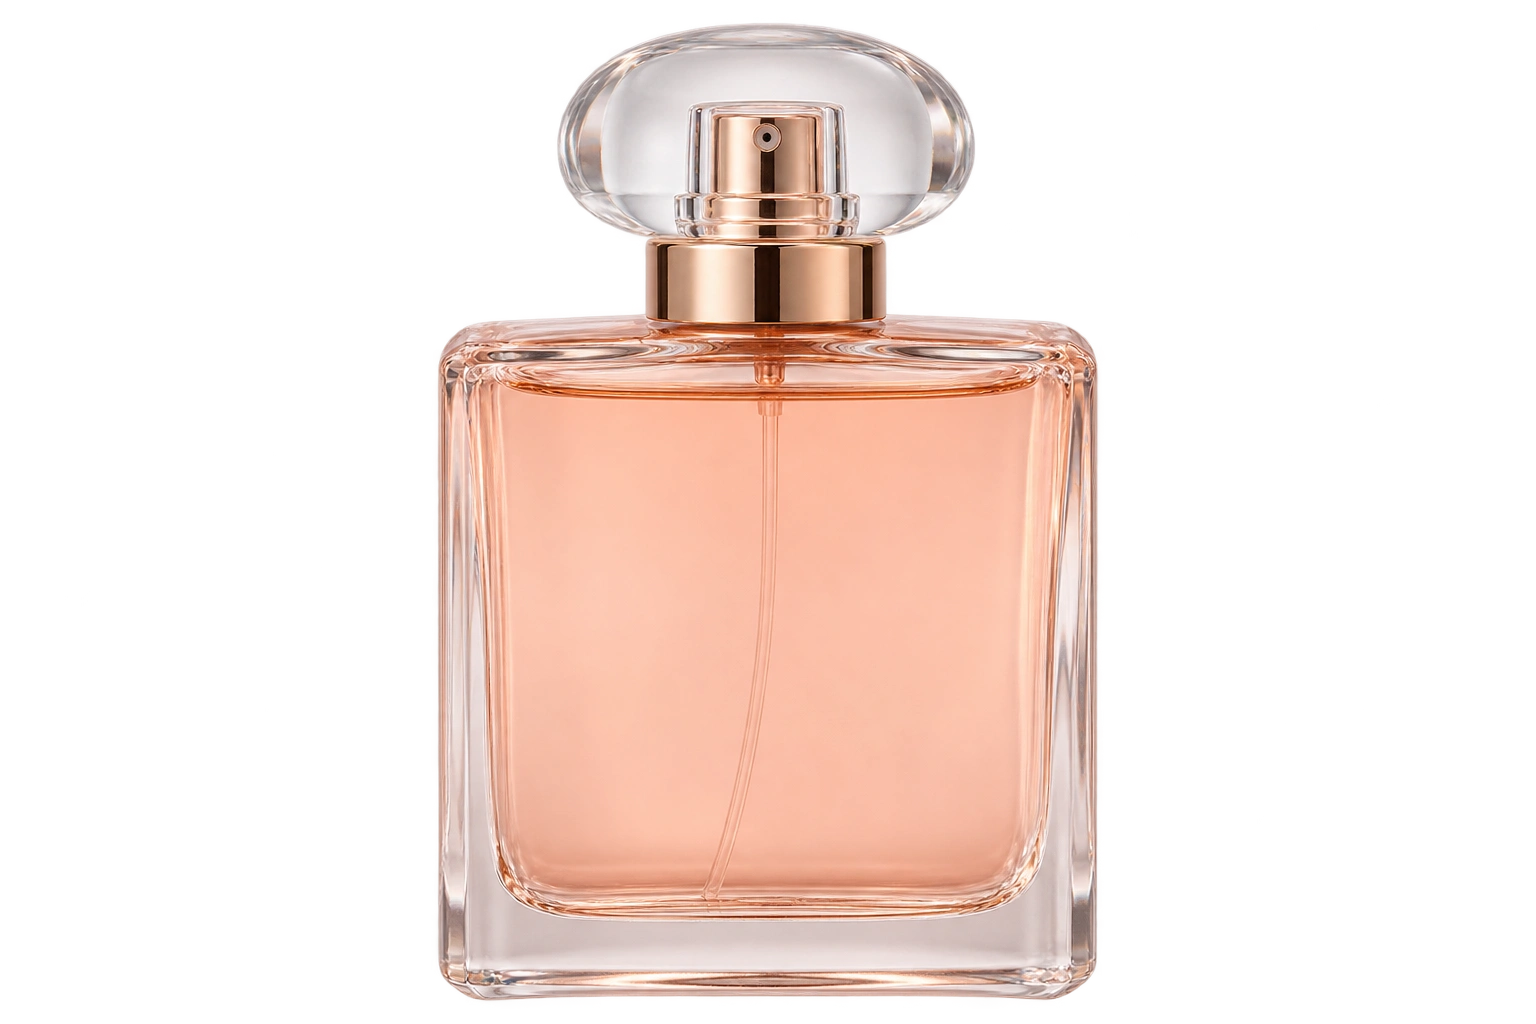
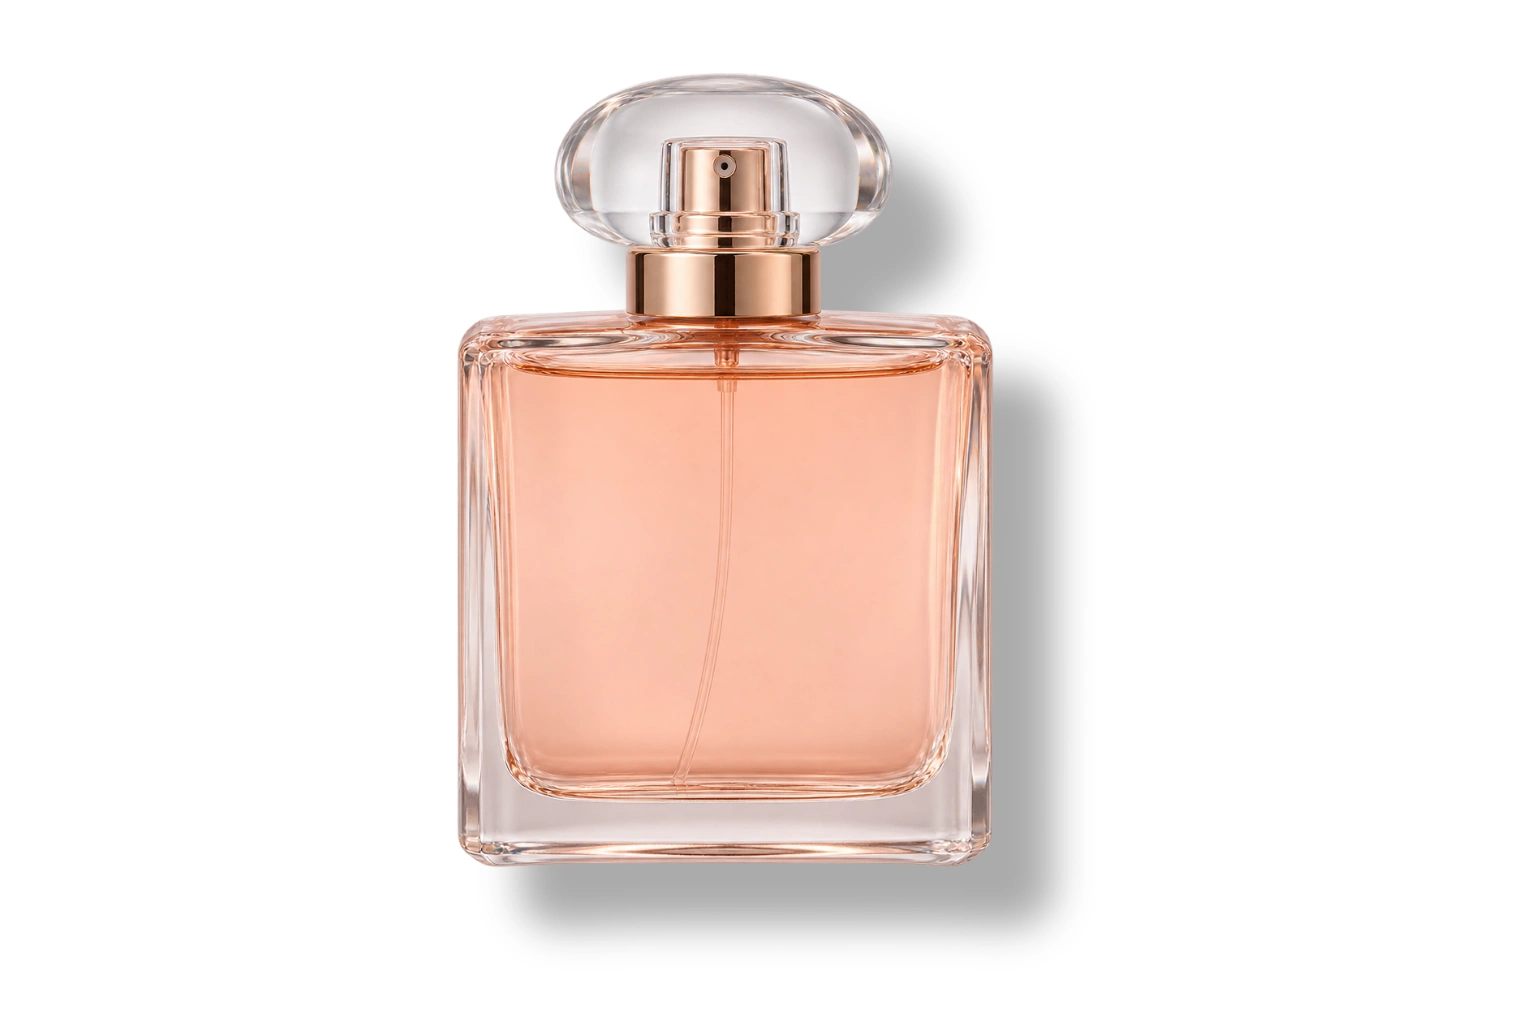
Local processing example
Control a perfume bottle shadow
Use shadow strength and direction to find a balanced composition. Inspect transparent glass edges carefully: this is an alpha-based visual effect, not a simulation of light passing through glass.
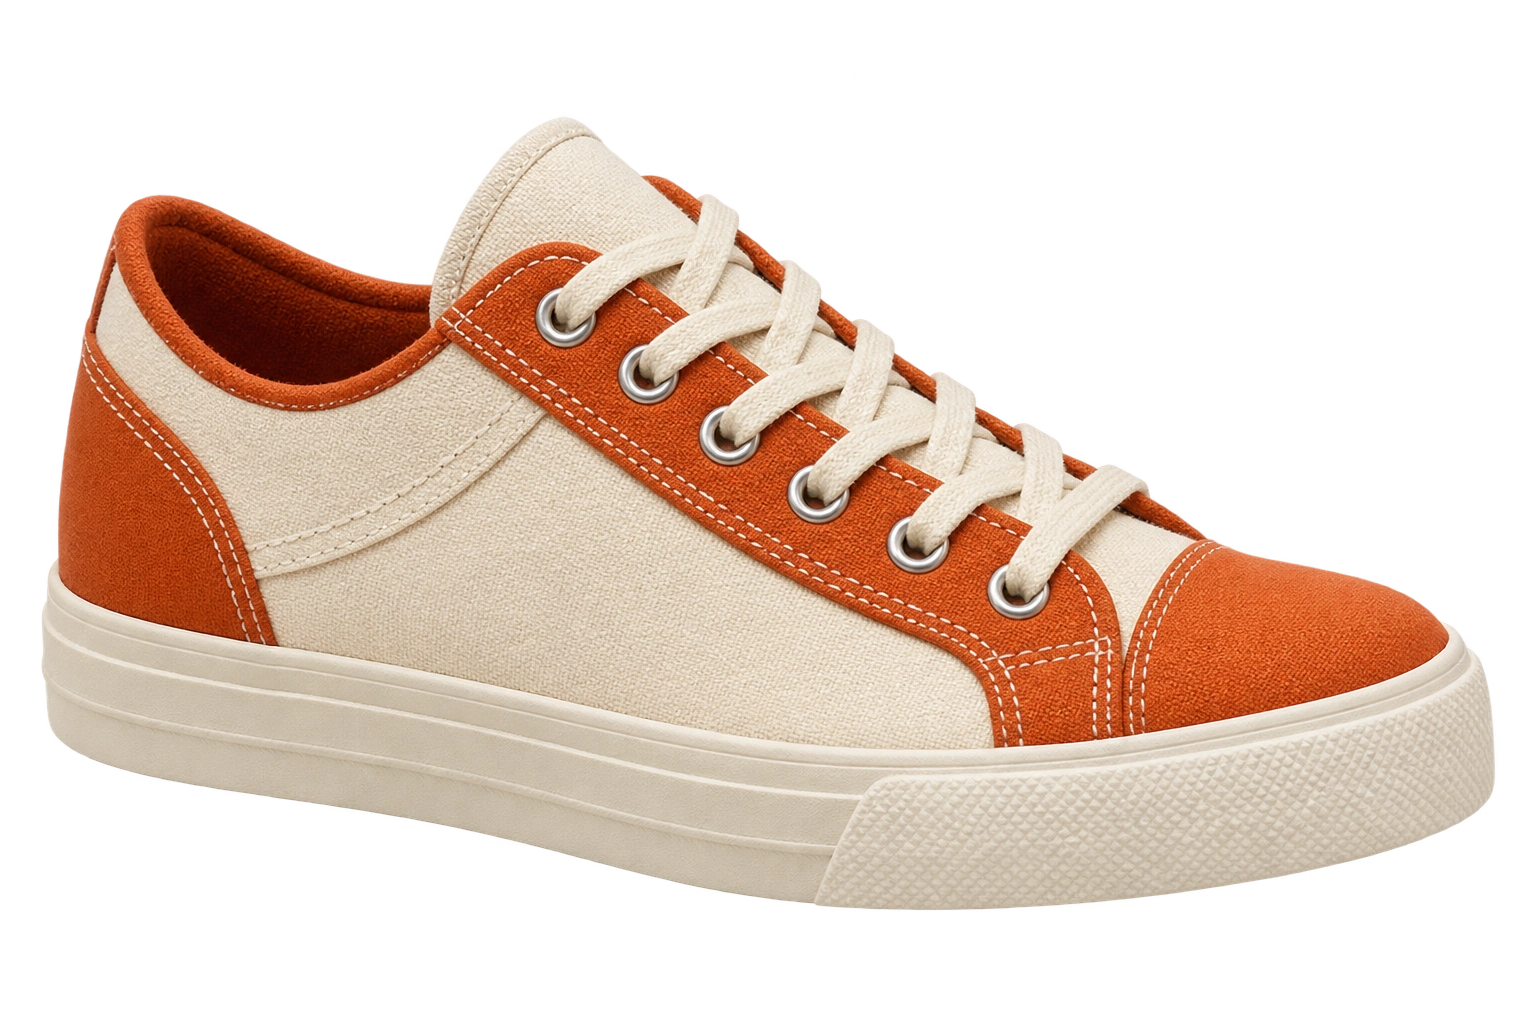
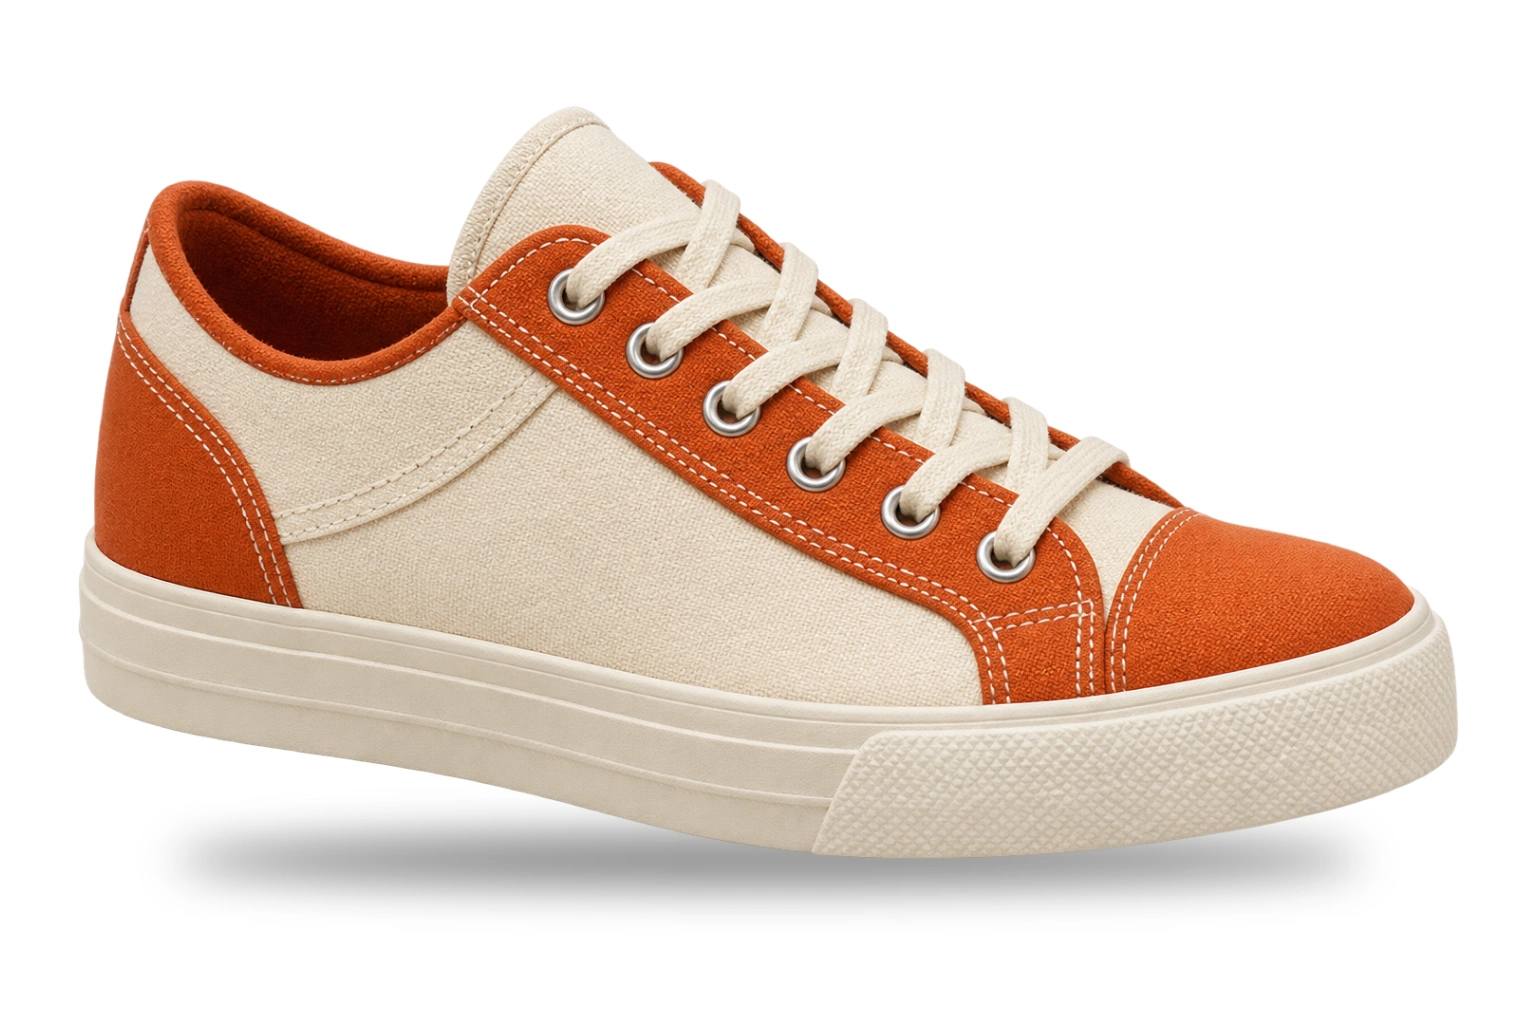
Local processing example
Anchor a shoe at its sole
A contact shadow works best when the sole is the lowest visible part of the cutout. Remove stray pixels below the shoe first, because they can shift the apparent contact point.
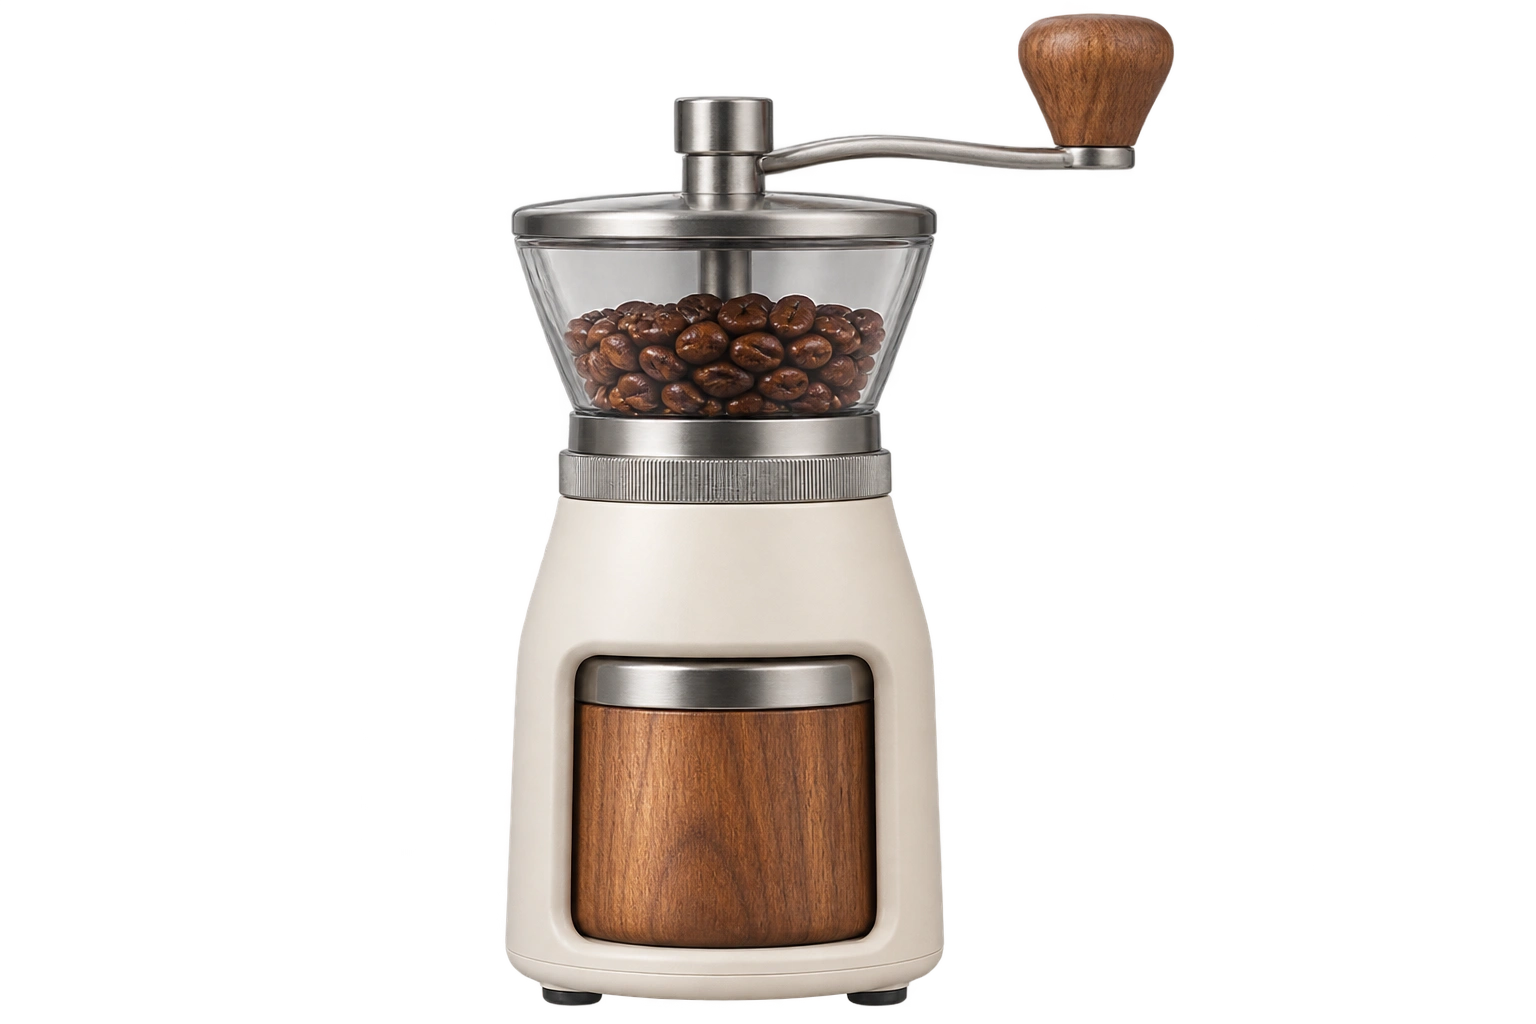
Local processing example
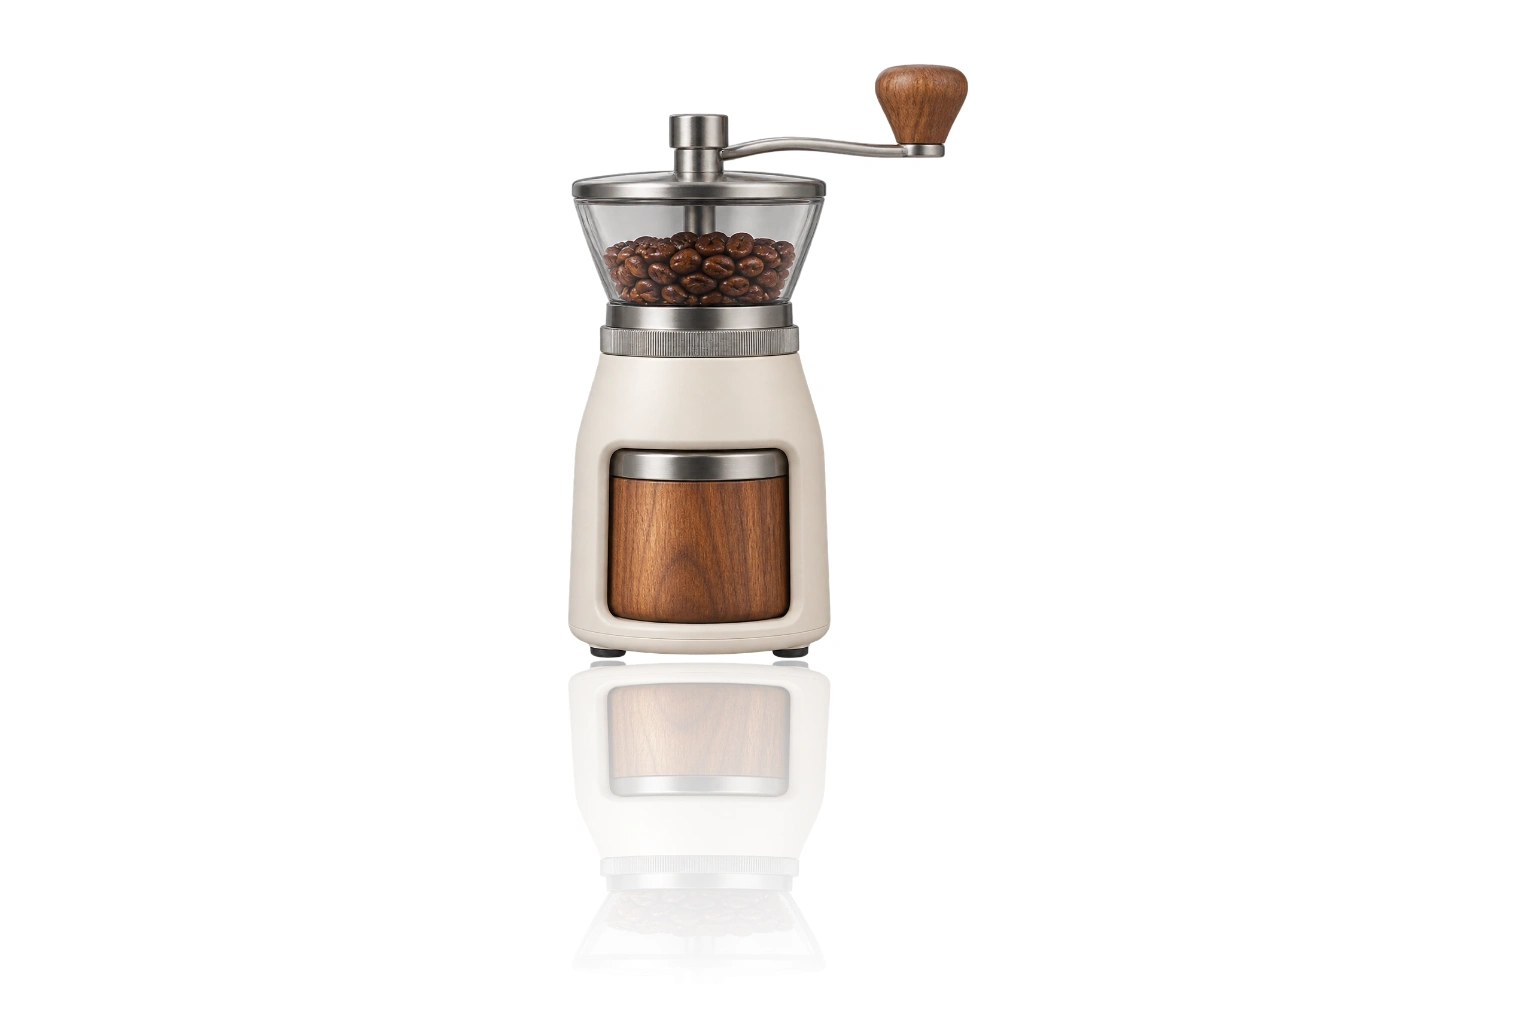
Keep a white appliance visible
Select a background that makes the pale product boundary easy to inspect. The effect adds grounding around the subject while preserving the product appearance; it does not relight the appliance.
Add a surface cue with a clear review step
A useful shadow starts with a clean cutout and an effect that fits the way the product is presented.
Match the effect to the image
Use Drop shadow for a directional cue, Contact shadow for a tight base, or Reflection for a fading mirrored surface treatment.
Retain the product appearance
The local effect uses the cutout outline without generative product redraw. Check fine edges and any semitransparent parts before exporting.
Reuse settings across four inputs
Apply the current settings sequentially to up to four files. Inspect each result because different shapes need different strength and spacing.
Keep local effects free of service costs
Shadows and reflections are composed on your device. Sign in to process your images locally without credits.
Ready to try it?
Give your next cutout a place to sit.
Upload a transparent product, choose a grounding effect, and inspect the base before downloading.
Product Shadow & Reflection Adder FAQ
Answers about source photos, supported edits, reviewing details and downloading your image.
Why does my image need transparency?
The effect follows the product outline defined by transparency. An opaque rectangle has no usable subject outline. Choose a PNG or WebP cutout that already has transparency around the product.
Which source images work best?
Use a PNG or WebP with a transparent background and a complete product silhouette. You can load a ready-to-use example or download its source image from the preview.
What do the three modes do?
Drop shadow creates a displaced soft silhouette with a direction control. Contact shadow concentrates near the subject base. Reflection flips the subject vertically and fades it away from the base.
Is this physically accurate lighting?
No. These are two-dimensional visual effects based on the cutout. They do not calculate a three-dimensional surface, multiple lights or physically accurate reflections.
Can I process several files?
Yes, up to four transparent PNG or WebP files, each up to 10 MB and 32 megapixels. They use the same settings and run sequentially; download successful results individually or as a ZIP.
How can I compare the effect, and what can I export?
Drag the example comparison handle to reveal the original and processed product. Choose white, a solid color or transparency and export PNG, with space for the effect. Large images may be resized; check the displayed output dimensions.
More to try
Explore your next creative step
Try another image tool, compare image models, or animate an image concept.

AI Sticker Generator
Another product-photo task
Create cartoon, hand-drawn or framed photo stickers for social posts and scrapbooks.
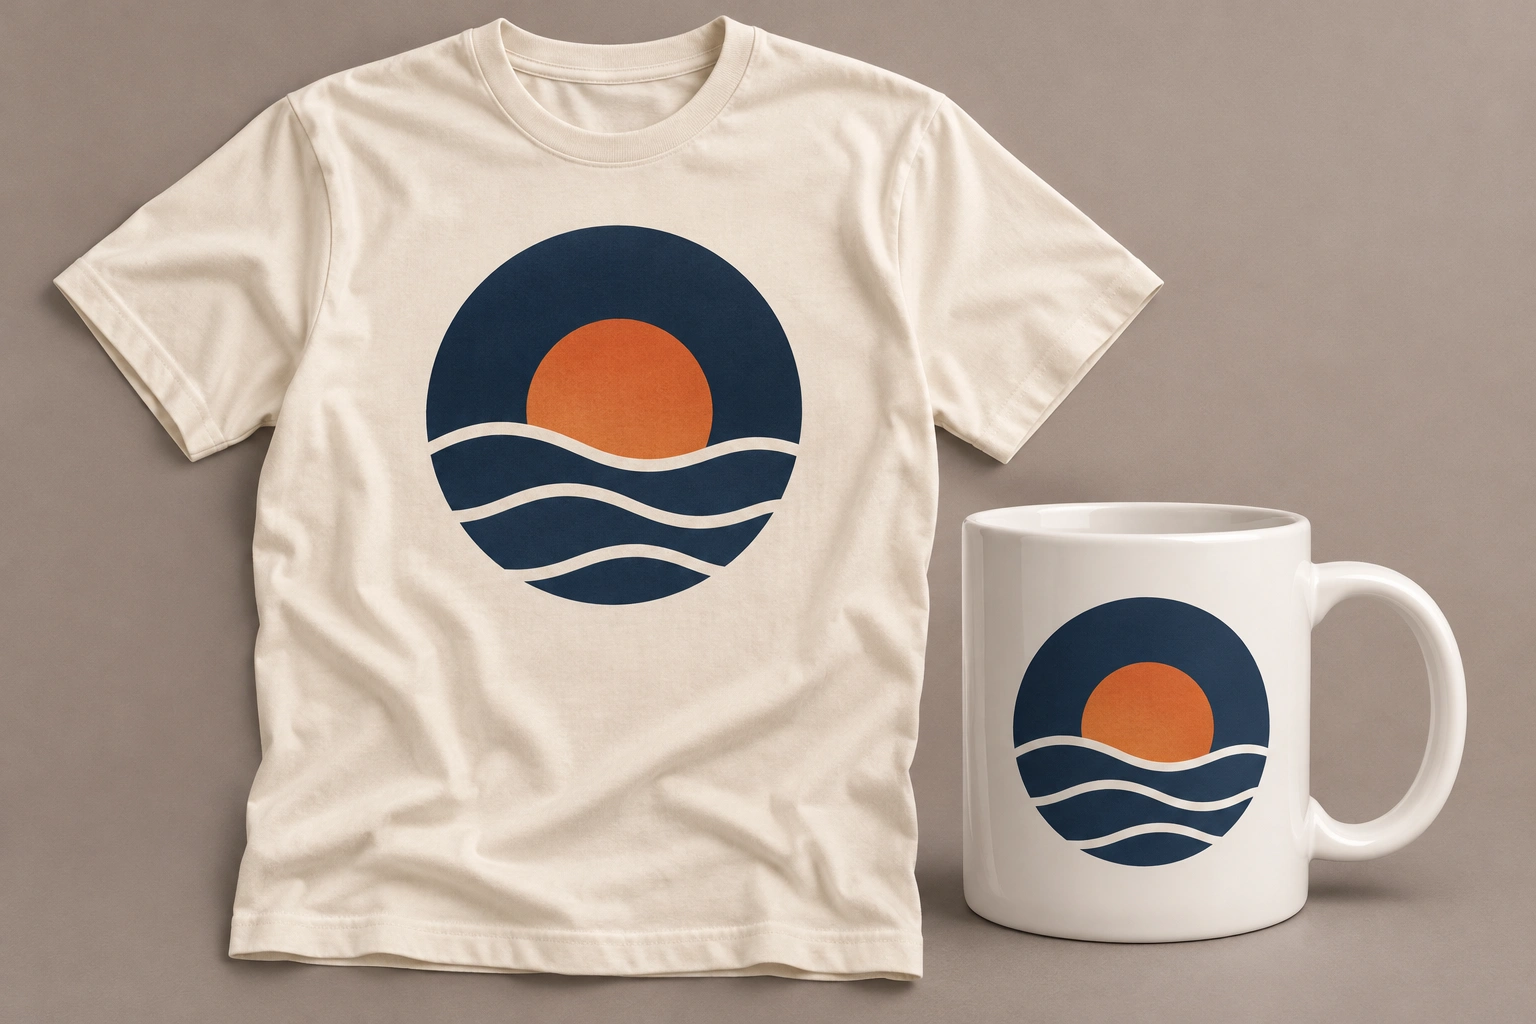
Product Mockup Generator
Another product-photo task
Place your design on a T-shirt, mug, phone case, tote bag or poster. Fixed templates keep your artwork in the printable area, with product light and shade.
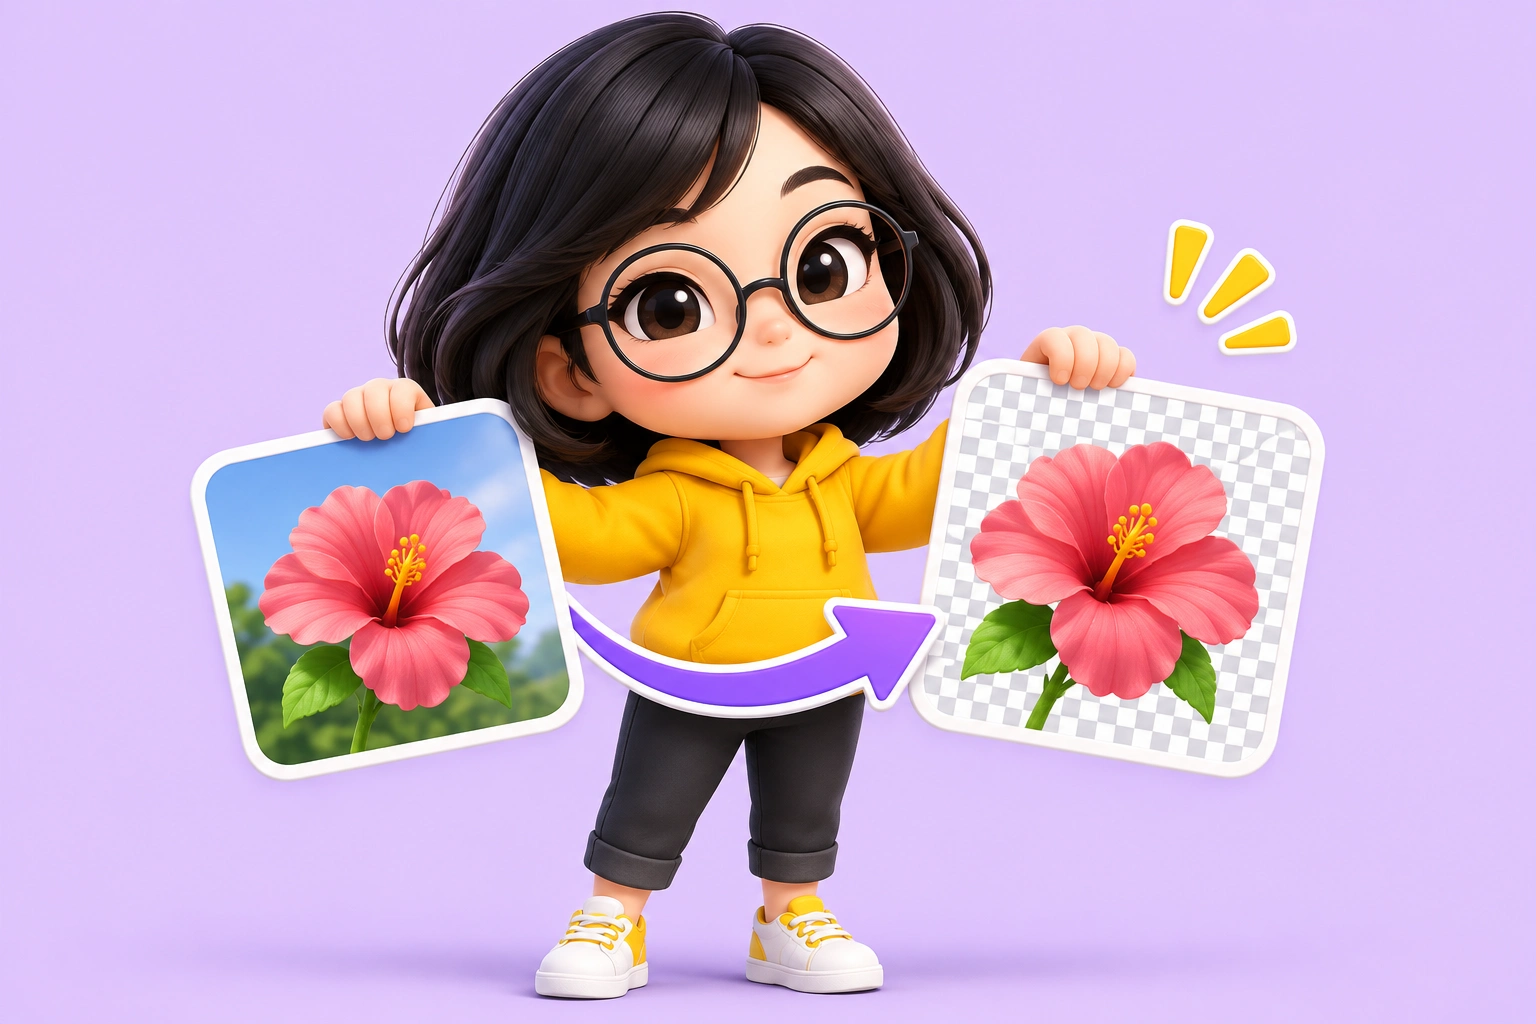
Big Head Effect
Another product-photo task
Turn a single-person photo into a big-head character. Choose Chibi, Cartoon or Hand-drawn and review the face, outfit and proportions.
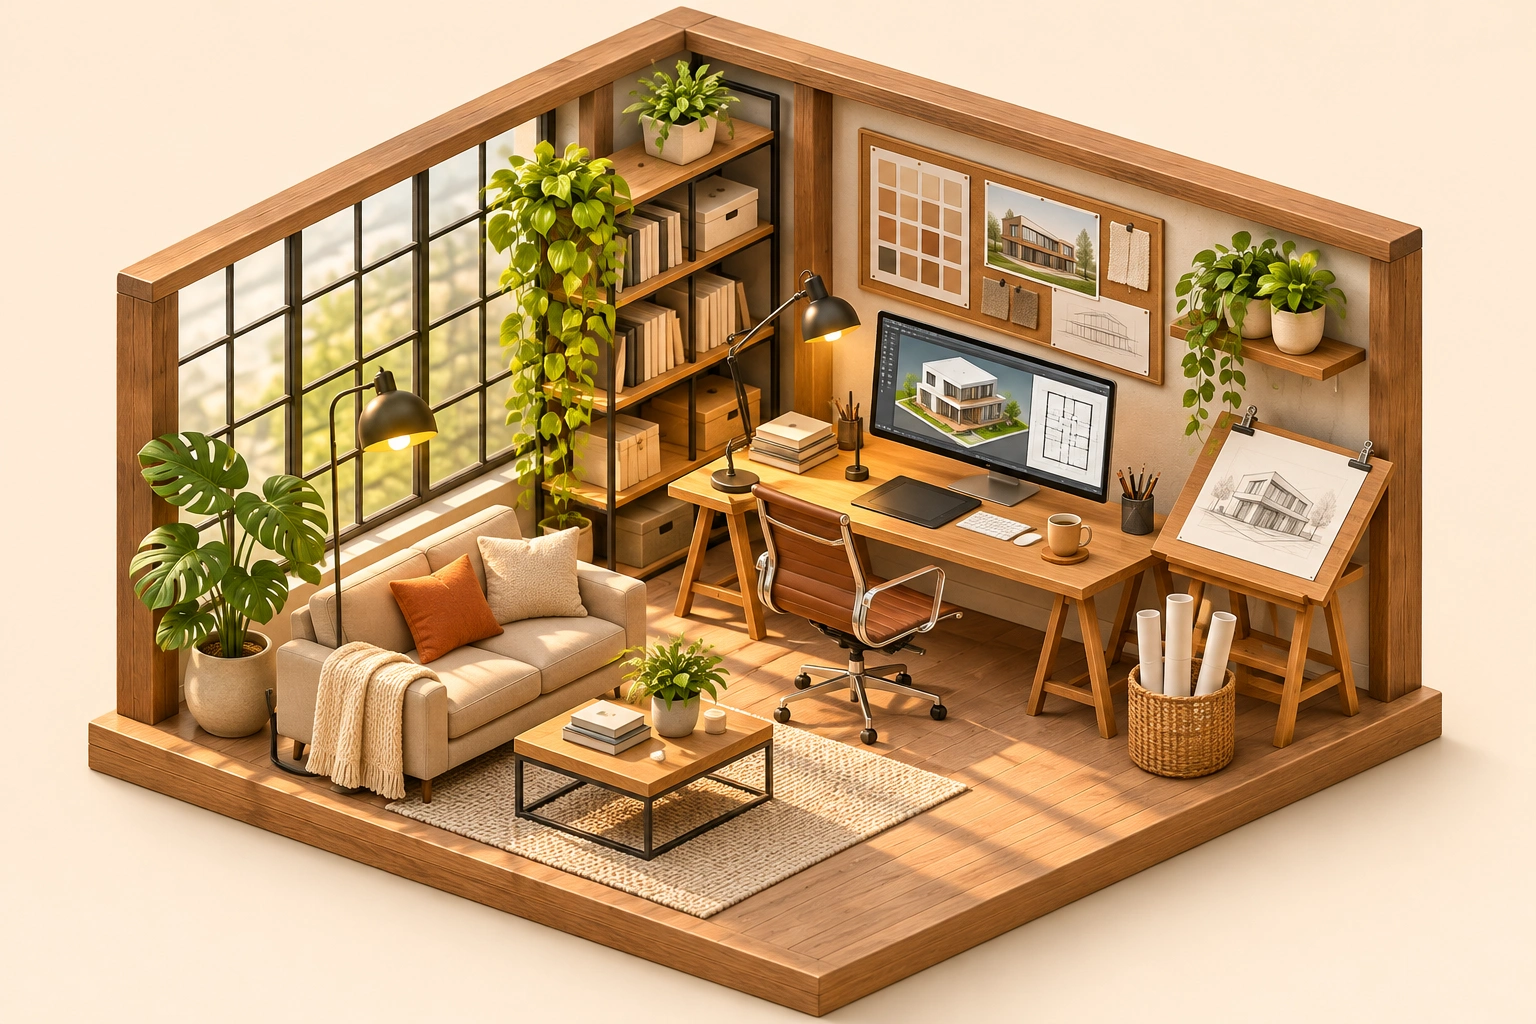
Isometric Miniature
Another product-photo task
Create a miniature look with local tilt-shift blur. For a new isometric interpretation, explicitly choose the separate AI redraw mode.
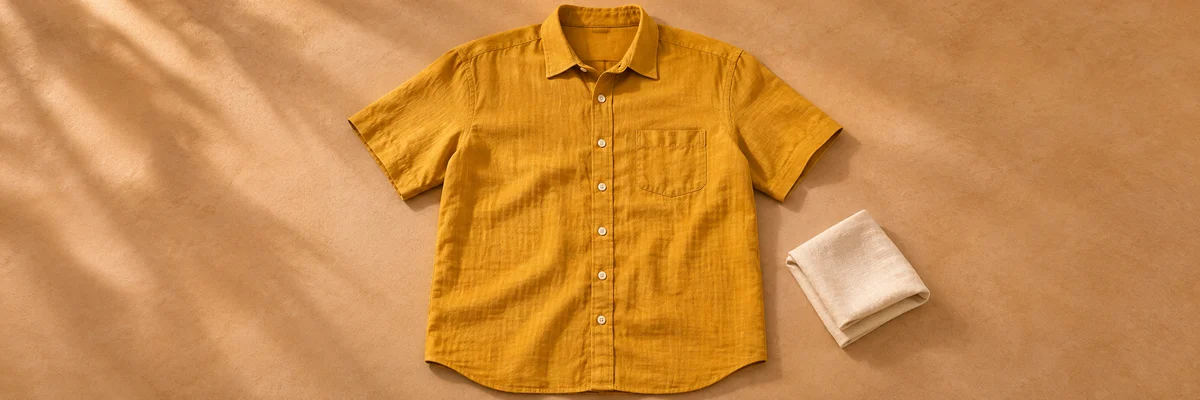
Clothing Flat Lay Generator
Another product-photo task
Turn a front-facing clothing photo into a clean top-down flat lay. Keep your garment in focus, from collar to cuffs.
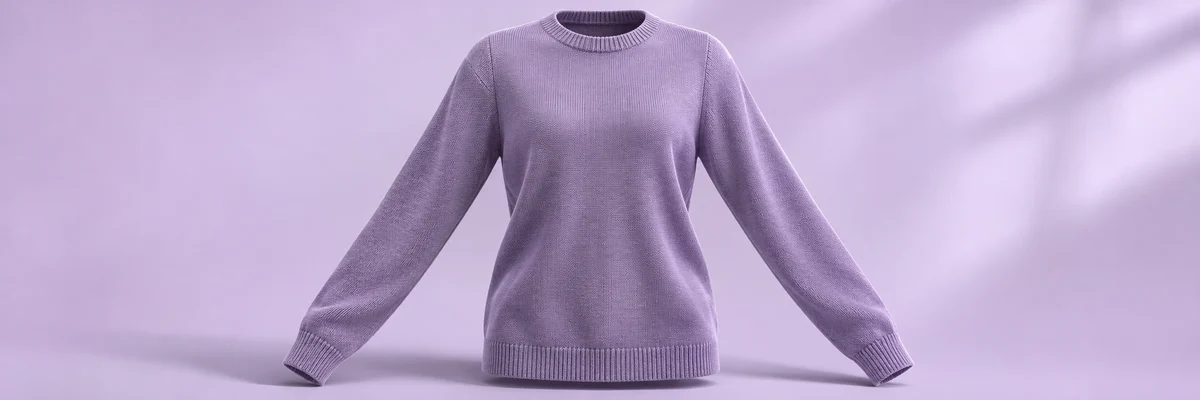
Ghost Mannequin
Another product-photo task
Remove the wearer or mannequin while keeping your garment’s three-dimensional shape and natural drape.
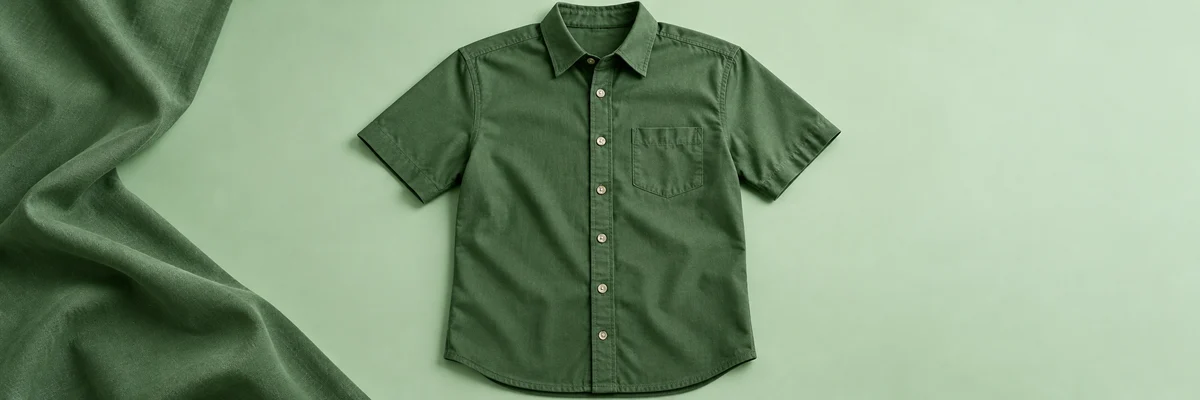
Clothes Wrinkle Remover
Another product-photo task
Reduce distracting creases in a clothing photo while keeping fabric texture, seams and natural shape.

Product Recolor
Another product-photo task
Try a new color on one product while keeping its texture, shape, lighting and surroundings.
AI Image Editor
Describe a different edit
Use a written instruction when your photo needs another kind of change.